How to Replace a Fascia Board Without Hiding Roof-Edge Rot
Replace a fascia board only after you probe back to firm wood, support the gutter or trim, match the old board's fit, and confirm the new fasteners will bite into solid backing.
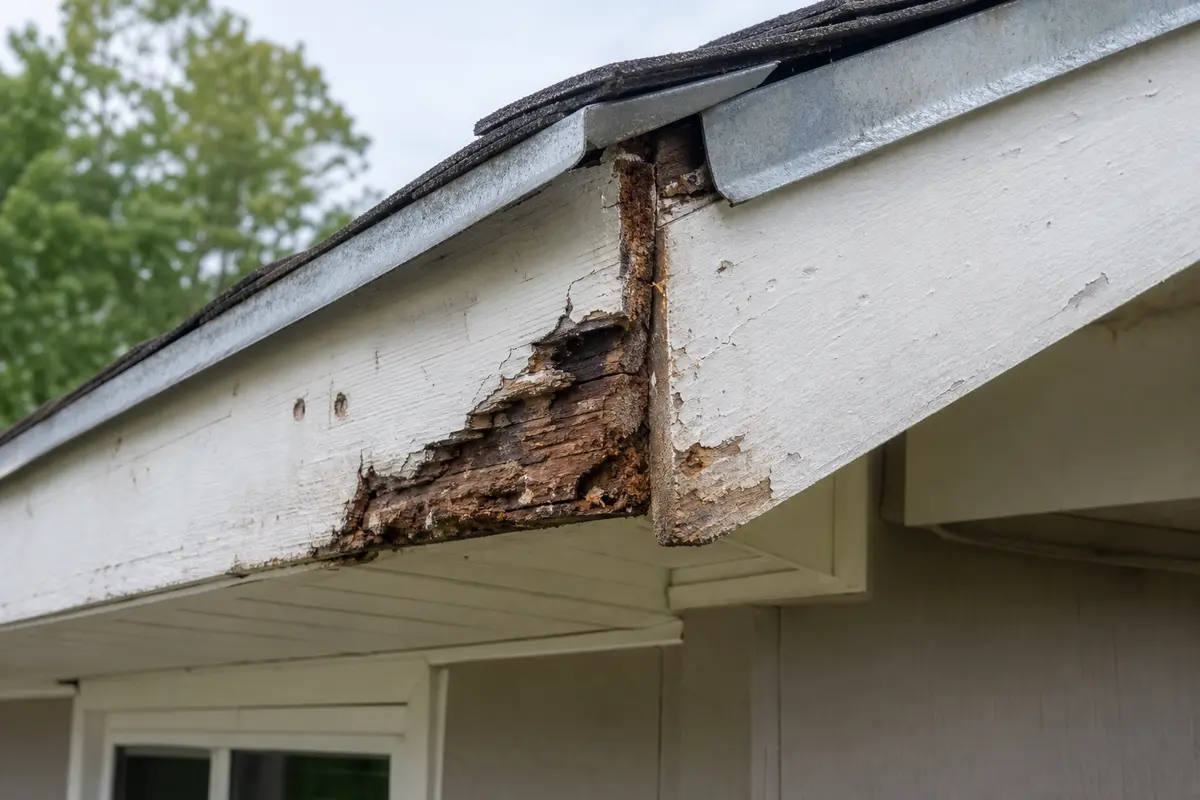
Fascia replacement is a board repair only if the roof edge behind it is dry and firm. Probe the soft spots, look behind gutter hangers, and stop if water is still getting past the drip edge or the rafter tails have gone soft.
Before you start: Probe the stained or split area first, then match the board thickness, width, length, material, trim profile, gutter bracket layout, and weather exposure. Stop if the ladder setup is unsafe or if active leaks, soft backing, missing support, or loose mounting points change the repair.
Before replacing the fascia board, confirm what failed, what still supports it, and how the new piece needs to fit. Do not buy trim, hardware, or a board until the water source and backing have been checked.
This page fits
Look for: The fascia board is soft, split, missing, or no longer holding gutter fasteners, and the rafter tails or backing behind it still feel solid.
Choose another repair if: If the surrounding trim, roof edge, soffit, or backing is damaged, fix that condition before narrowing the job to this board.
Confirm the fit first
Look for: You can confirm the board thickness, width, material, exposed height, trim profile, and gutter bracket layout before ordering or cutting anything.
Choose another repair if: If the old piece is missing or wrapped in metal, remove enough trim to see the real board edge and measure its thickness and exposed face. If those numbers do not match the replacement, stop before cutting.
Stop for hidden damage
Look for: The repair area is dry, solid, reachable from a safe ladder position, and small enough to handle with normal carpentry tools.
Choose another repair if: Stop if you uncover active leaks, soft rafter tails, missing backing, sagging roof edge, loose gutters, or unsafe access.
Check the failure point and dry-fit before fastening
Use the visible damage and dry-fit check to confirm the fascia board is really the piece to replace. Compare rot depth, backing, gutter position, and roof-edge alignment before ordering parts or fastening anything.
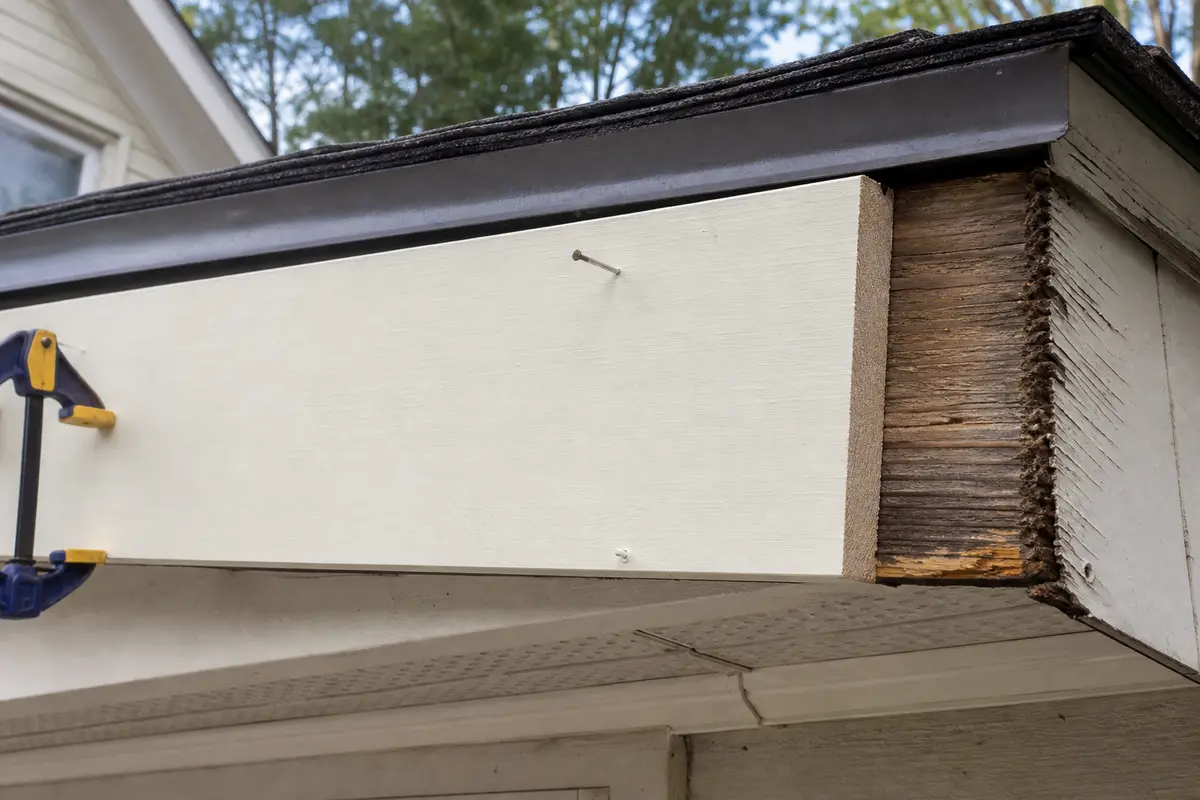
Start at the visible failure, then probe outward. The repair should end on firm board and solid backing, not at the edge of the stain.Dry-fit before final fastening. The new board should sit flat under the drip edge and leave the gutter and soffit able to return without force.
Safety first
Set the ladder on firm ground and move it instead of reaching sideways along the eave.
Support gutters before loosening fascia fasteners.
Use eye protection when cutting overhead trim.
Do not work under loose gutter sections or long boards you cannot control.
Stop for a roofing or carpentry pro if rot reaches rafter tails, roof sheathing, or structural backing.
Prime and seal cut wood before weather exposure.
Tools you may need
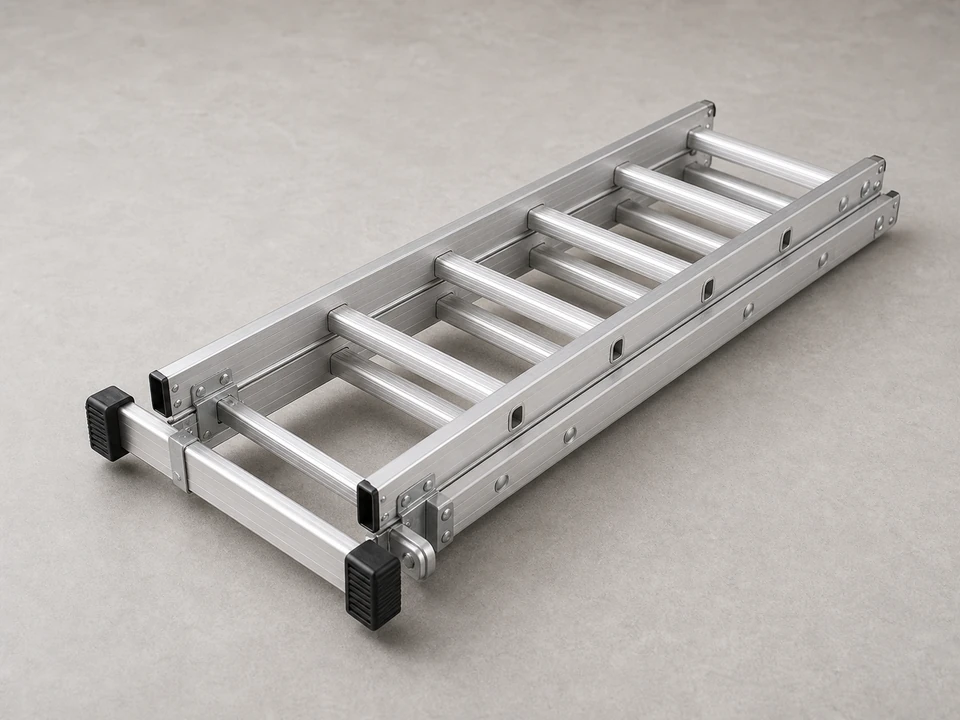
Extension ladder
Use it for: To reach the eave with enough height to work from the ladder rails instead of leaning sideways.
As an Amazon Associate I earn from qualifying purchases. Repair Riot may earn a commission at no extra cost to you.
Step-by-step fix
Step 1: Find the full length of bad fascia
Probe the fascia with an awl or small screwdriver, starting at the stained or split area and moving outward until the wood feels firm.
Mark soft wood, cracked paint, loose gutter fasteners, and any section that lets the probe sink instead of denting the surface.
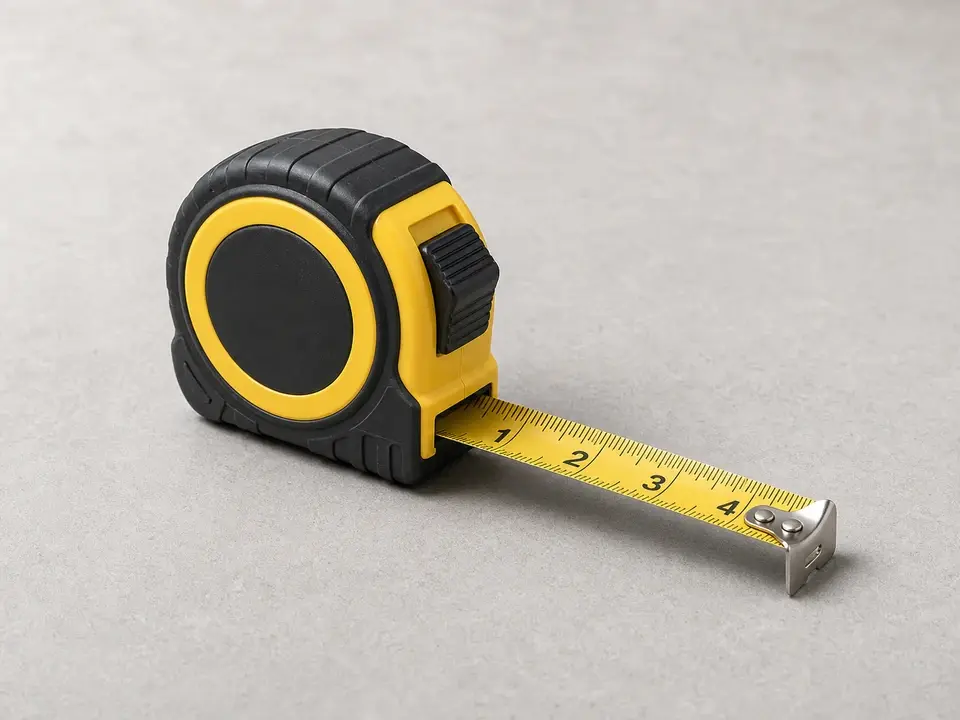
Measure the full bad run plus enough extra to land the cut on solid board or a clean joint, not in the middle of punky wood.
Check behind gutter brackets, under drip edge, at inside corners, and at roof-valley runoff points where water can hide the real end of the damage.
Plan the replacement length only after the ends, backing, and fastener-holding spots are solid.
If it works: You know the replacement length and have solid ends to tie into.
If it doesn’t: If the probe keeps finding soft wood beyond the first board, widen the repair before cutting a short patch.
Stop if:
The gutter is pulling loose or could fall while you work.
The rafter tails, subfascia, or roof-edge sheathing feel soft instead of firm.
You see active water entry, sagging roof edge, or a roof leak that will keep soaking the new board.
Step 2: Support or remove anything attached to the board
Take photos of gutter bracket spacing, downspout straps, fascia wrap laps, and trim overlap before loosening anything.
Measure the distance between hangers and compare the first and last bracket positions so the gutter goes back on the same slope.
Check each bracket for rusted screws, wallowed holes, or a loose spike that may need a new fastening point.
Support the gutter on temporary blocks, straps, or a helper-held section if it will stay in place during the repair.
Label bracket screws by location when the holes need to line back up with hangers or hidden backing.
Score caulk and paint lines before prying, then remove screws, nails, drip-edge fasteners, or trim pieces without prying against shingles or overbending drip edge.
Watch the gutter as the last fasteners come out; stop and add support if the run drops, twists, or pulls on the downspout.
If it works: The bad board can come out without dragging the gutter or roof edge with it.
If it doesn’t: If the gutter cannot be supported safely, have it removed before replacing fascia.
Stop if:
You would need to work under an unsupported gutter section.
The ladder setup forces you to reach sideways while holding a loose gutter or long board.
Removing the board would also release a roof-edge, soffit, or trim piece you cannot support.
Step 3: Cut out the damaged fascia
Measure the old board thickness, mark the cut line on firm wood, and set saw depth so the blade does not nick rafter tails, lookout blocks, or hidden sheathing.
Cut back to solid wood at clean square joints where possible, leaving enough room for the new board to sit tight without forcing it.
Compare the exposed backing on both ends; each end should feel firm and hold a nail or screw without crumbling.
Pry the damaged board out in short, controlled sections instead of levering one long loose piece over your head.
Pull old nails and screws, scrape raised caulk or paint ridges, and check that the backing face is flat.
Probe each exposed rafter tail or backing block before covering it.
Recheck the opening after cleanup so no high nail, caulk ridge, or splinter keeps the new fascia from sitting flush.
If it works: The damaged board is out and the backing is sound.
If it doesn’t: If rafter tails are soft, split, or no longer hold fasteners, repair the backing before installing new fascia.
Stop if:
Structural framing behind the fascia is rotted or loose.
The saw cut would pass into wiring, metal flashing you cannot move, or roofing material.
Moldy insulation, active leakage, or widespread rot appears behind the board.
Step 4: Prime, fit, and fasten the new board
Match the old board thickness, width, material, and exposed face before cutting; a thicker board can push gutters and drip edge out of line.
Prime all cut ends, the back side, and the bottom edge if you are using wood.
Cut the new fascia to length, then dry-fit it under the drip edge with the bottom edge straight and the end joints tight.
Check that gutter brackets, trim wrap, and any soffit edge can return to their original positions before final fastening.
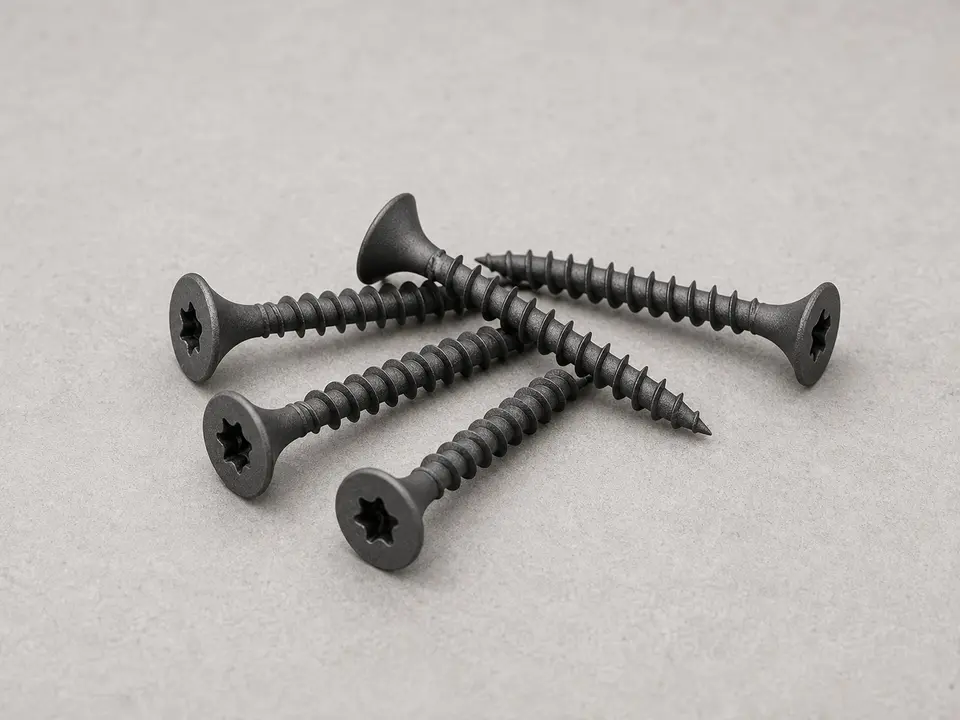
Fasten into solid rafter tails or backing with exterior-rated fasteners, keeping fasteners straight and away from the board's thin edges.
Sight along the face as you work so the board stays flat enough for gutters and trim to sit tight.
If it works: The replacement board is straight, tight, and attached to solid backing.
If it doesn’t: If the board waves or will not pull tight, find the obstruction before adding more screws.
Stop if:
The dry-fit leaves a gap under the drip edge, blocks the soffit, or forces the gutter out of slope.
Fasteners spin without biting because the backing behind the fascia is soft or missing.
The replacement profile does not match the old thickness, width, or trim layout closely enough for attached parts to reinstall.
Step 5: Seal, paint, and reinstall attached parts
Check the dry board for dust and damp spots before sealing; paint should not trap wet wood.
Seal exposed end grain, butt joints, nail holes, and the top edge as appropriate for the board material and the roof-edge detail.
Paint or finish bare wood before gutter splash or wind-driven rain can soak it.
Compare bracket spacing to your photos and measure the gutter fall toward the downspout before tightening the last screws.
Reinstall gutter brackets, trim, or fascia wrap in the original layout, then confirm the gutter still slopes to the downspout without dumping water over the repaired section.
After the next rain, check the lower edge, joints, and bracket holes for fresh staining or water tracking.
Watch for overflow at the repaired run; a clogged or back-pitched gutter will rot the new fascia again.
If it works: The fascia is protected and all attached parts sit firmly.
If it doesn’t: If stains return quickly, fix gutter drainage or roof-edge water before blaming the fascia board.
Stop if:
Water is actively getting behind the fascia from roof or gutter problems.
The gutter overflows, back-pitches, or pulls away after reinstallation.
You cannot seal the top edge because the drip edge, roof edge, or flashing detail is damaged.
Match board thickness, width, length, material, trim profile, and exposure to weather.
As an Amazon Associate I earn from qualifying purchases. Repair Riot may earn a commission at no extra cost to you.
Verify the repair
The board is fastened into solid backing and the screws do not spin.
The face is straight enough for gutter brackets, trim wrap, and soffit edges to sit flat.
The gutter or trim is reattached firmly and still drains toward the downspout.
Cut ends, joints, nail holes, and bare edges are sealed or painted.
No water stains return after rain.
FAQ
Can I replace fascia without removing the gutter?
Sometimes, if the gutter can be safely supported and moved enough for access. If it is heavy, loose, full of debris, or attached to the rotten section, remove it or have it removed first.
What material should I use for fascia board?
Match the existing thickness, width, exposure, and trim layout first. Wood, PVC, and composite can all work, but the fasteners, paint, expansion gaps, and attachment details need to match the material.
Do I need to prime fascia before installing it?
For wood, yes. Prime cut ends, hidden faces, and the bottom edge so the board is not soaking up water from day one.
Why did my fascia rot in the first place?
Common causes are gutter overflow, bad drip-edge details, roof-edge leaks, unsealed cut ends, and bracket holes that let water sit against the board.
Sources and reference notes
Repair Riot uses related field pages and source references to keep the fit, safety, and stop-condition guidance grounded in real repair situations.