To replace a dryer flame sensor, confirm the igniter glows but the burner does not light, then unplug the dryer, shut off gas, open the burner access area, swap the matching sensor, and test for normal ignition.
A flame sensor is a small burner-side part, but this is still a gas-appliance repair. Keep the gas valve off while the cabinet is open, match the connector and mounting bracket exactly, and stop if you smell gas or find burned wiring.
Before you start: Match the sensor rod shape, mounting bracket, connector, and dryer model before ordering. Stop if you smell gas, find burned wiring, cannot fully close the gas shutoff, or see damage around the burner housing.
Last reviewed: 2026-06-15
Make sure this is the right repair
Before replacing the dryer flame sensor, confirm the ignition clue and the exact sensor fit. Do not buy a sensor just because the dryer has no heat.
This page fits
This page fits when: The igniter glows but the burner does not light, or the sensor is visibly cracked, loose, heat-damaged, or not reading flame correctly.
Check something else when: If the igniter never glows, the repair path is wider than the flame sensor and should be diagnosed before buying parts.
Confirm the fit first
This page fits when: You can match the dryer model, mounting bracket, connector, wire length, and sensing rod position against the old sensor.
Check something else when: If the connector, bracket, or sensing rod does not match, stop and identify the correct part before reassembly.
Stop for gas or heat damage
This page fits when: The burner area is clean, the gas shutoff closes fully, wiring is intact, and the sensor mount is not rusted through.
Check something else when: Stop if you smell gas, see burned wiring, find a crumbling connector, or cannot shut off the gas valve completely.
Check the failure point and dry-fit before fastening
Use the burner-side clue and dry-fit check to confirm the dryer flame sensor is the right repair. Compare the bracket, connector, wire route, and sensing tip before fastening anything.
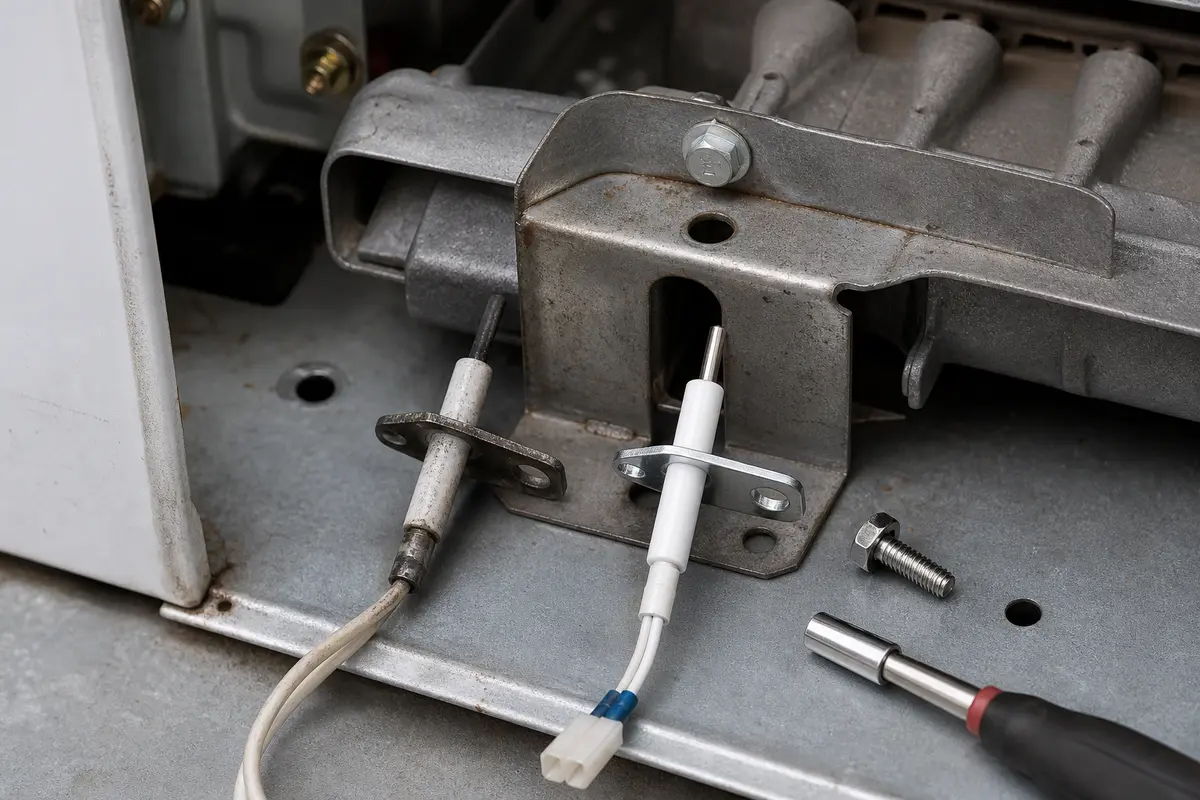
Start at the burner housing. The sensor should be near the igniter and burner tube, not loose in the cabinet.Dry-fit the replacement before final fastening. The bracket should sit flat, the connector should match, and the sensing rod should land where the original did.
Safety first
Unplug the dryer before opening any panels.
Shut off the gas supply before working near the burner assembly.
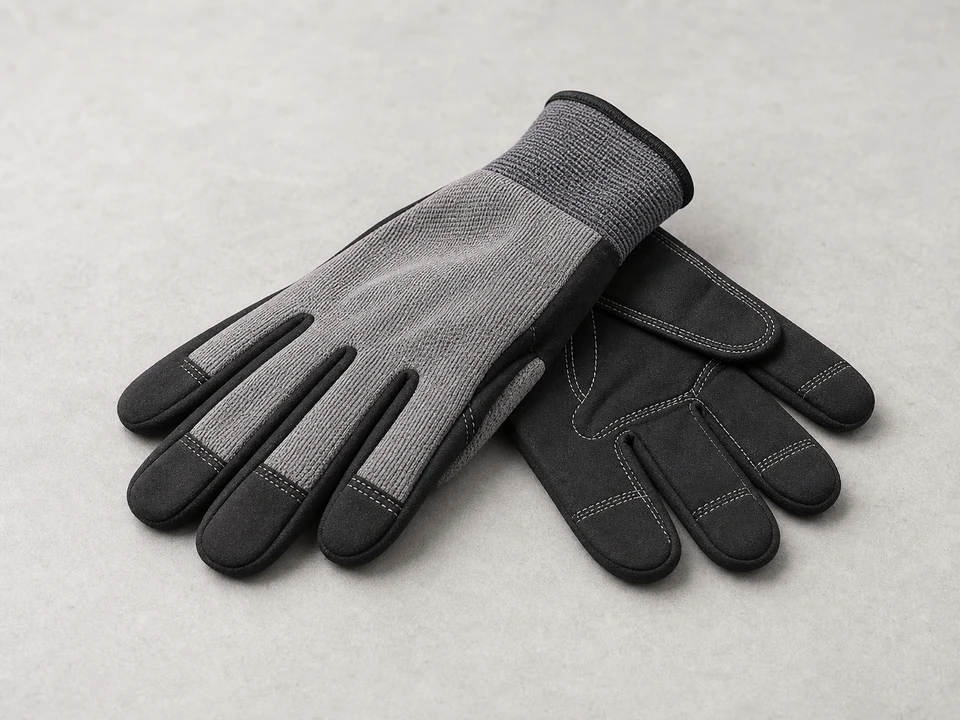
Wear gloves because dryer cabinet edges are often sharp.
Do not pull on wires to remove a connector; pull on the connector body.
If you smell gas, stop immediately and do not continue testing until the leak is addressed.
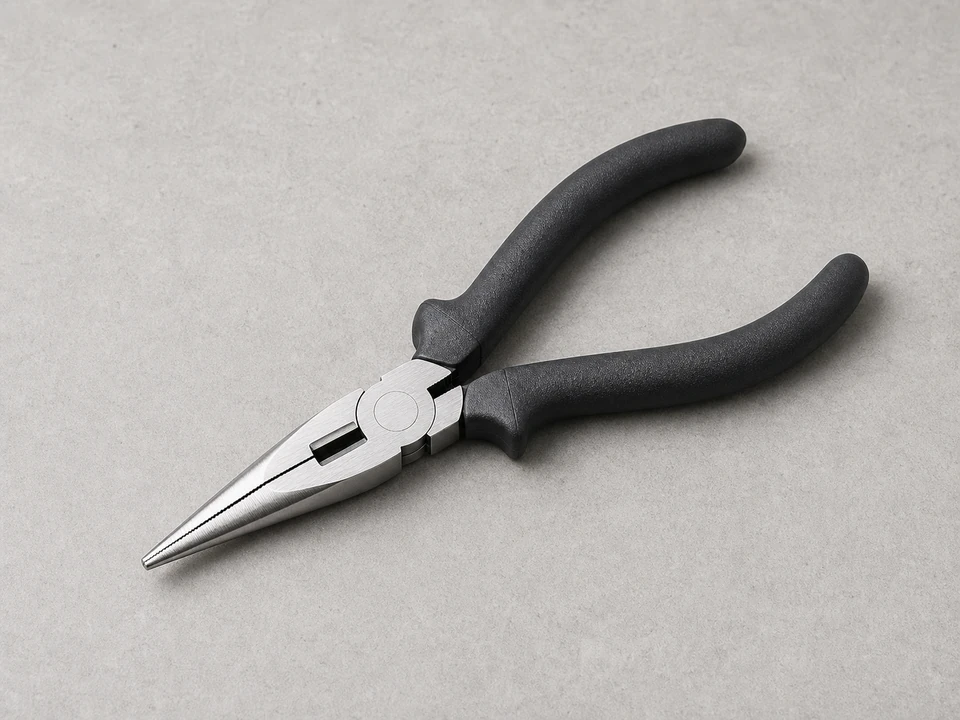
Tools you may need
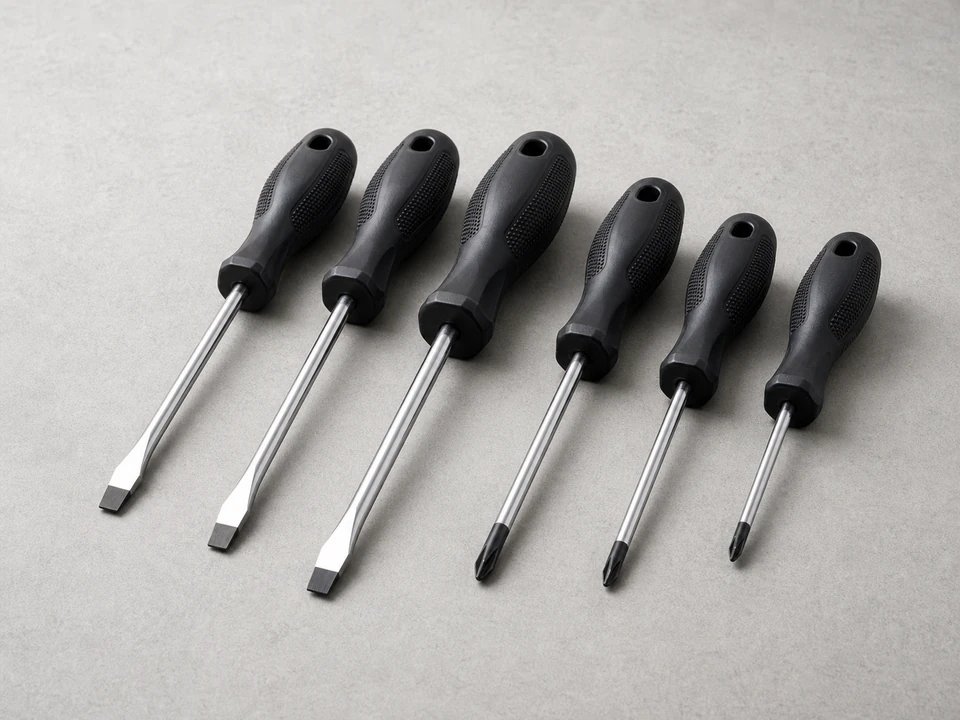
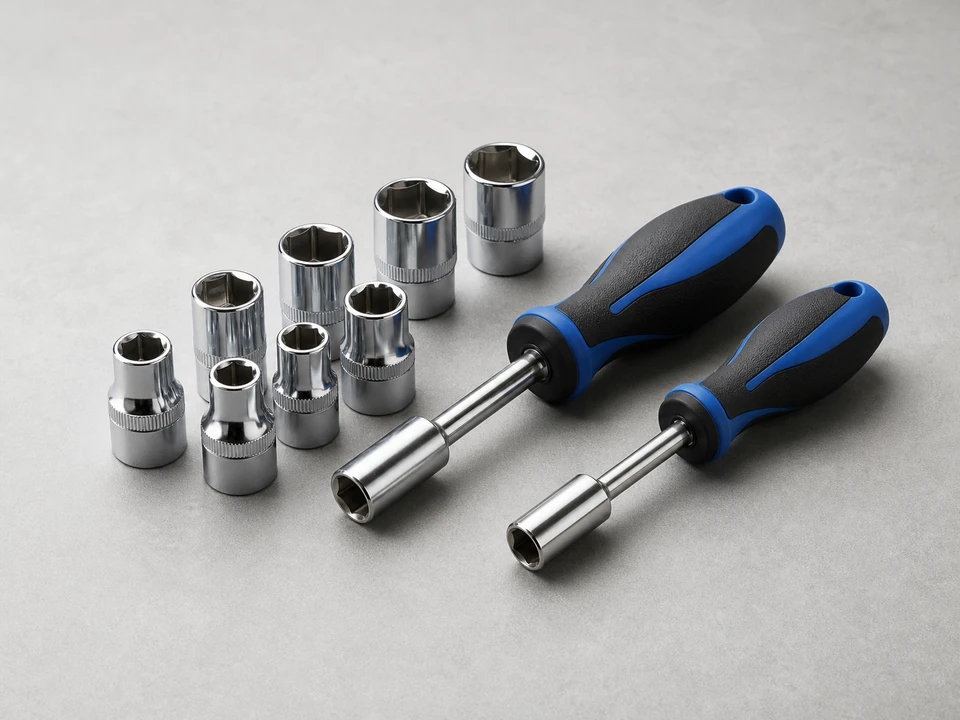
Screwdriver set
Use it for: To remove the access panel, burner cover, and sensor mounting screws.
As an Amazon Associate I earn from qualifying purchases. Repair Riot may earn a commission at no extra cost to you.
Step-by-step fix
Step 1: Confirm the igniter clue before buying the sensor
Confirm you have a gas dryer, not an electric dryer, and plan to keep the dryer unplugged with the gas supply off before opening any panel.
Use the burner inspection opening if your dryer has one and watch one short heat call from a safe viewing position.
A flame sensor becomes a better suspect when the igniter glows bright but the burner never lights; do this observation only from a safe inspection opening with the panel in place.
No igniter glow points away from the flame sensor and toward the igniter, thermal fuse, thermostat, timer, board, or wiring path.
Write down the model number before ordering because dryer flame sensors can share a name while using different brackets or connectors.
If it works: The symptom points to the burner ignition circuit, so inspect and match the flame sensor before ordering.
If it doesn’t: If the dryer has no power, will not start, or is an electric model, stop and diagnose that issue first.
Stop if:
You smell gas before starting the repair.
You see burned wiring, melted connectors, or heavy heat damage around the burner area.
The symptom clearly points somewhere else, such as a broken belt, no power, or an electric heating problem.
Step 2: Shut off power and gas before opening the burner area
Unplug the dryer from the outlet.
Turn the dryer gas shutoff valve to the off position and confirm the handle is fully seated before you remove a panel.
Pull the dryer forward only far enough to reach the lower access panel. Stop if the flexible gas connector or vent starts to kink.
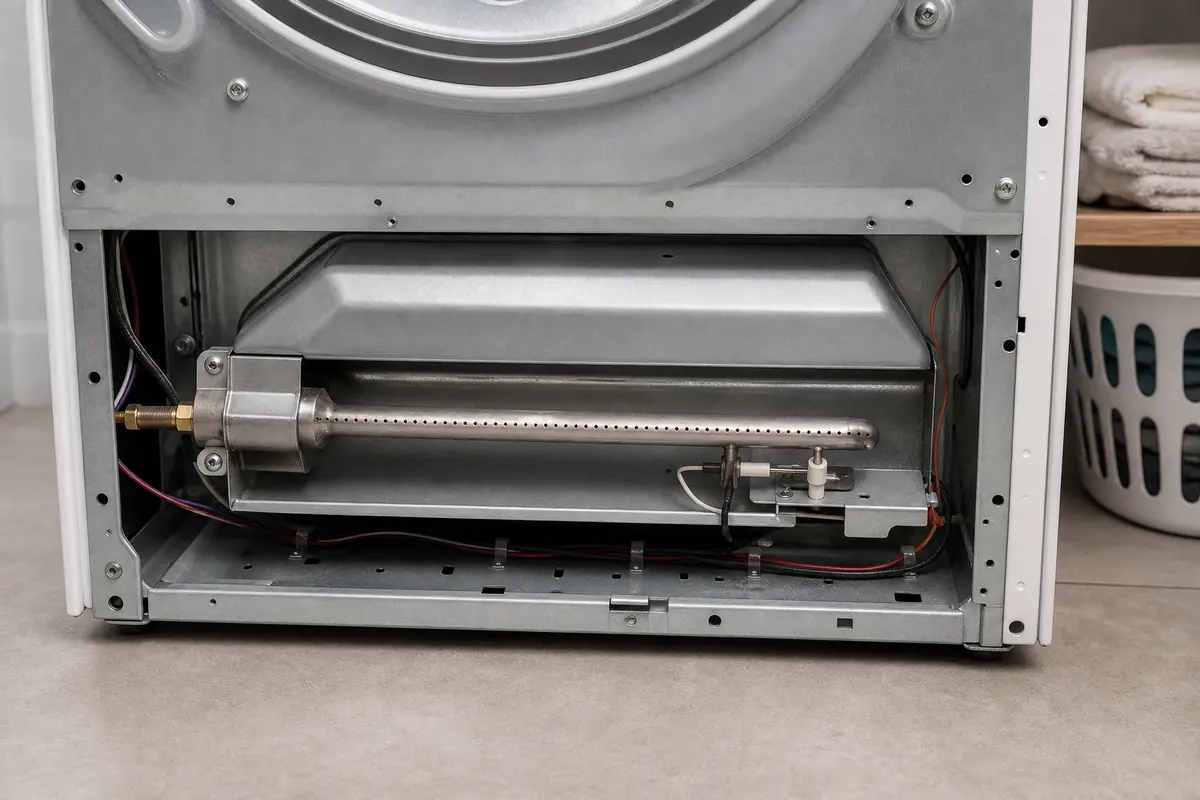
Remove the lower front panel, front panel, or burner access cover for your model so you can see the burner tube and sensor bracket.
Set screws in a cup or tray, check that the gas supply stays off, and take a photo before moving any wire so reassembly is not guesswork.
If it works: The dryer is unplugged, the gas supply is off, and you can see or reach the burner housing.
If it doesn’t: If access is too tight, move the dryer farther out and improve your lighting before continuing.
Stop if:
The gas shutoff valve will not fully close.
Stop if you damage the gas connector or notice the gas line is loose or corroded.
A panel will not come off without forcing hidden clips or fasteners you cannot identify.
Step 3: Locate and remove the old flame sensor
Find the flame sensor mounted on the outside of the burner tube or burner housing near the igniter end.
Take a quick photo of the sensor bracket, sensing rod position, and wire route before removing anything.
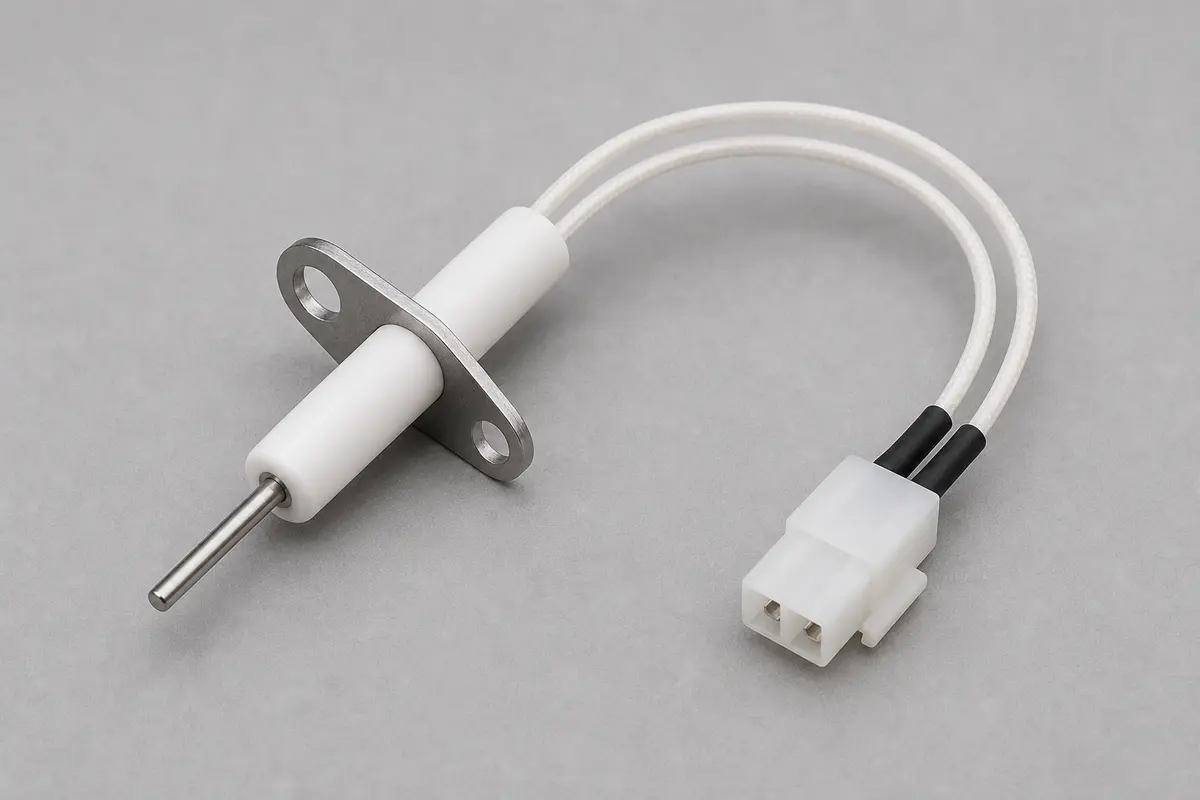
Check the ceramic body, metal rod, bracket, and connector for cracks, heat marks, looseness, or a bent mounting tab.
Disconnect the wire connector by pulling on the connector body, not the wire insulation.
Remove the small mounting screw or screws, then lift the old sensor out without bumping the igniter.
If it works: The old sensor is out, and the new sensor matches the mounting style, connector, and sensing tip layout.
If it doesn’t: If the new part does not match, pause and verify fit before installing anything.
Stop if:
The wire connector is burned, loose, or crumbling.
The burner housing is cracked, badly rusted through, or damaged where the sensor mounts.
Step 4: Install the new flame sensor
Compare the old and new sensors side by side before installing: bracket hole, rod length, ceramic body, connector shape, and wire length should match.
Place the new flame sensor in the same orientation as the old one, with the sensing rod landing in the burner opening the same way.
Reinstall the mounting screw or screws and tighten them snugly without cracking the ceramic body or stripping the bracket.
Reconnect the wire connector fully so it seats firmly on the terminal.
Route the wire through the original clips or path so it stays away from the igniter, burner tube, drum, and sharp cabinet edges.
If it works: The new sensor is mounted securely, connected properly, and positioned like the original.
If it doesn’t: If the connector feels loose, inspect the terminal fit and correct it before reassembling the dryer.
Stop if:
The new sensor will not sit flat or line up with the mounting hole.
The connector will not attach securely because the terminal is damaged.
Step 5: Reassemble the dryer and restore service
Reinstall any burner cover, front panel, or access panel you removed.
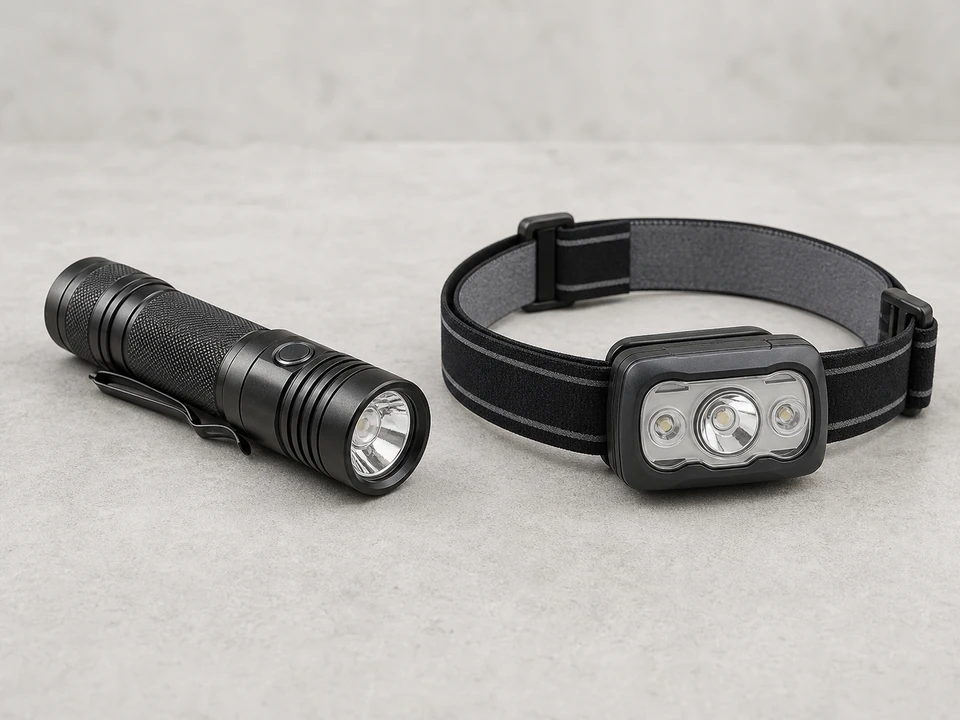
Look across the burner tray with a flashlight and make sure no tools, screws, loose wires, or dropped terminals are left inside the cabinet.
Confirm the sensor wire is clipped or routed clear of the burner tube, igniter, belt path, and drum before closing the panel.
Turn the gas supply valve back on only after the cabinet is closed, then stop if you smell gas.
Plug the dryer back in.
Push the dryer back into place carefully while watching that the vent and gas connector do not kink, crush, or rub against the cabinet; stop if the connector is stressed.
If it works: The dryer is fully reassembled and ready for a live heat test.
If it doesn’t: If a panel does not fit back correctly, remove it and check for a trapped wire or misaligned tab.
Stop if:
You smell gas after turning the supply back on.
Stop if the vent, gas connector, or power cord is pinched or damaged during reassembly.
Step 6: Test for ignition and steady heat
Run the dryer on a heat cycle and listen near the burner area.
Watch through the inspection opening if your dryer allows safe viewing with the panel in place.
Look for a normal sequence: the igniter glows, the burner lights, and the dryer begins producing heat.
Let the dryer run for several minutes to make sure the flame cycles normally and the heat holds.
Check that the dryer tumbles, heats, and shuts off normally without unusual smells or noises.
If it works: The burner ignites normally and the dryer produces steady heat in real use.
If it doesn’t: If the igniter still glows without flame, keep the gas shutoff accessible. Continue diagnosis at the gas valve coils, igniter circuit, thermal devices, or wiring.
Stop if:
You smell gas at any point during testing.
The burner area flashes, pops, or behaves erratically.
Stop if the dryer overheats, trips power, or shows signs of electrical arcing.
Match the dryer model number, mounting bracket, connector, wire length, and sensing rod position before ordering.
As an Amazon Associate I earn from qualifying purchases. Repair Riot may earn a commission at no extra cost to you.
Verify the repair
The dryer starts and tumbles normally.
The igniter glows and the burner lights on a heat cycle.
Warm air is coming from the exhaust after a few minutes.
The burner cycles on and off normally instead of failing after the igniter glows.
There is no gas smell, loose panel, or unusual noise after the repair.
FAQ
What does a dryer flame sensor do?
It helps the dryer confirm heat and flame conditions at the burner. If it fails, the burner may not ignite properly even though other parts of the ignition system are trying to work.
How do I know if the flame sensor is bad instead of the igniter?
A common clue is that the igniter glows but the burner does not light. Watch only through a safe inspection opening, and keep panels closed during live observation. If the igniter never glows, the problem may be elsewhere, including the igniter itself, a thermal device, wiring, or another part of the ignition circuit.
Can I replace a dryer flame sensor myself?
Yes, many homeowners can handle it if they are comfortable removing access panels and working carefully around a gas appliance. The key is to unplug the dryer, shut off the gas, and avoid forcing parts or connectors.
Do I need to replace the igniter at the same time?
Not necessarily. Replace the igniter only if testing or symptoms point to it. If the igniter is working and the flame sensor is the failed part, replacing just the sensor is usually enough.
Why is my dryer still not heating after replacing the flame sensor?
The next likely causes can include weak gas valve coils, a failed igniter, an open thermal fuse or thermostat, wiring trouble, or poor airflow. Keep the gas shutoff accessible during any follow-up testing, and stop if you smell gas or see heat damage.
Sources and reference notes
Repair Riot uses related field pages and source references to keep the fit, safety, and stop-condition guidance grounded in real repair situations.
dryer flame sensor - Repair Riot source page that references this repair topic.
dryer flame sensor - Repair Riot source page that references this repair topic.
dryer flame sensor - Repair Riot source page that references this repair topic.