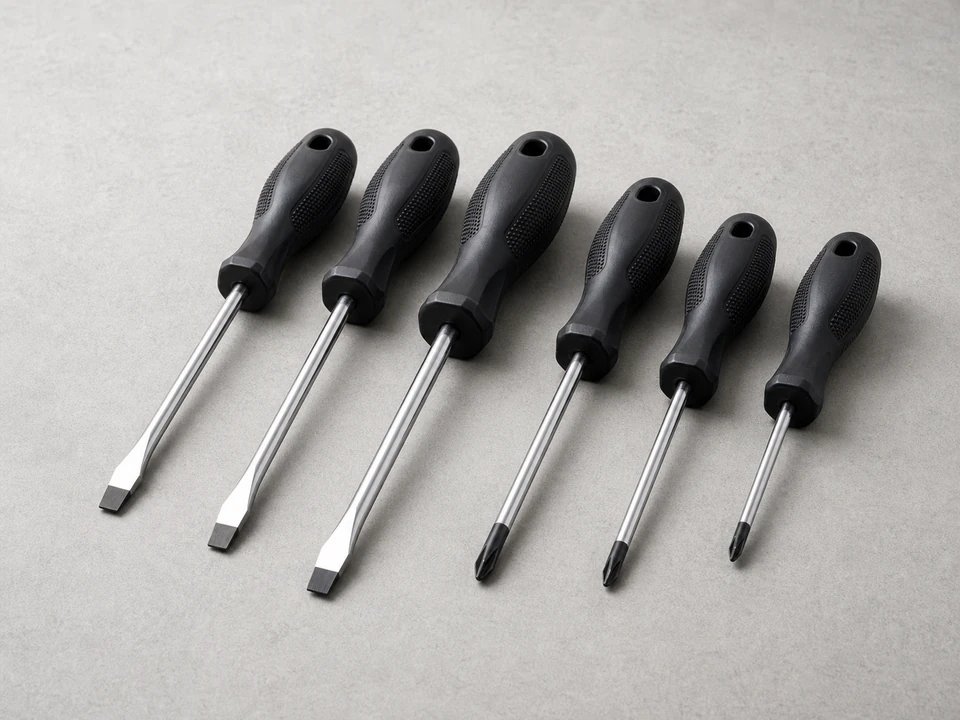
Screwdriver set
Use it for: To loosen gasket retainers or lid hardware.
Find a screwdriver setReplace a chest freezer lid gasket by confirming the seal leak, softening the new gasket, removing the old gasket, cleaning the rim, and checking for even lid contact.
Chest freezer gaskets are fussy at the corners. Do not rush the fit, and do not blame the new gasket until the lid alignment is square and the sealing rim is clean.
Before you start: Match the freezer brand, model number, lid size, gasket profile, corner shape, and retainer style.
Use it for: To loosen gasket retainers or lid hardware.
Find a screwdriver set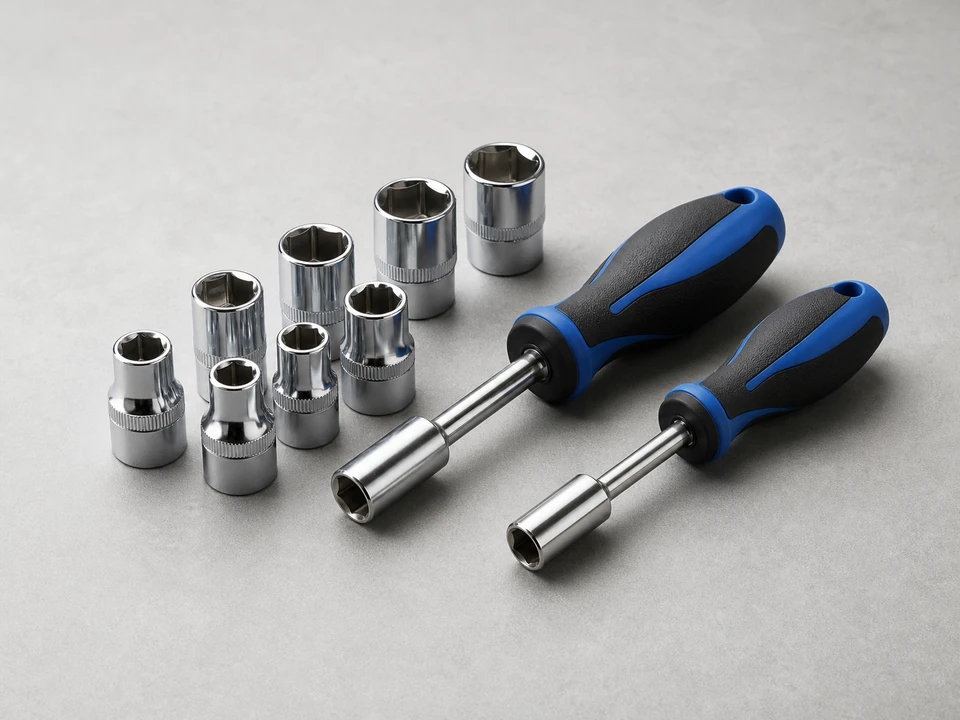
Use it for: For hex-head lid or retainer fasteners.
Find a nut driver set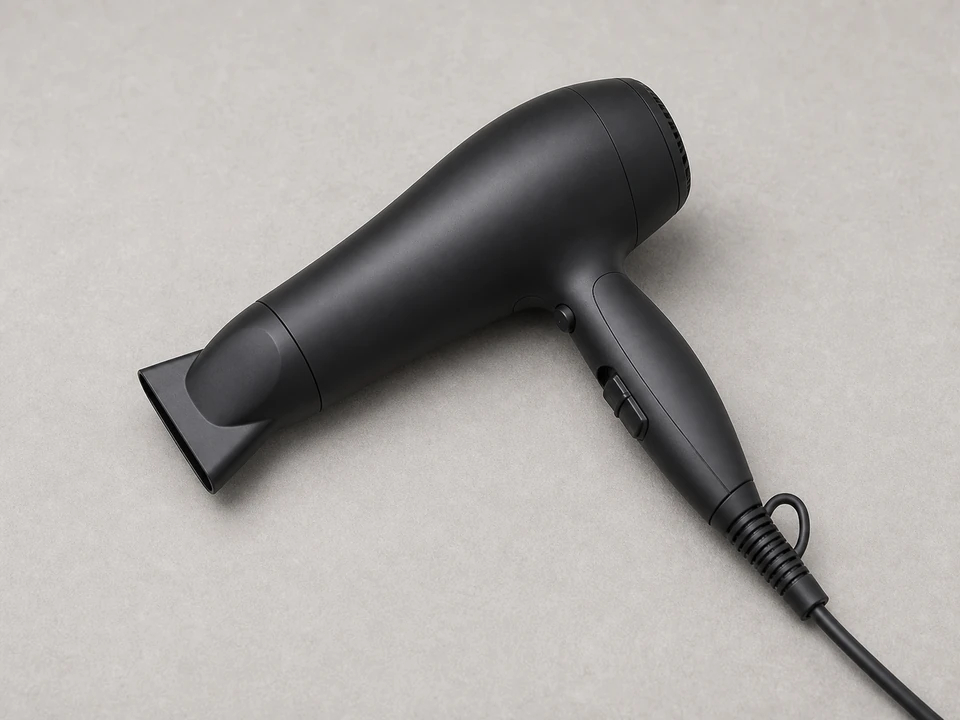
Use it for: To gently relax folds in the new gasket.
Find a hair dryer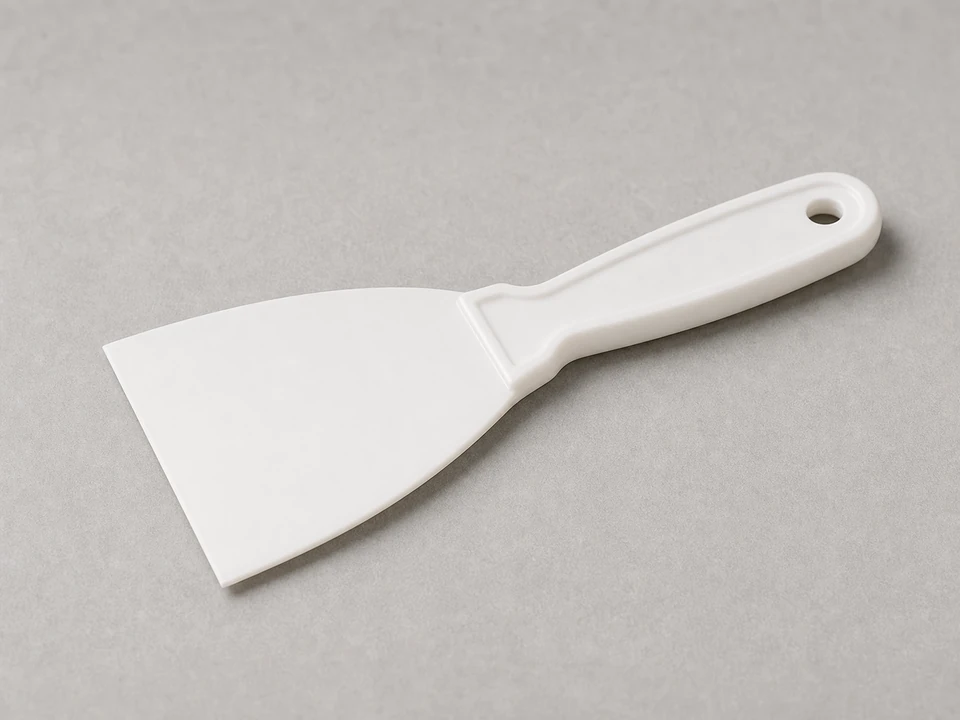
Use it for: To lift gasket edges without scratching the liner.
Find a plastic putty knife
Use it for: To clean and dry the sealing surfaces.
Find clean clothsAs an Amazon Associate I earn from qualifying purchases. Repair Riot may earn a commission at no extra cost to you.
If it works: The gasket has visible damage or a weak paper-test spot while the lid sits correctly.
If it doesn’t: If the lid is crooked or hinges are loose, fix that first.
If it works: The old gasket is accessible and the new gasket is flexible.
If it doesn’t: If the new gasket stays deeply creased, let it warm longer before installation.
If it works: The old gasket is removed and the mounting channel is intact.
If it doesn’t: If a section will not release, look for hidden fasteners or a retainer lip.
If it works: The gasket is seated evenly with no twisted corners.
If it doesn’t: If one side looks wavy, loosen that section and reseat before tightening.
If it works: The lid closes evenly and the paper test feels consistent around the rim.
If it doesn’t: If one corner still leaks, recheck hinge alignment and gasket seating.
Match the freezer brand, model number, lid size, gasket profile, corner shape, and retainer style.
As an Amazon Associate I earn from qualifying purchases. Repair Riot may earn a commission at no extra cost to you.
Yes. Match the exact model and gasket profile. A close-looking upright gasket may not seal a chest freezer lid.
It may be folded from shipping. Warm it gently and let it relax before final tightening.
A small temporary patch may reduce leakage, but torn or hardened gasket material usually needs replacement for a dependable seal.
Check hinge alignment, cabinet rim damage, and whether the gasket is twisted under the retainer.