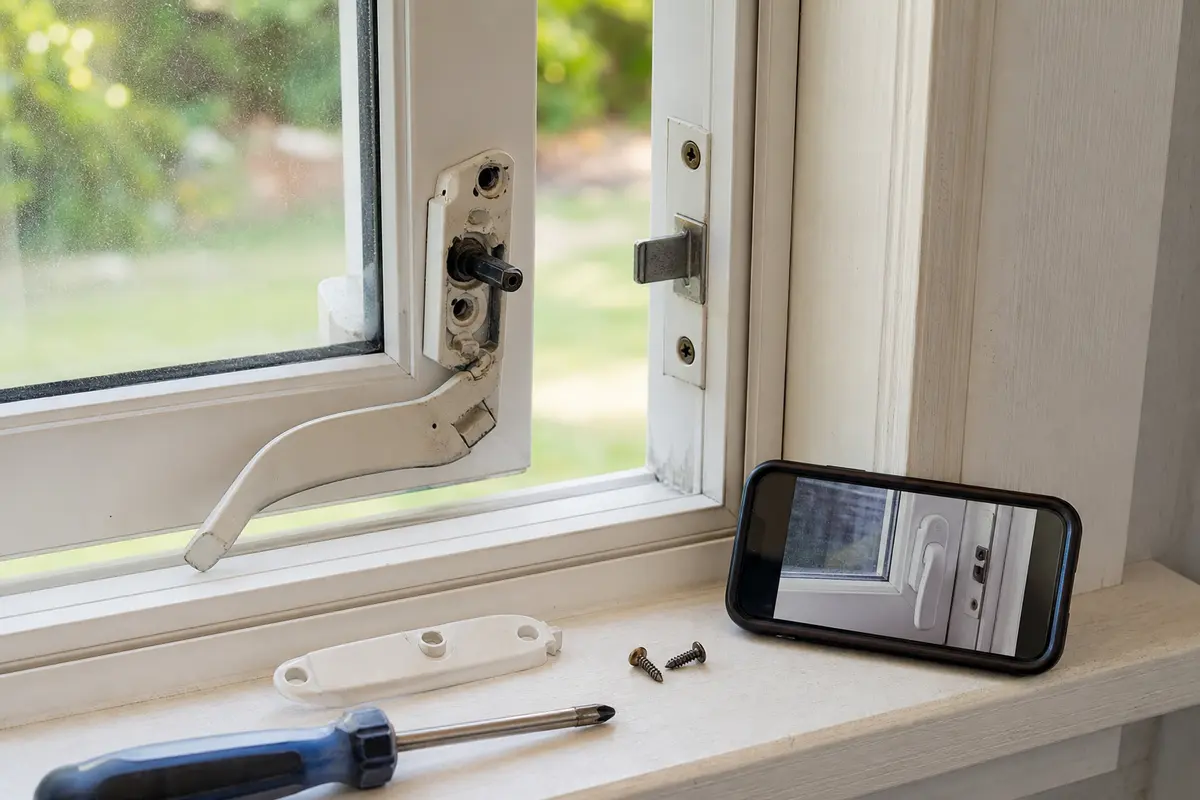
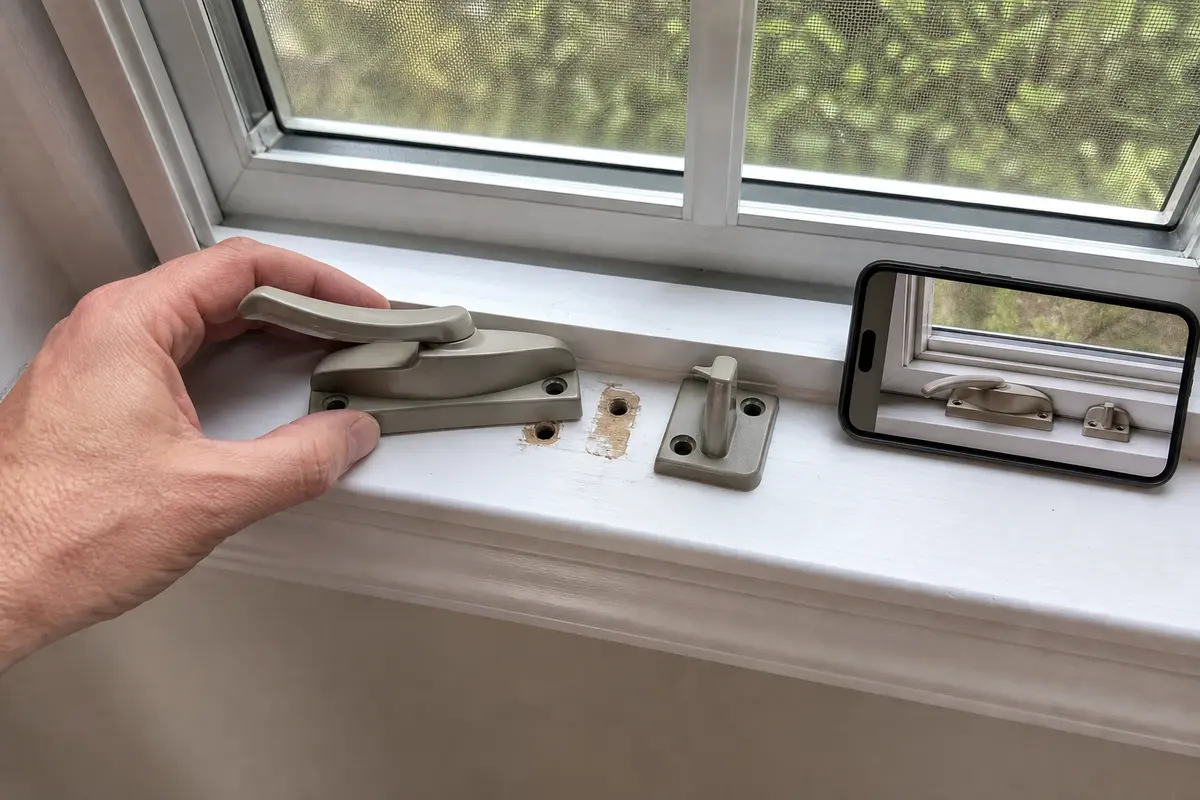
To replace a casement window lock handle, first confirm the handle itself is broken or stripped, then remove the mounting screws, swap in a matching replacement, and test that the sash pulls tight and locks without forcing.
This is usually a straightforward repair if the lock handle is loose, cracked, stripped, or no longer turns the lock properly. The key is ordering a handle that matches the old one before you install it, including screw spacing, base shape, and left-hand or right-hand orientation.
Before you start: Match screw spacing, handedness, base shape, handle throw, and keeper alignment before ordering. Stop if the frame is rotted, the glass is cracked, or the screw holes will not hold.
Last reviewed: 2026-06-16
Make sure this is the right repair
Before replacing the casement window lock handle, confirm what failed, what still supports it, and how the new piece needs to fit. Do not buy trim, hardware, or a kit until the larger problem has been ruled out.
This page fits
This page fits when: The handle is cracked, loose, stripped, missing, or no longer moves the latch, and the frame around the screw holes is solid.
Check something else when: If the keeper is bent, the sash sags, or the screw holes are chewed out, fix that condition before narrowing the job to the handle.
Confirm the fit first
This page fits when: You can match the screw spacing, handedness, base shape, handle throw, and keeper alignment before ordering.
Check something else when: If the old handle is missing, measure the screw holes and identify the window brand or lock style before guessing.
Stop for hidden damage
This page fits when: The glass, sash, frame, screw holes, and keeper area are sound enough for a hand-tool repair.
Check something else when: Stop if you uncover rot, cracked glass, loose sash hardware, stripped frame holes, or movement at the hinge side.
Check the failure point and dry-fit before fastening
Use the visible damage and dry-fit check to confirm the casement window lock handle is really the piece to replace. Compare alignment, backing, and stop conditions before ordering parts or fastening anything.
Start by finding the failed handle, screw holes, keeper position, and surrounding frame condition. Move ahead only when the frame is solid enough to hold screws.Dry-fit the replacement before final fastening. The base should sit flat, screw holes should line up, and the keeper should meet the lock without force.
Safety first
Support the sash so it cannot swing or pinch your fingers while you work.
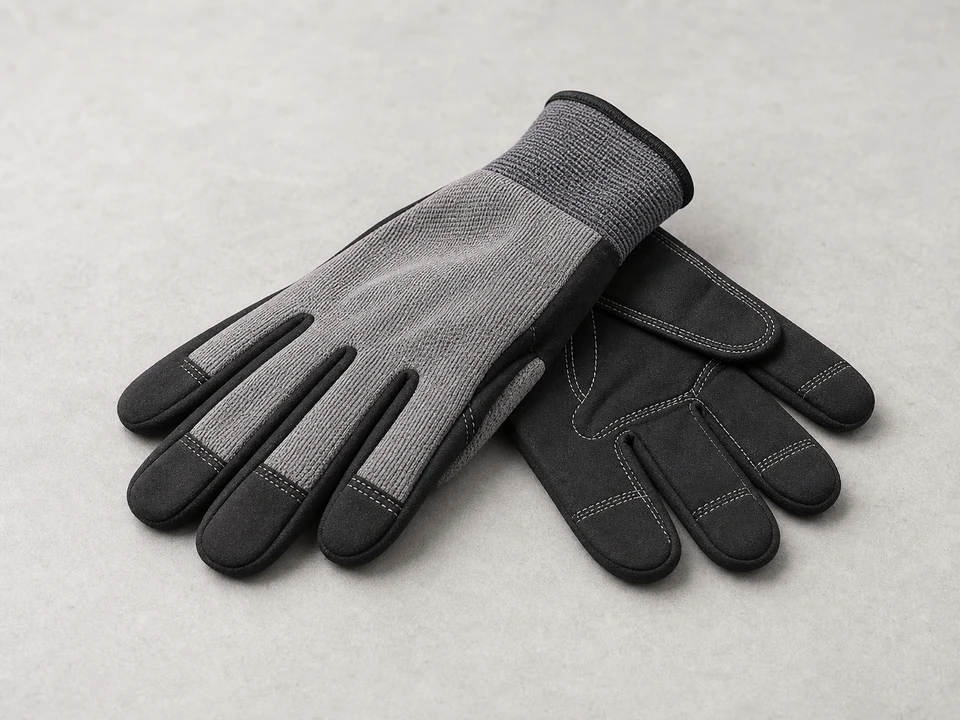
Wear gloves if the frame has sharp metal edges or chipped paint.
Do not force stuck screws or hardware hard enough to crack the frame or glass.
Do not work on cracked glass or a loose sash; call a window pro if the sash cannot be supported safely.
Tools you may need
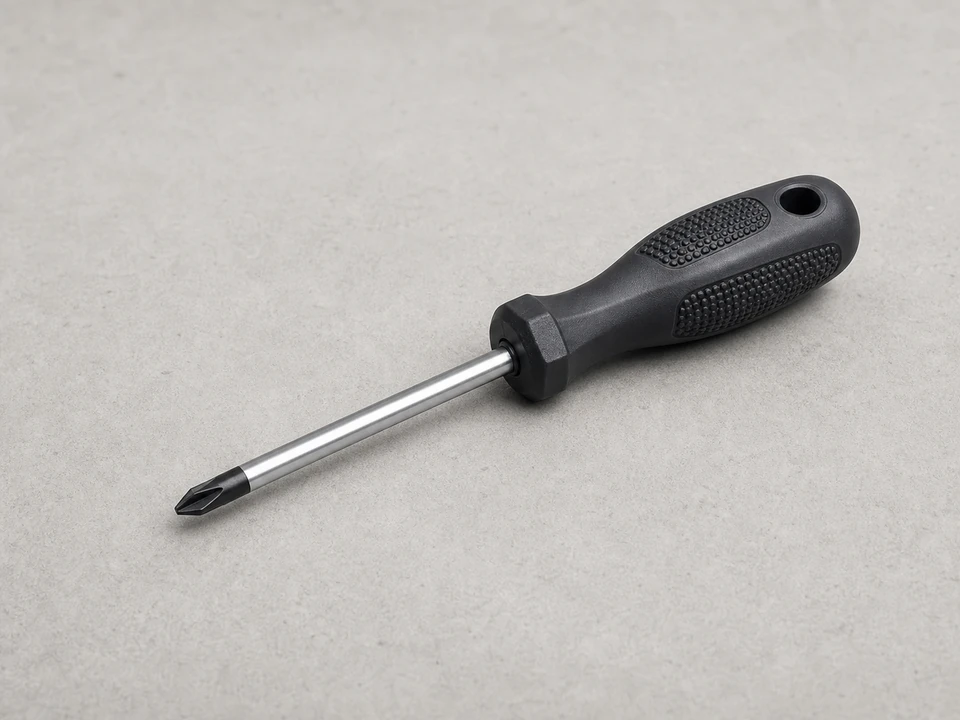
Phillips screwdriver
Use it for: Removes and installs the handle screws without chewing up the screw heads.
As an Amazon Associate I earn from qualifying purchases. Repair Riot may earn a commission at no extra cost to you.
Step-by-step fix
Step 1: Confirm the lock handle failed
Open the casement window only far enough to reach the lock handle comfortably, then support the sash so wind cannot swing it while you work.
Move the handle through a full lock and unlock cycle while watching the latch or keeper engagement.
Look for a cracked handle, loose base, stripped spindle, missing trim cap, worn screw holes, or a handle that spins without moving the lock.
Check the keeper and sash gap before buying parts. A solid handle with a missed keeper usually points to alignment, not the handle.
Take front and side photos of the handle, base shape, keeper, and screw positions before removal.
If it works: The visible failure is at the handle or its base, and the surrounding frame and screw holes still look sound.
If it doesn’t: If the handle is intact and the latch misses the keeper, check sash alignment, hinge sag, or keeper position before ordering a handle.
Stop if:
The sash is loose, sagging, or unstable in the frame.
The glass is cracked or the frame is rotted around the lock area.
The lock problem is inside the window mechanism rather than at the handle.
Step 2: Match the replacement before removing the old handle
Close the window so the lock hardware sits in its normal position, then compare the old handle to the replacement.
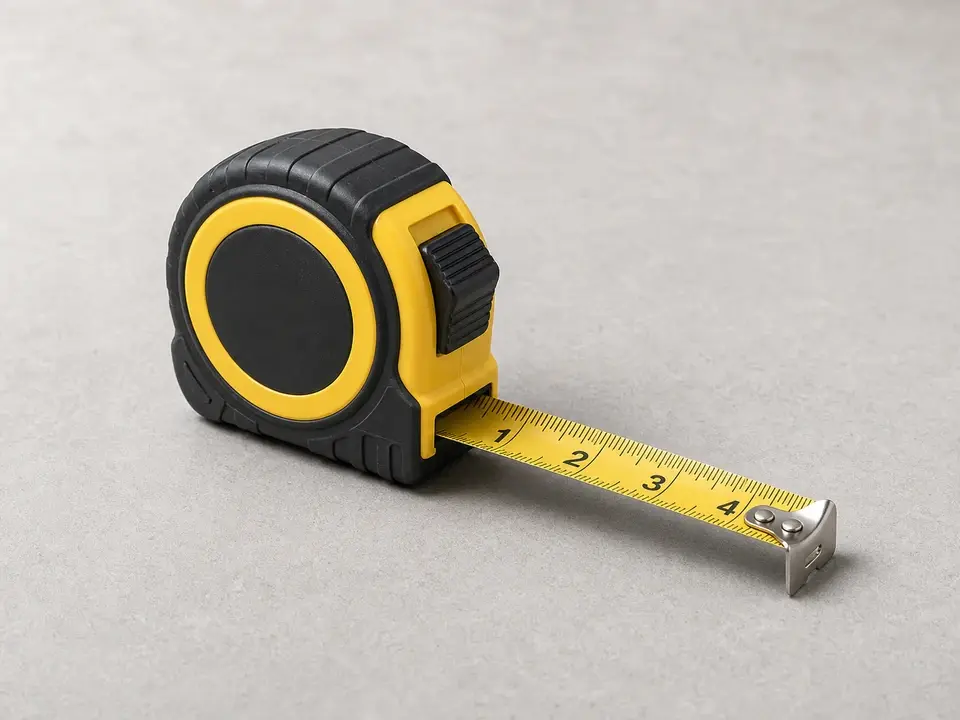
Measure the center-to-center distance between mounting screws and write it down before removing anything.
Note handedness: left-hand, right-hand, or non-handed straight style. The handle must clear the frame when locked and unlocked.
Compare the base shape, spindle or latch connection, screw length, trim cap style, and keeper position.
Use the window brand, part stamp, or old-handle profile when the shape is unusual. Casement handles can look close and still miss the keeper.
Dry-fit the new handle over the screw holes without tightening it. It should sit flat and line up without pulling the frame.
If it works: You have a replacement handle that matches the old one closely enough to install.
If it doesn’t: If the new handle does not match the mounting pattern, base shape, or handedness, return it and get the correct replacement before taking the window apart.
Stop if:
The old handle appears to be part of a larger integrated lock assembly that does not separate cleanly.
Step 3: Remove the old lock handle
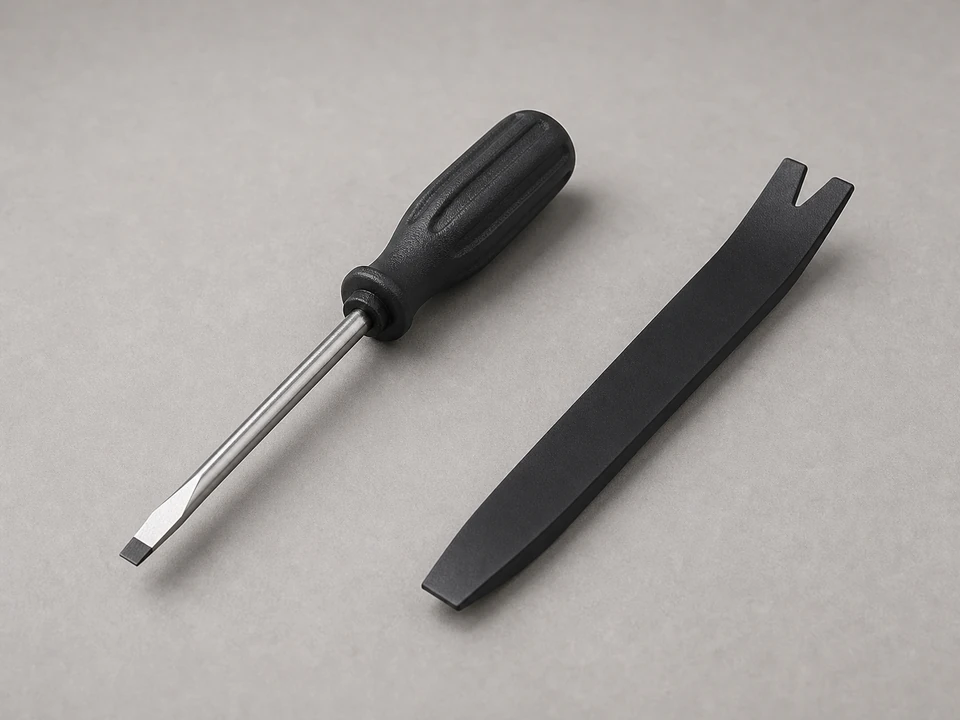
Look for trim caps covering the screws. Lift caps gently with a plastic pry tool or flat screwdriver held nearly flat to the surface.
Press the screwdriver fully into the screw head before turning so you do not strip a painted or worn screw.
Remove the screws while supporting the handle base with your free hand so it does not twist against the frame.
Pull the handle straight off the spindle or lock body. Do not pry sideways against vinyl, soft wood, or old painted trim.
Keep the old screws, handle, caps, and any washer together for comparison.
Clean paint ridges, burrs, dirt, or loose chips from the mounting pad so the new base can sit flat.
If it works: The old handle is off, the screw holes are visible, and the mounting pad is clean enough for a flat dry-fit.
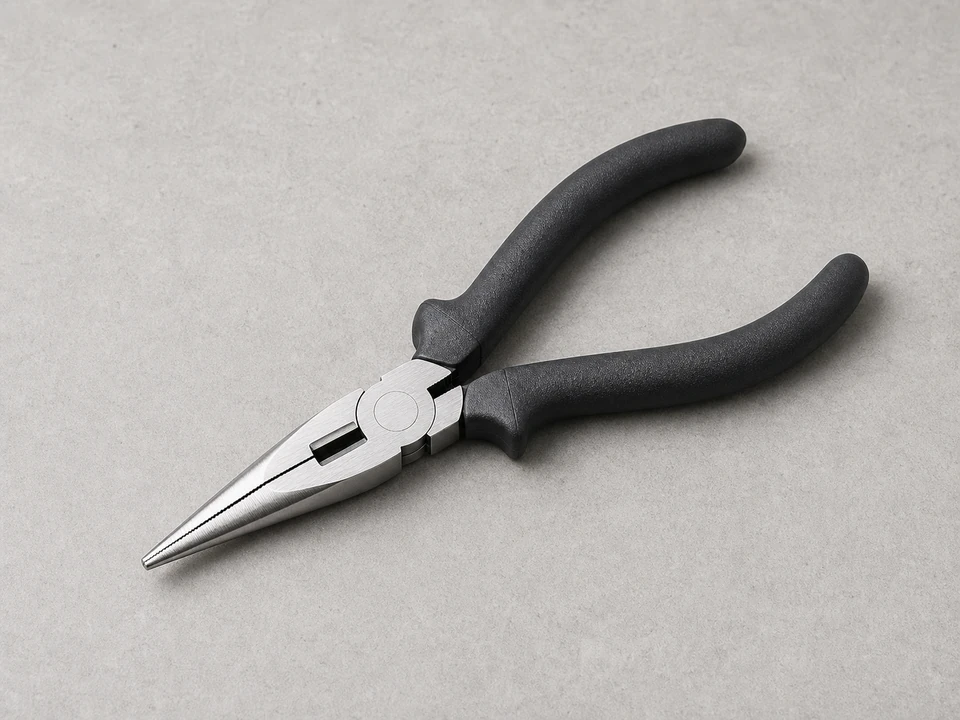
If it doesn’t: If a screw strips, switch to a better-fitting driver and steady pressure before using pliers on an exposed head. Do not chew up the frame to save the handle.
Stop if:
A screw will not come out and the frame material starts tearing or splitting.
The mounting holes are enlarged, cracked, or too damaged to hold the new handle securely.
Step 4: Install the new handle
Set the new handle in the same orientation as the old handle and confirm the base covers the old footprint.
Line up both screw holes before tightening either screw. If one hole is off, stop and compare the replacement again.
Start the screws by hand for the first turns so they follow the existing holes instead of cutting crooked.
Tighten the screws evenly until the base is snug and flat. Stop before vinyl bows, wood fibers crush, or the screw head sinks into the base.
Check that the handle moves through its full throw without rubbing the frame, trim cap, or keeper.
Snap trim caps back only after the handle passes the open-window movement check.
If it works: The new handle sits flat, covers the old footprint, and moves through its throw without wobble or rub marks.
If it doesn’t: If the base rocks, screws bottom out, or the handle rubs, remove it and compare screw length, hole spacing, handedness, and base shape.
Stop if:
The screws bottom out before the handle tightens.
The frame material cracks or the handle cannot sit flat because the replacement does not fit.
Step 5: Test the lock with the window open and closed
With the window open, lock and unlock the handle several times. Feel for smooth movement and watch the latch or cam travel.
Close the sash gently and try the lock again without forcing the handle past its normal stop.
Check that the keeper lines up with the latch and that the sash pulls evenly into the weatherstripping.
Look at the gap around the sash. A wider hinge-side or latch-side gap can explain a lock that misses even with a new handle.
Unlock and relock the window three or four times so you can catch a handle that shifts after the first cycle.
If it works: The handle moves smoothly, the latch meets the keeper, and the sash pulls in evenly without forcing.
If it doesn’t: If the handle works open but not closed, the next repair is likely keeper position, sash alignment, or hinge wear rather than another handle.
Stop if:
The lock will not engage because the sash is badly out of alignment.
You have to force the handle hard to lock the window.
Step 6: Verify the repair holds in normal use
Use the window through several normal open-close-lock cycles over the next day or two.
Recheck screw tightness after the first few cycles. The base should stay flat without new wobble.
Look for fresh rub marks at the keeper, latch, frame, or weatherstrip.
Confirm from indoors that the sash stays fully latched and does not drift open in wind.
Keep the old handle until the replacement has proven its fit, screw length, and throw.
If it works: The handle stays tight, the keeper still lines up, and the window locks securely in normal use.
If it doesn’t: If the handle loosens or the lock still misses, recheck screw bite, keeper alignment, and sash gap before replacing more hardware.
Stop if:
The window still will not secure even with a correctly installed handle, which points to a different lock or frame problem.
Match screw spacing, handedness, base shape, handle throw, keeper position, finish, and screw length before ordering.
As an Amazon Associate I earn from qualifying purchases. Repair Riot may earn a commission at no extra cost to you.
Verify the repair
The handle base sits flat against the frame and does not wobble.
Both screws hold without spinning in enlarged holes.
The latch meets the keeper and pulls the sash evenly into the weatherstripping.
The handle reaches locked and unlocked positions without forcing.
The window stays latched after several normal open-close cycles.
FAQ
How do I know if the handle is bad instead of the lock itself?
If the handle is cracked, loose, stripped, or spins without moving the lock, the handle is likely the failed part. If the handle feels solid but the lock still will not catch, the problem may be the keeper, sash alignment, or internal lock hardware.
What should I measure before buying a casement lock handle?
Measure screw spacing center to center, compare the base shape, note handedness, and check how the handle meets the keeper. Also compare screw length so the new screws tighten without bottoming out.
What does handedness mean on a casement window lock handle?
Some handles are shaped for the left or right side of the window. Match the old handle's orientation so it clears the frame and moves in the correct direction.
Why won't the new handle lock the window even though it fits?
A handle can fit the holes but still not solve a sash alignment or keeper problem. If it works with the window open but not closed, the sash likely is not lining up correctly when shut.
What if the screw holes are stripped?
Do not rely on a new handle alone. The frame or mounting holes need repair before the lock can hold securely. If the material is cracked, rotted, or loose around glass, stop and call a window pro.
Can I reuse the old screws?
Usually yes, if they are straight and the heads are not stripped. If the new handle came with matching screws, compare length and head style before choosing which ones to use.
Sources and fit checks
Repair Riot built this how-to around visible fit checks: screw spacing, handedness, base shape, keeper alignment, frame condition, and the point where sash or frame damage changes the repair.