Is your separate meter across the room?
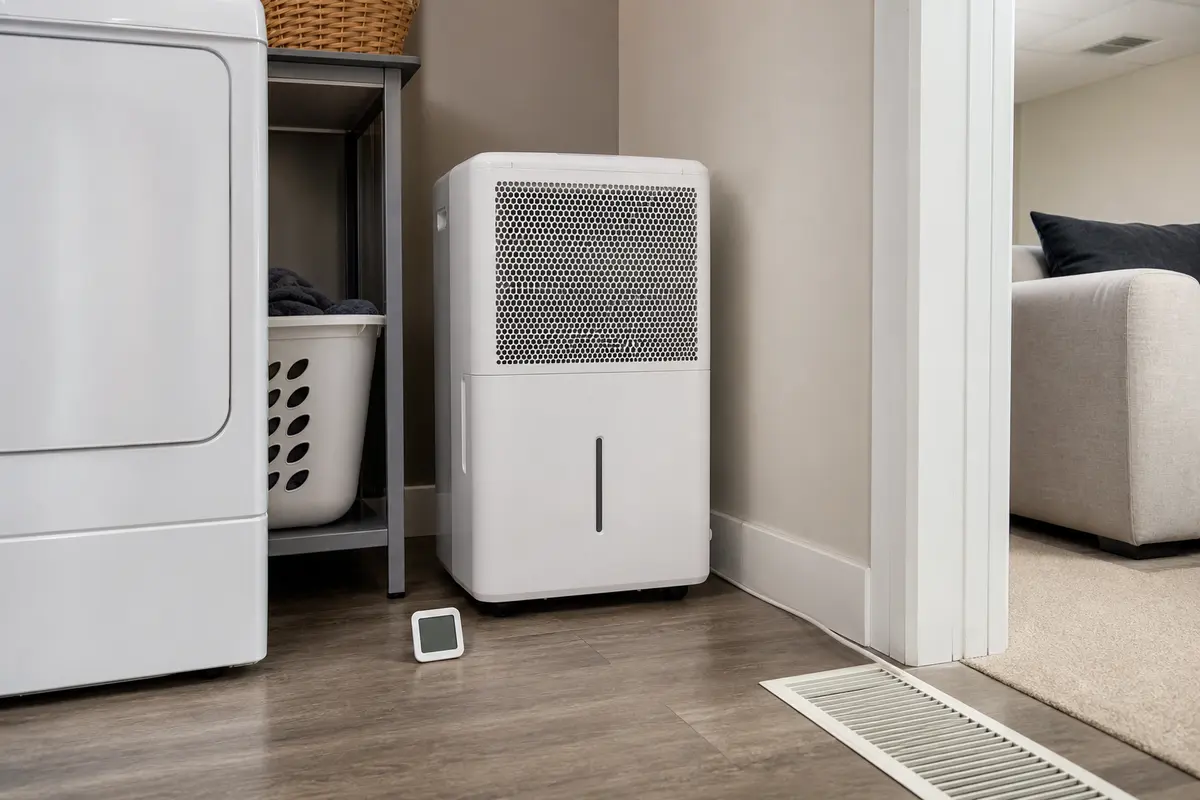
Move it within a few feet of the dehumidifier at about the same height. Compare the same air after the room settles.
If a Midea dehumidifier humidity reading looks wrong, check the air it is sampling before you blame the sensor. Placement, a dirty filter, blocked intake airflow, or dust near the sensor area can skew the display.
The best first fix is a same-air comparison, then a filter and intake cleaning.
A few percentage points off is normal. A steady 8 to 15 point gap after cleaning and a fair comparison needs more diagnosis.
Don’t start with: Do not open the control area, spray inside the cabinet, or shop for a humidity sensor until a nearby meter still shows the gap after placement and airflow checks.
Move it within a few feet of the dehumidifier at about the same height. Compare the same air after the room settles.
Move it to an open dry spot with clear intake and discharge space, then run it 30 to 60 minutes before judging the display.
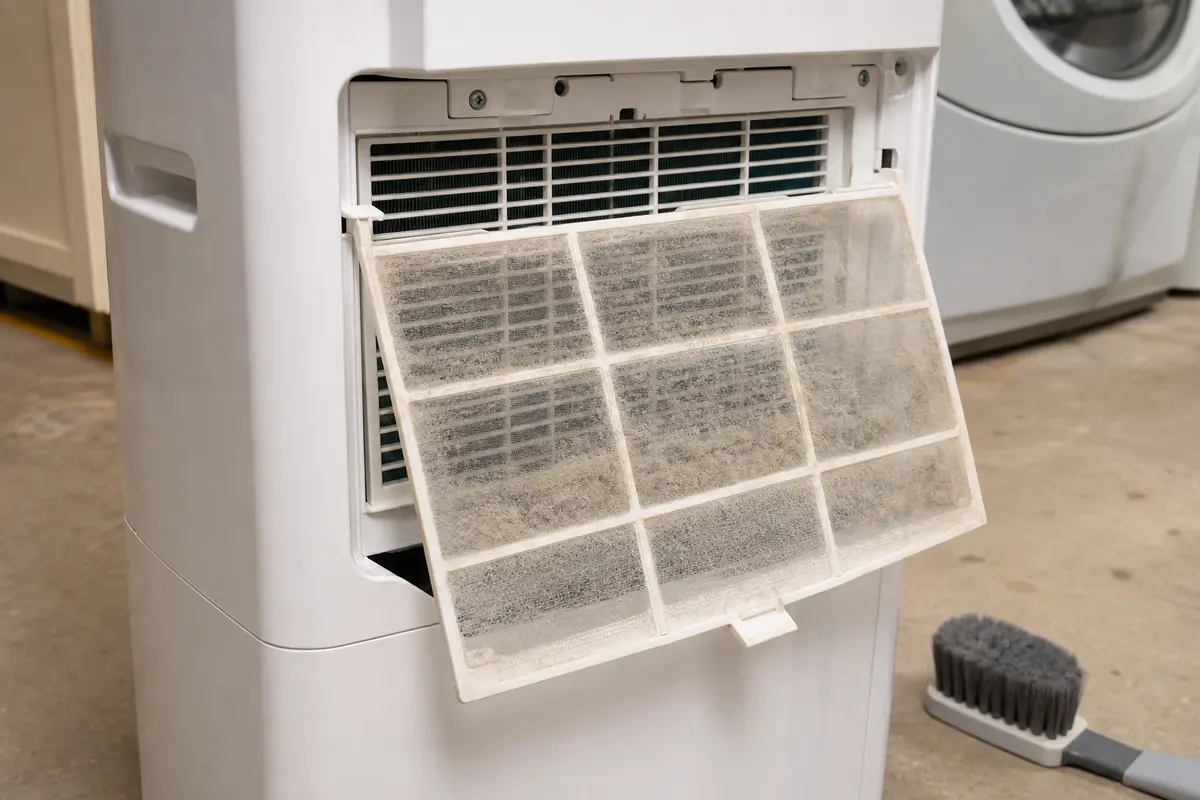
Unplug the unit, clean the reusable filter if your model allows it, dry it fully, and wipe loose dust from the grille.
Check only the visible sensor-area opening with the unit unplugged. Use a dry soft brush or gentle air from a safe distance, then reset the unit.
Normal water removal with a bad number points toward airflow, placement, or sensor drift. Poor water removal means the problem is bigger than the display.
Leave it unplugged. A wrong reading plus electrical symptoms, water near wiring, repeated codes, or weak moisture removal is service territory.
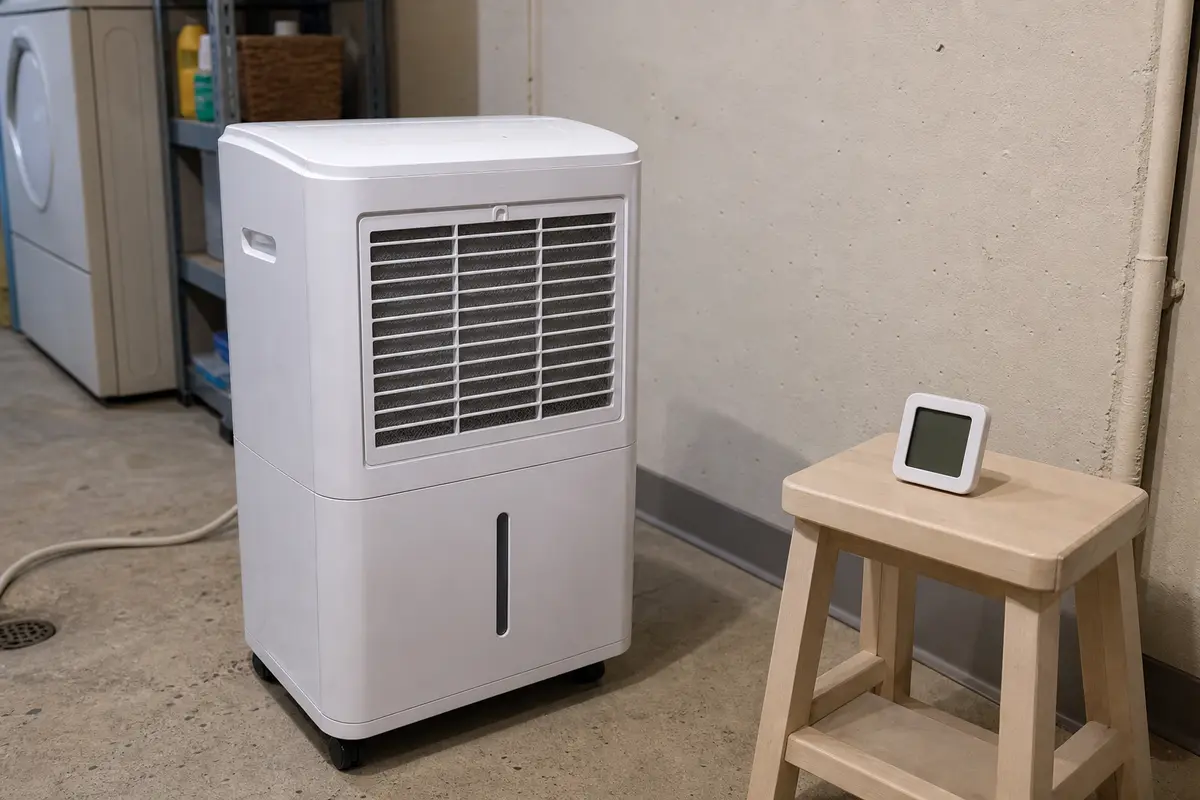
A Midea dehumidifier reads the air moving through its cabinet, not the whole room at once. These checks keep the focus on airflow, placement, and the visible sensor path before parts.
Copy the full model number from the Midea rating tag before shopping. Buy a filter, switch, or humidity sensor only after the same clue repeats with clean airflow, safe placement, and a fair same-air comparison.
Most bad humidity readings start with a bad comparison. A Midea dehumidifier is reading air at its cabinet, while a room meter across the basement may be seeing a different pocket of air.
A dirty filter is the cleanest first repair path because it changes the air sample without proving any part has failed.
The sensor area deserves a light touch. You are clearing loose dust from the air path, not opening the cabinet or washing electronics.
Use the result pattern, not one snapshot number. The best clue is what changes after placement, airflow, cleaning, and a fair comparison.
| What you see | What it usually means | Next move |
|---|---|---|
| Reading improves after moving the unit | The old spot was sampling steam, vent air, wall air, or a stagnant corner. | Keep clearance around the intake and discharge, then recheck after a normal run. |
| Reading improves after filter cleaning | Restricted airflow was slowing or distorting the sample across the sensor area. | Set a cleaning schedule and replace the filter only if it is damaged or will not seat. |
| Reading stays 8 to 15 points off but water removal is normal | The humidity sensor path may be dirty, drifting, or out of calibration. | Reset once, compare again nearby, then use the model number before ordering sensor parts. |
| Reading is wrong and the bucket stays dry | The machine may not be dehumidifying well enough for the display to be the lead clue. | Check room humidity, temperature, airflow, icing, bucket seating, and drain setup first. |
| Error code, hot plug, burning smell, leak, or breaker trip appears | The repair is no longer a simple humidity-reading check. | Leave the unit unplugged and use appliance service or replacement judgment. |
A wrong humidity number is not enough evidence for a control board or sensor order. Make the easy checks repeat before you spend money.
These are outside-the-cabinet tools for comparison and cleaning. Skip any step that requires live electrical testing or opening the control compartment.
Paid links. As an Amazon Associate I earn from qualifying purchases. Repair Riot may earn a commission at no extra cost to you.
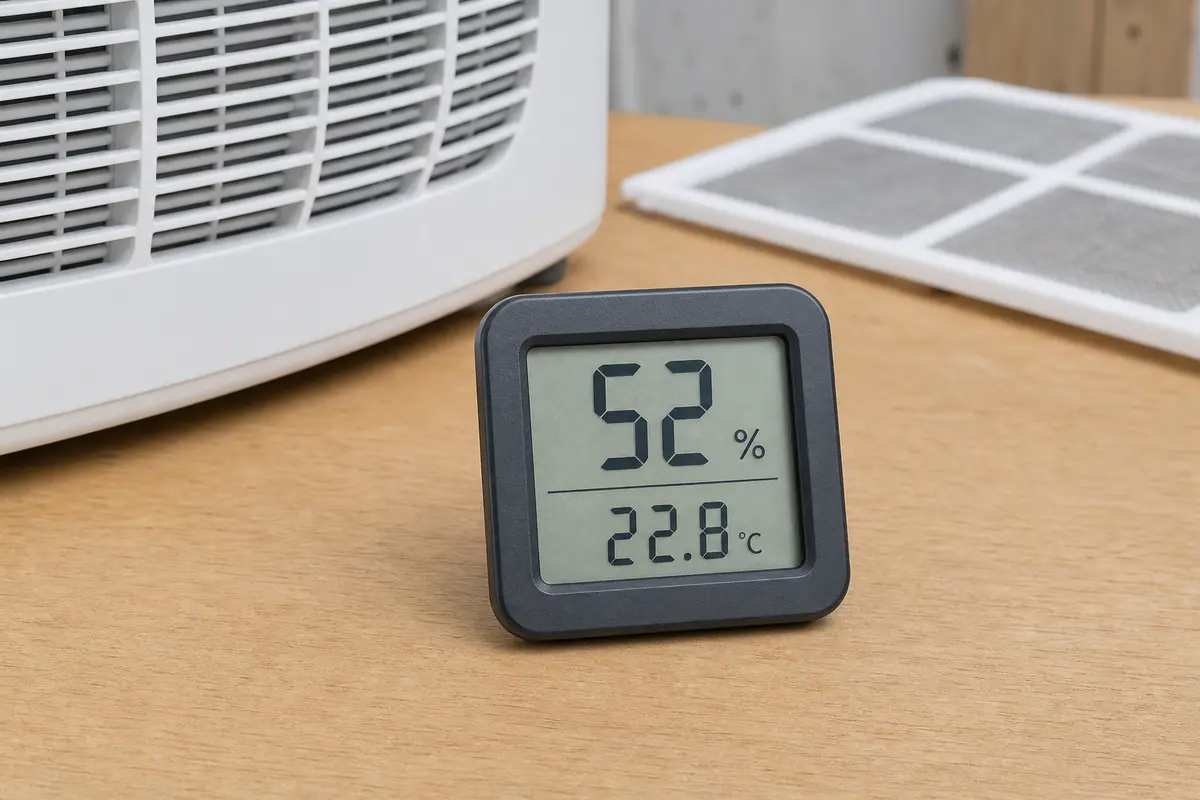
Helps when: You need a nearby same-air comparison after the room settles.
Skip it when: You are trying to prove a sensor from a meter across the room or a meter with a weak battery.
Compare room humidity meters on Amazon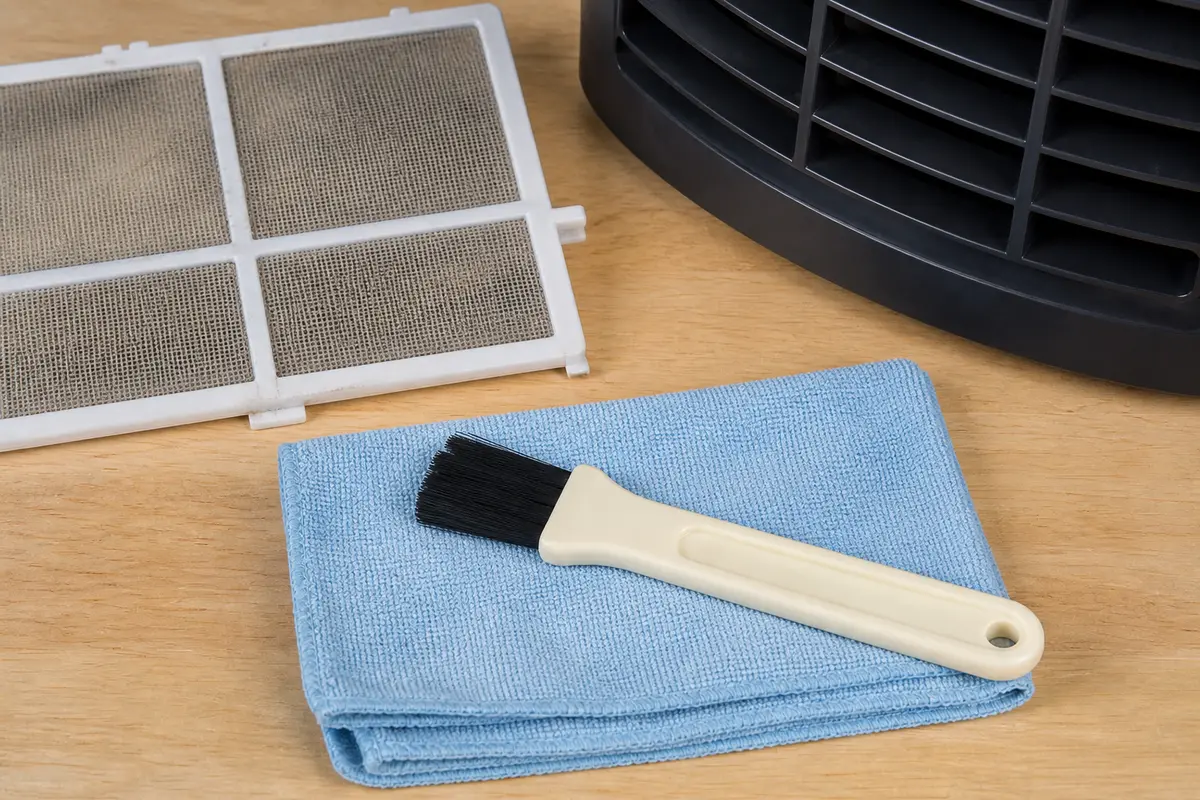
Helps when: You are removing loose dust from the intake grille, filter frame, bucket seating area, or visible sensor path.
Skip it when: You would need to scrub inside the cabinet, soak parts, or reach into wiring.
Compare soft brushes and cloths on Amazon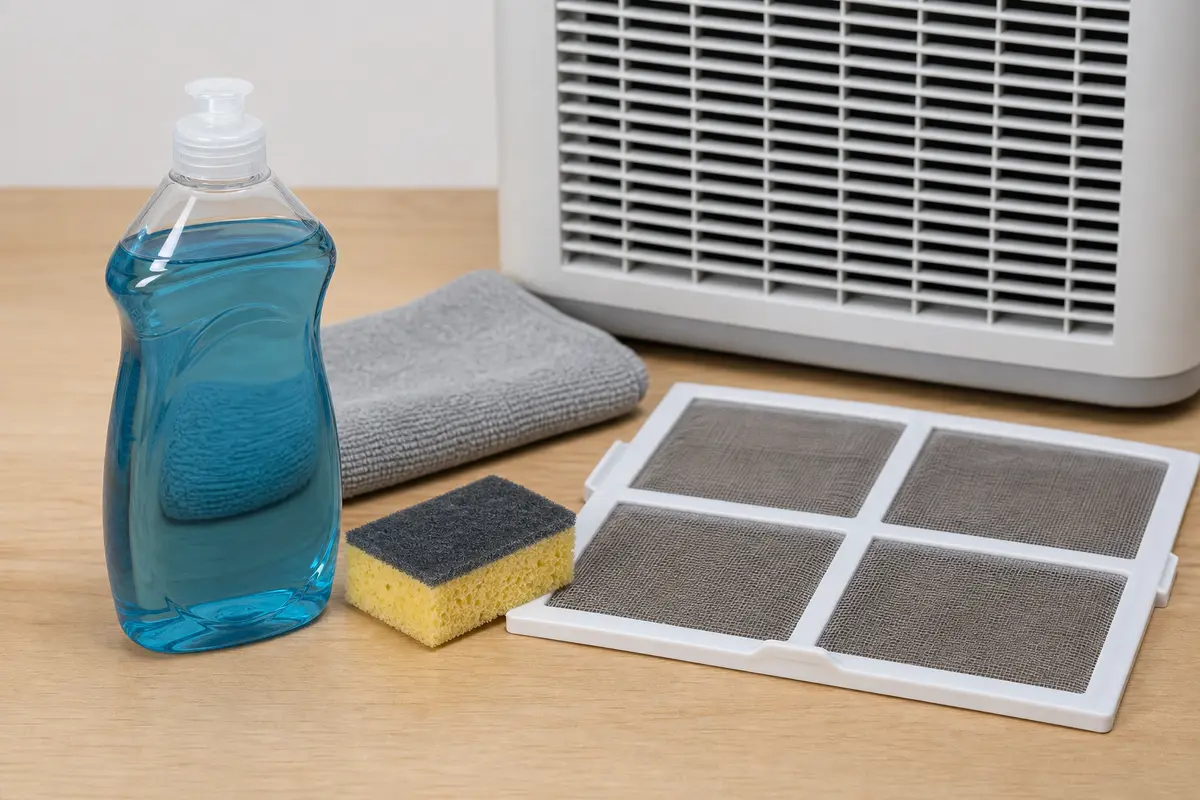
Helps when: Your model uses a washable filter and the filter has dust film that will not brush off cleanly.
Skip it when: The manual says the filter is not washable, or you cannot dry it fully before reinstalling.
Compare mild dish soap on AmazonParts come after the pattern repeats. Match every part by the full Midea model number because filters, bucket switches, connectors, and sensor assemblies vary by unit.
Paid links. As an Amazon Associate I earn from qualifying purchases. Repair Riot may earn a commission at no extra cost to you.
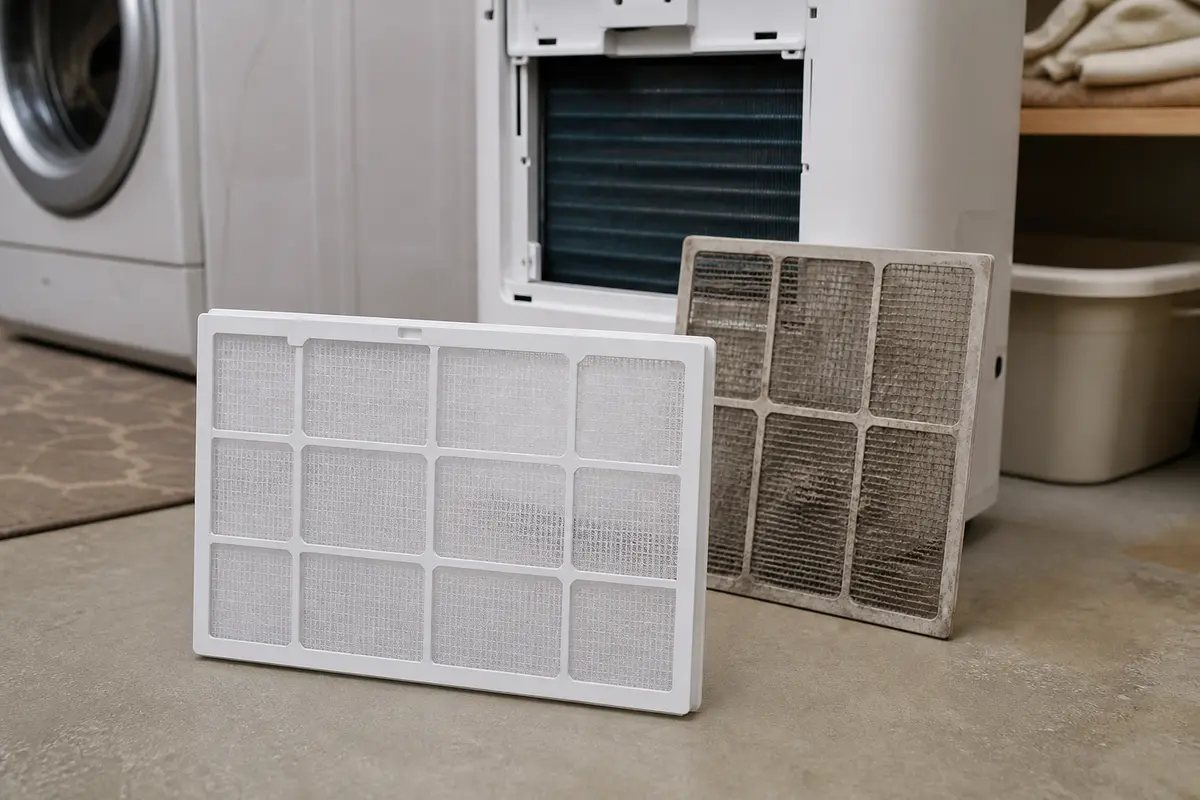
Helps when: The filter is torn, warped, missing, will not sit flat, or clogs again immediately after cleaning.
Skip it when: The filter cleans up, dries fully, seats flat, and the reading improves after airflow is restored.
Compare Midea air filters on Amazon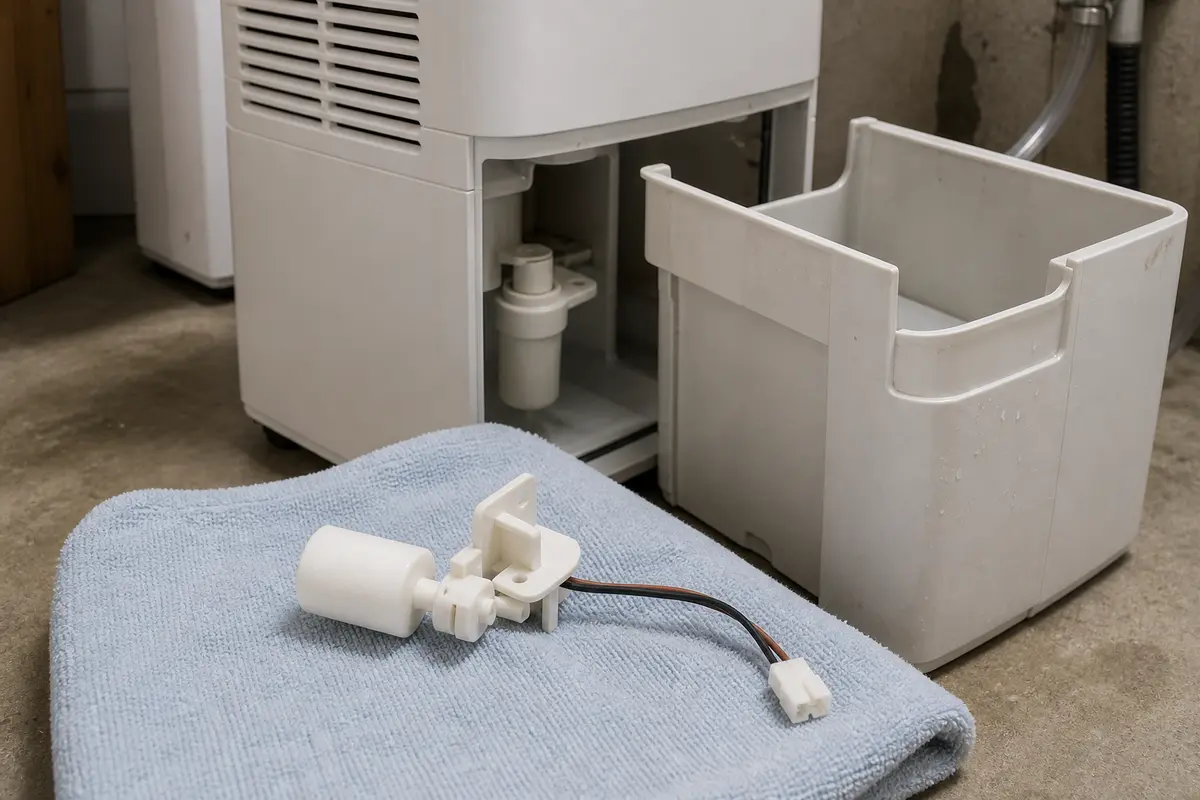
Helps when: The unit behaves differently when the bucket is lifted, reseated, or pressed, and the bucket float does not read consistently.
Skip it when: The bucket seats square, the float moves freely, and the only issue is a display number that reads high or low.
Compare Midea bucket switches on Amazon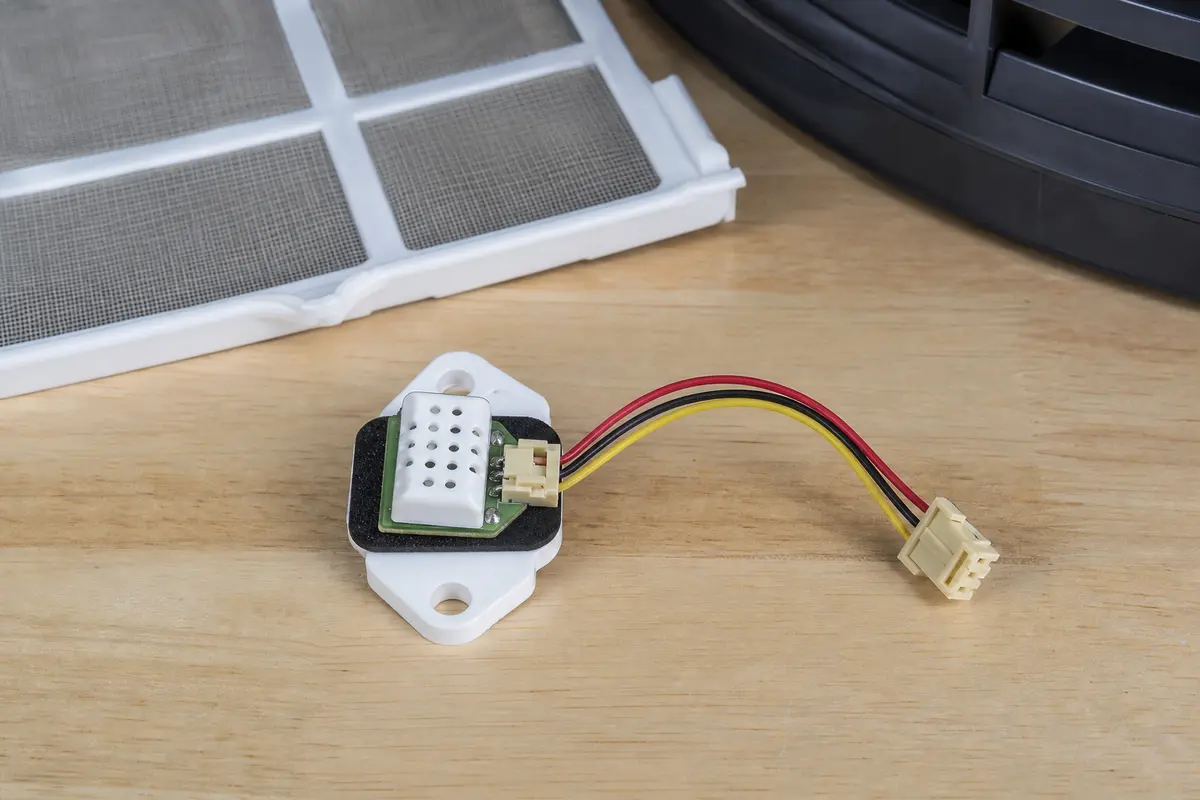
Helps when: Clean airflow, safe placement, reset, and a nearby meter still show a large repeatable gap while the unit removes water normally.
Skip it when: The filter is dirty, the unit is near a vent or moisture source, water removal is weak, or the listing does not match the full model number.
Compare Midea humidity sensors on AmazonA small difference is normal because the unit reads air at the cabinet, not the whole room at once. Put the room meter near the unit at about the same height for 20 to 30 minutes. If the display is only a few points off and the bucket is collecting water, keep the filter clean. Treat it as close enough when the room is drying.
The unit may be pulling in damp air from laundry, a shower, an open window, or a nearby vent. It can also read high when the filter is dirty and airflow through the intake is weak.
Yes. A clogged filter changes airflow through the cabinet, so the sensor may see a slow or distorted sample compared with the room.
No. Start with placement, a same-air comparison, filter cleaning, visible sensor-area dust, and a reset. A sensor fault is possible, but it is a later-path part.
A stuck-looking number often comes from poor airflow, dust near the sensing path, or judging the display before the room has stabilized. Clean, reset, and compare nearby before calling it failed.
Indirectly, yes. If the bucket is not seated or the float switch acts inconsistently, the machine may stop or behave oddly, which can make the display look like the main problem.
Most homeowners do not have a true calibration adjustment. Use a nearby room meter for comparison, check the manual for your exact model, and avoid opening the control area just to chase calibration.
Only the visible air path. Unplug the unit, use a dry soft brush or gentle air from a safe distance, and stop before opening electrical or sealed sections. Keep cleaner out of the cabinet.
The dehumidifier is sampling nearby air. Steam, warm damp air, dry supply air, or an open doorway can change the reading at the cabinet faster than the rest of the room changes.
Repair Riot rebuilt this page around visible checks: air sampling, filter condition, safe sensor-area cleaning, and whether the unit still removes water. The links below support model lookup, dehumidifier use context, and indoor-moisture background.