Is the display completely dark?
Treat it as a power problem first: plug, outlet, breaker, or GFCI if safely accessible. Stop if the breaker trips again or anything looks heat damaged.
If the display is on but the keypad does nothing, look for a lock icon, dry the touch film, and test Start, Stop, and number keys. Same dead keys or a door that changes the response points to keypad, user-interface panel, or latch service instead of house power.
The best first split is all buttons dead, one area dead, or Start failing only when the door is moved.
Use the outside clues first: lock icon, steam or grease film, repeatable dead keys, door pressure, or random beeping.
Don’t start with: Stop before the microwave cover. Do not remove the cover, tamper with door switches, or probe internal controls; leave internal microwave diagnosis to a qualified appliance tech.
Treat it as a power problem first: plug, outlet, breaker, or GFCI if safely accessible. Stop if the breaker trips again or anything looks heat damaged.
Look for Control Lock or Child Lock, reset power once, then clean and dry the keypad surface before buying parts.
If the same keys feel weak or need hard pressure, test Start, Stop, and the number keys again after drying. A repeatable row or cluster points toward the keypad membrane or user-interface panel.
Door latch, door alignment, or switch service moves ahead of keypad parts. Do not force or tamper with the latch.
Pull the plug and stop. That is no longer a safe surface-cleaning or keypad-shopping problem.
A lit display does not prove the keypad is bad. Look at the lock state, touch surface, and door latch before ordering electronics.
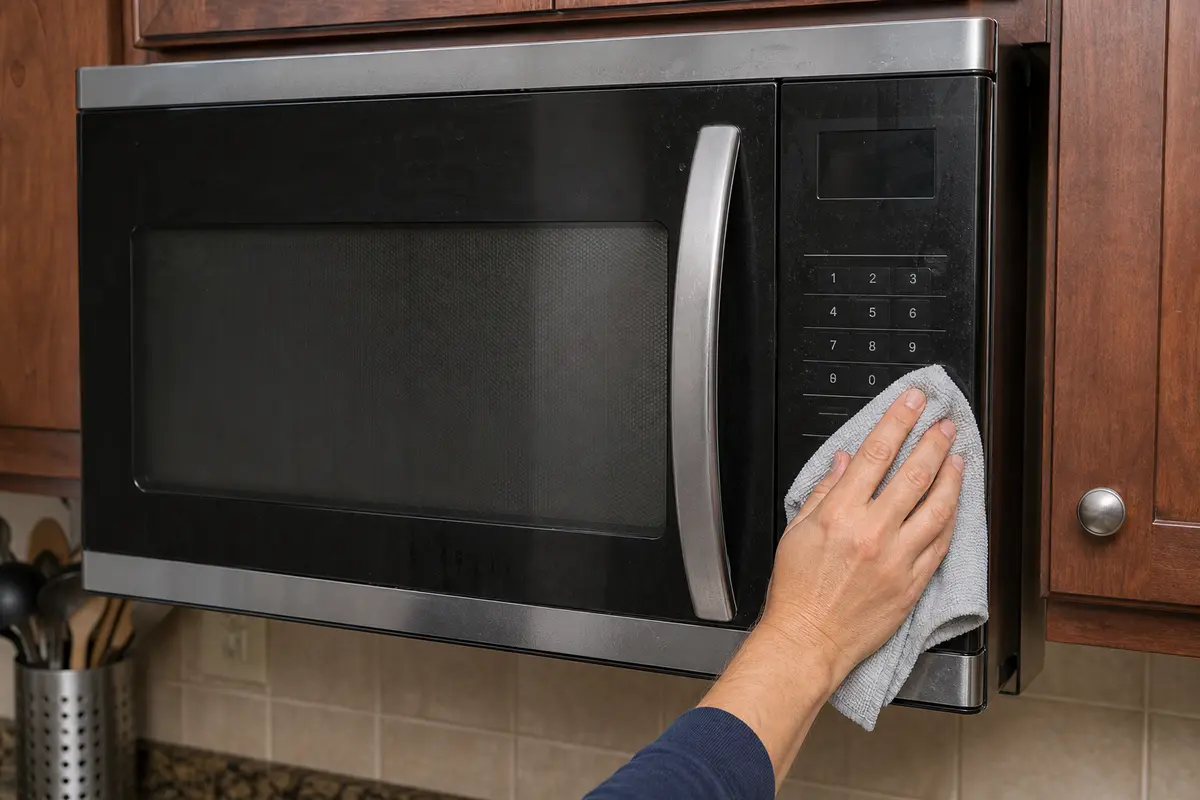
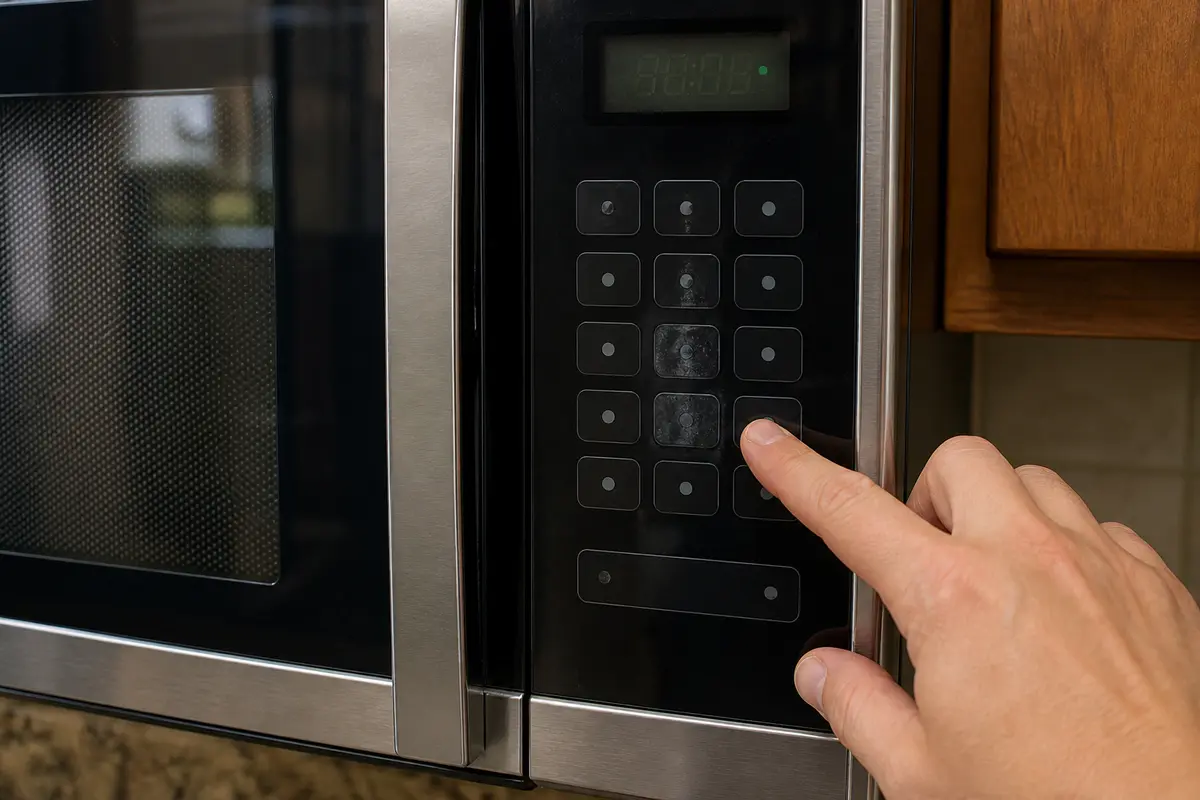
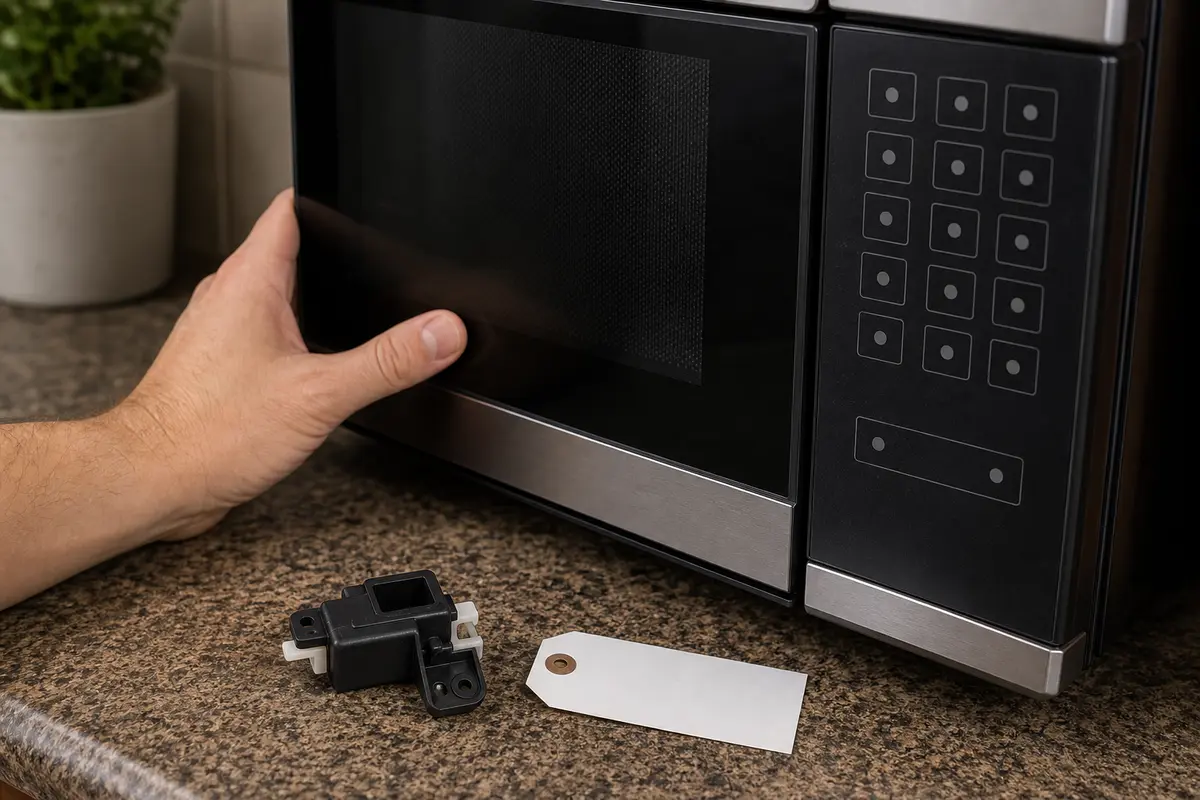
Before ordering a keypad, user-interface panel, latch part, or control board, copy the full model number from the microwave label and make the symptom repeat after lock, drying, and door checks. Microwave control parts are model-specific, and the outer cover is not a homeowner diagnostic area.
A lit display means power reached the control side. Look next at locked controls, residue on the touch film, worn keypad rows, and a door latch that does not report closed.
Do not turn a clean outside symptom into an internal microwave repair. The cabinet cover is the line most homeowners should not cross.
You can learn a lot without opening the microwave. Keep the checks dry, visible, and reversible.
Use the button pattern to choose the next move. A good clue is repeatable: same key, same row, same door movement, or same recovery after drying.
| What you see | What it usually means | Next move |
|---|---|---|
| Clock is lit, no buttons respond | Control Lock, stuck key, moisture, or user-interface trouble is ahead of house power. | Clear lock, dry the panel, reset power once, then map the buttons. |
| Only one number, Start, or one row fails | The keypad membrane or touch layer is worn. | Use the exact model number before comparing keypad or user-interface parts. |
| Buttons recover after drying | Steam, grease, or cleaner residue likely reached the control surface. | Keep cleaner off seams and watch for repeat failures after cooking. |
| Start works only while the door is lifted or pressed | Latch, door alignment, or the door-switch path is the better clue. | Stop keypad shopping and have the latch or switch side serviced. |
| Display resets, beeps alone, smells hot, or arcs | The issue may be an internal control or safety fault. | Disconnect power and arrange service or replacement. |
Steam-heavy cooking can make a keypad act strange without breaking a part. Over-the-range units see this more because steam rises straight into the control area.
A microwave has door interlocks. If the door does not sit squarely, the control can ignore Start or act as if a command never happened.
These are for outside checks only. None of them makes internal microwave service a homeowner job.
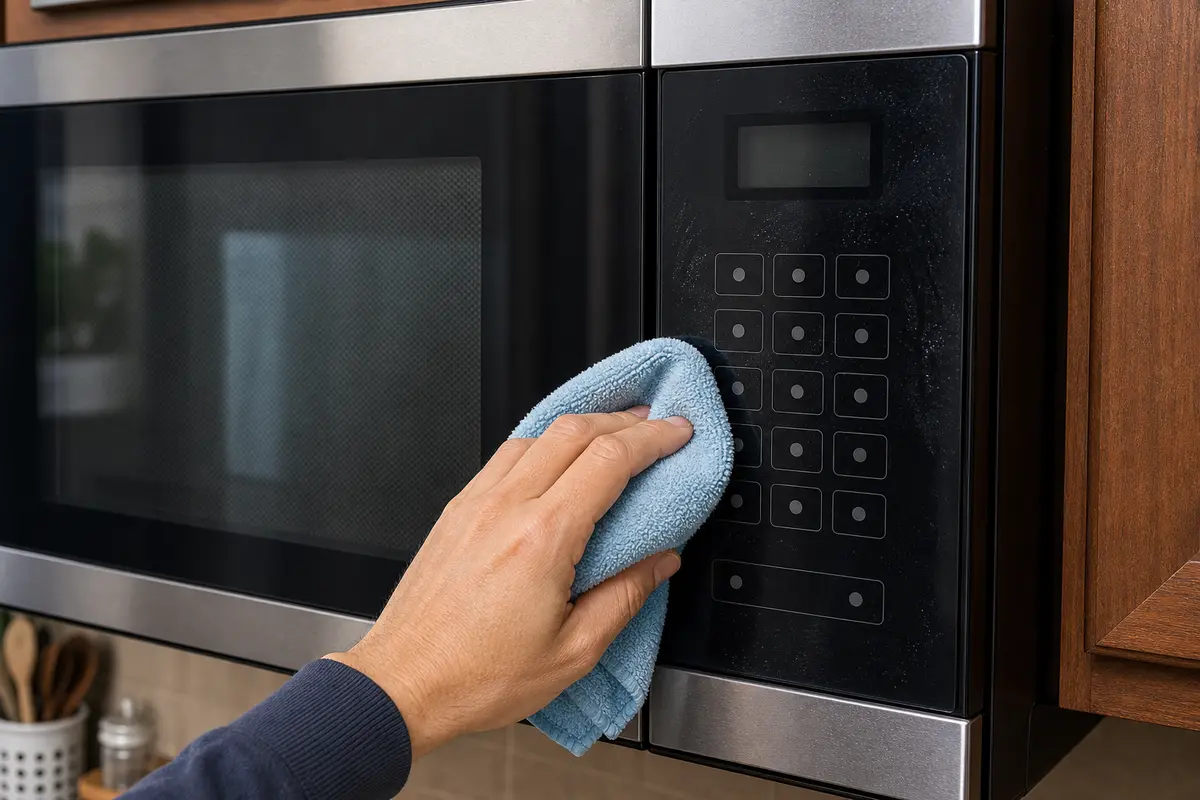
Helps when: Wiping steam film, grease, and fingerprints from the keypad face and trim without scratching the plastic.
Skip it when: Cleaning would require soaking seams, removing the control panel, or reaching behind the keypad.
Compare cleaning cloths on Amazon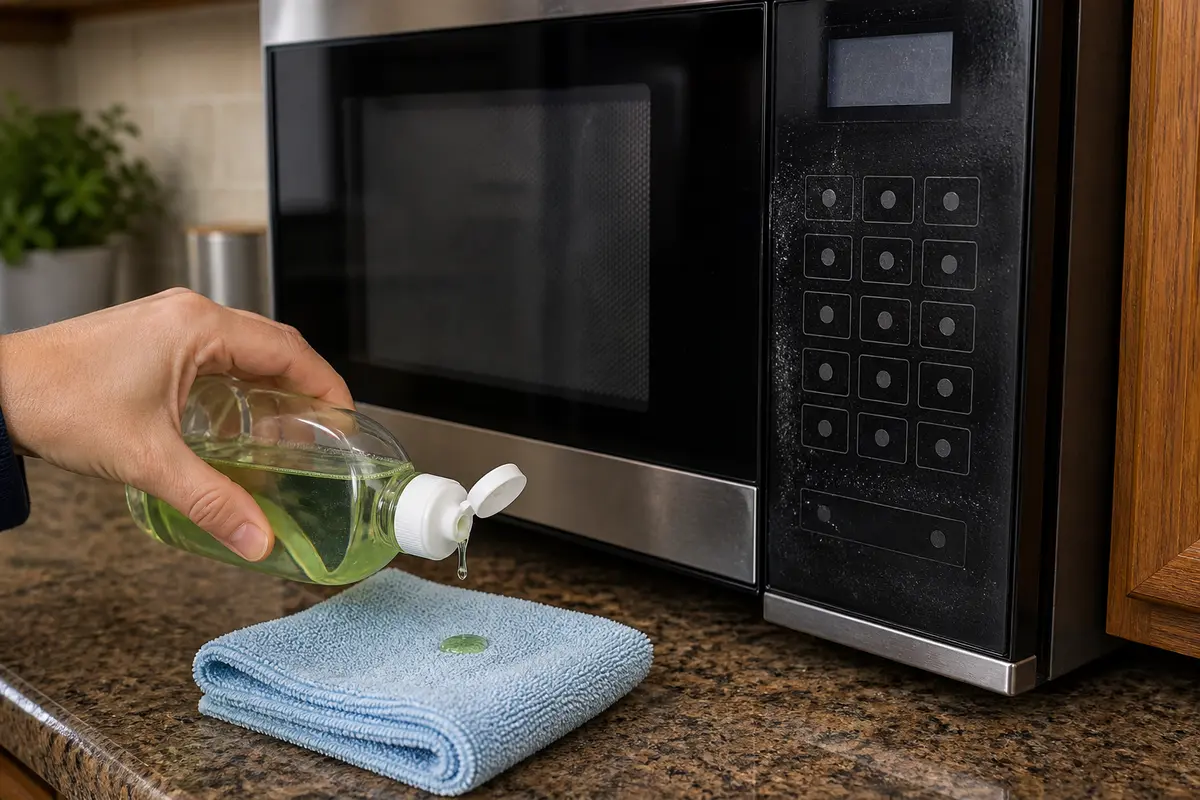
Helps when: Cutting greasy cooking film when plain water leaves the keypad slick or cloudy.
Skip it when: Stop instead if the panel has burning odor, arcing, cracked plastic, or moisture already behind the controls.
Compare gentle dish soap on Amazon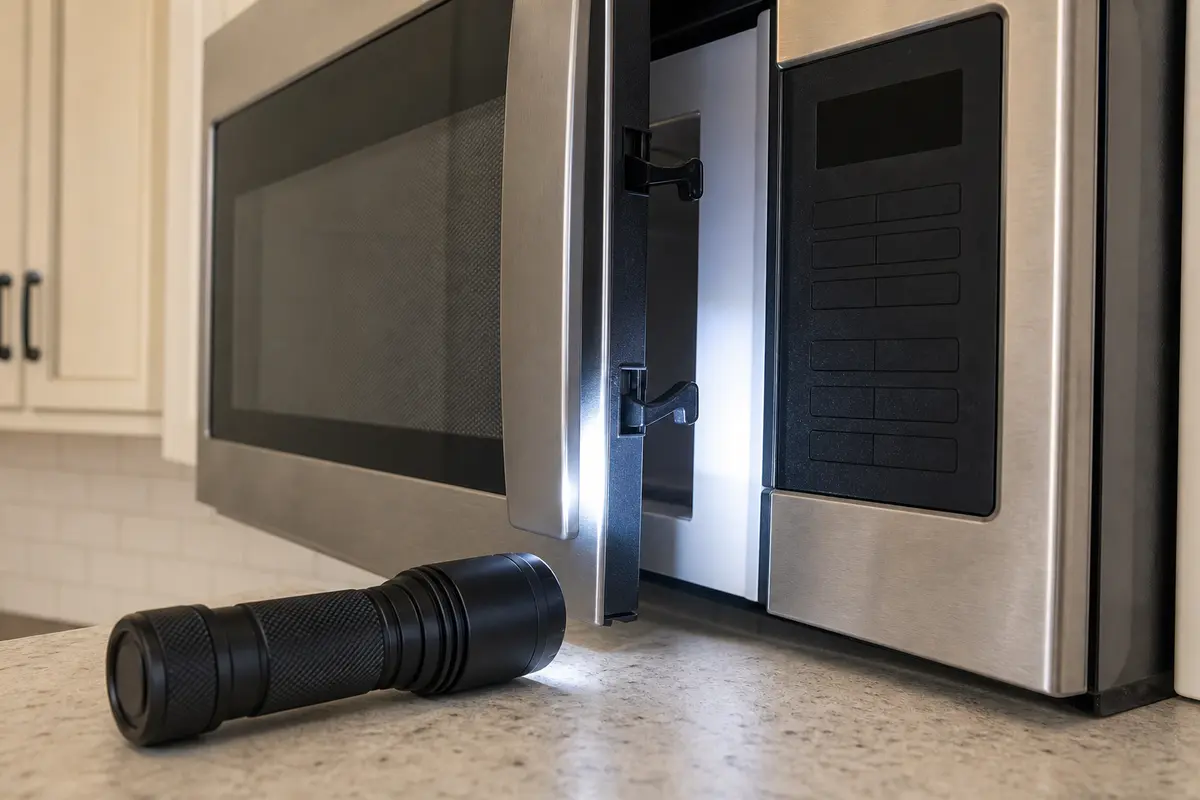
Helps when: Seeing keypad wear, latch hooks, trim gaps, door alignment, and the model-number label.
Skip it when: The inspection would require removing the microwave cover or reaching into internal parts.
Compare inspection lights on Amazon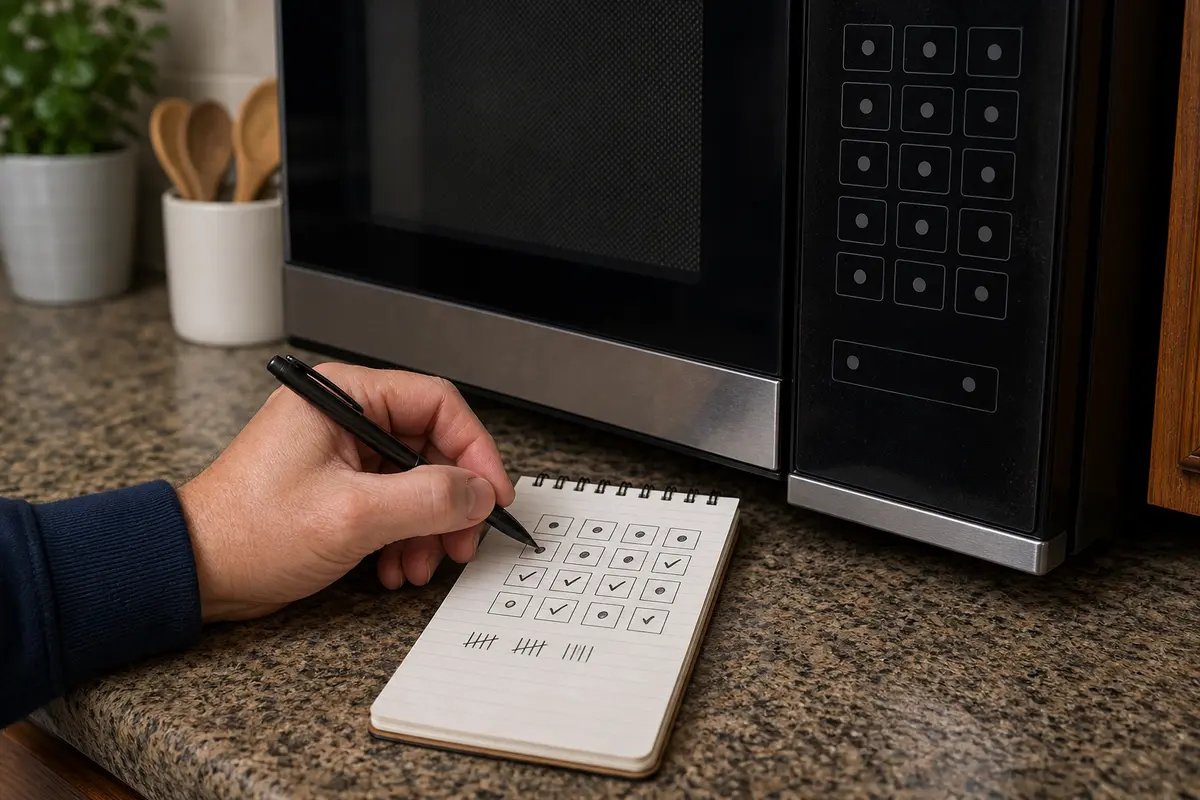
Helps when: Recording exactly which keys fail so a keypad pattern is not confused with a latch clue.
Skip it when: Stop instead if you already have a safety fault such as arcing, smoke, heat damage, or a loose door.
Compare notes pads on AmazonAs an Amazon Associate I earn from qualifying purchases. Repair Riot may earn a commission at no extra cost to you.
Compare a keypad, user-interface panel, latch switch, or control board only after the same symptom repeats and the model number is known. Those are different repairs, and lookalike parts can still be wrong.
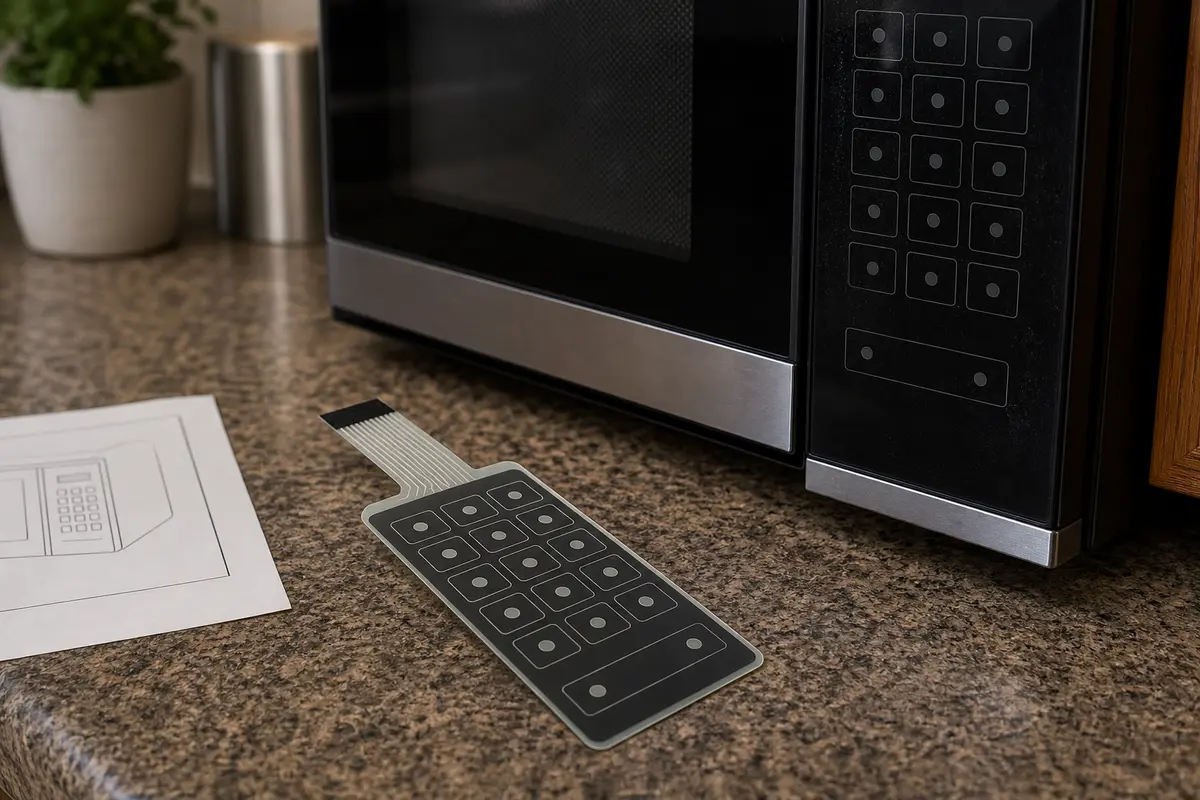
Helps when: The same buttons stay dead, weak, or pressure-sensitive after lock, drying, reset, and door-pressure clues are ruled out.
Skip it when: All buttons are dead with an unconfirmed lock setting, or Start changes when the door is pressed.
Compare microwave keypads on Amazon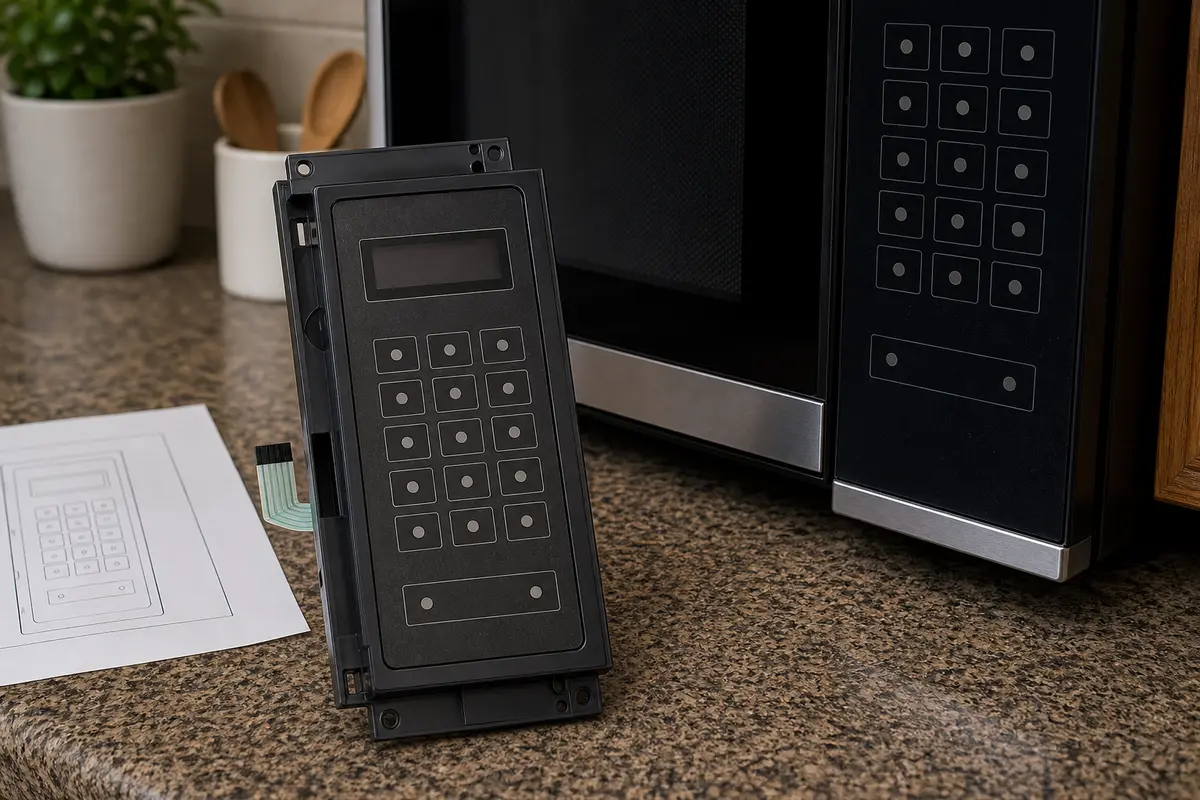
Helps when: Your model sells the keypad, display, and front frame as one assembly and the button pattern points there.
Skip it when: You are buying by appearance instead of the full model number and parts diagram.
Compare control panels on AmazonHelps when: A qualified tech or model-specific diagnosis points to latch hardware after door-pressure symptoms repeat.
Skip it when: You plan to jumper switches, force the latch, or open the cabinet for internal testing.
Compare microwave latch parts on AmazonAs an Amazon Associate I earn from qualifying purchases. Repair Riot may earn a commission at no extra cost to you.
A lit display means power reached the control side. Look for a lock icon, wipe and dry the keypad, test Start and Stop, and note whether the same buttons fail or the door changes the response.
Look for a lock icon, locked-control message, or a Lock, Control Lock, Child Lock, or Hold 3 Seconds label. Use the model's button hold before assuming the keypad failed.
Sometimes. Cleaning helps when steam, grease film, or cleaner residue is interfering with the surface. Use a lightly damp cloth, dry the panel fully, and stop if the same keys still fail.
If only Start fails, test whether the door sits squarely: press or lift it once and watch the response. If that changes the symptom, treat the latch side as the first clue.
No. Test and watch the pattern: a keypad problem usually repeats on the same buttons, while a door switch or latch problem changes when the door is pressed, lifted, reclosed, or does not latch squarely.
Buy the part your model actually uses. Some microwaves sell the keypad separately, while others sell the keypad, display, and frame as one user-interface panel. Match the full model number.
Not for most homeowners. Stop at the cover and keep internal controls closed. Clean the surface, check lock settings, and map symptoms only; internal testing belongs with a qualified appliance tech.
Use caution. Intermittent keys after steam may be a surface issue, but random beeping, self-entered commands, arcing, burning smell, or any door problem means unplug it and stop using it.
Consider replacing the microwave if the door is damaged, parts are discontinued, the user-interface assembly is hard to match, or service would involve several internal faults rather than one clear keypad pattern.
Repair Riot built this page around outside clues: lit display, lock state, moisture, repeatable dead keys, and door-latch behavior. FDA guidance and the federal standard shape the door and interlock stop points.