Is the damage in one dry bay with no odor or droppings?
Remove the damaged piece, inspect neighboring bays, and replace the insulation after the wood face is clean and dry.
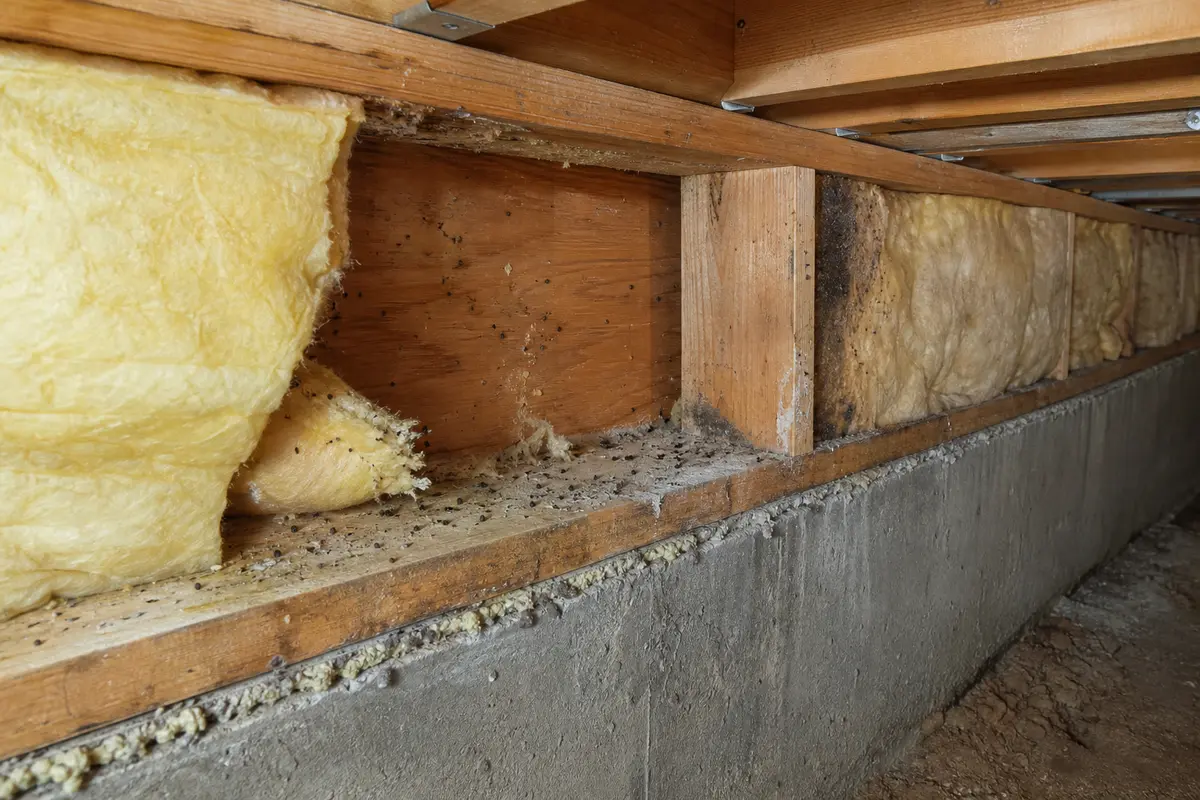
If mice chewed rim joist insulation, start by opening the damaged bay and checking for droppings, odor, damp wood, and a nearby entry gap. Remove only torn or contaminated insulation, then replace it after the route in is handled.
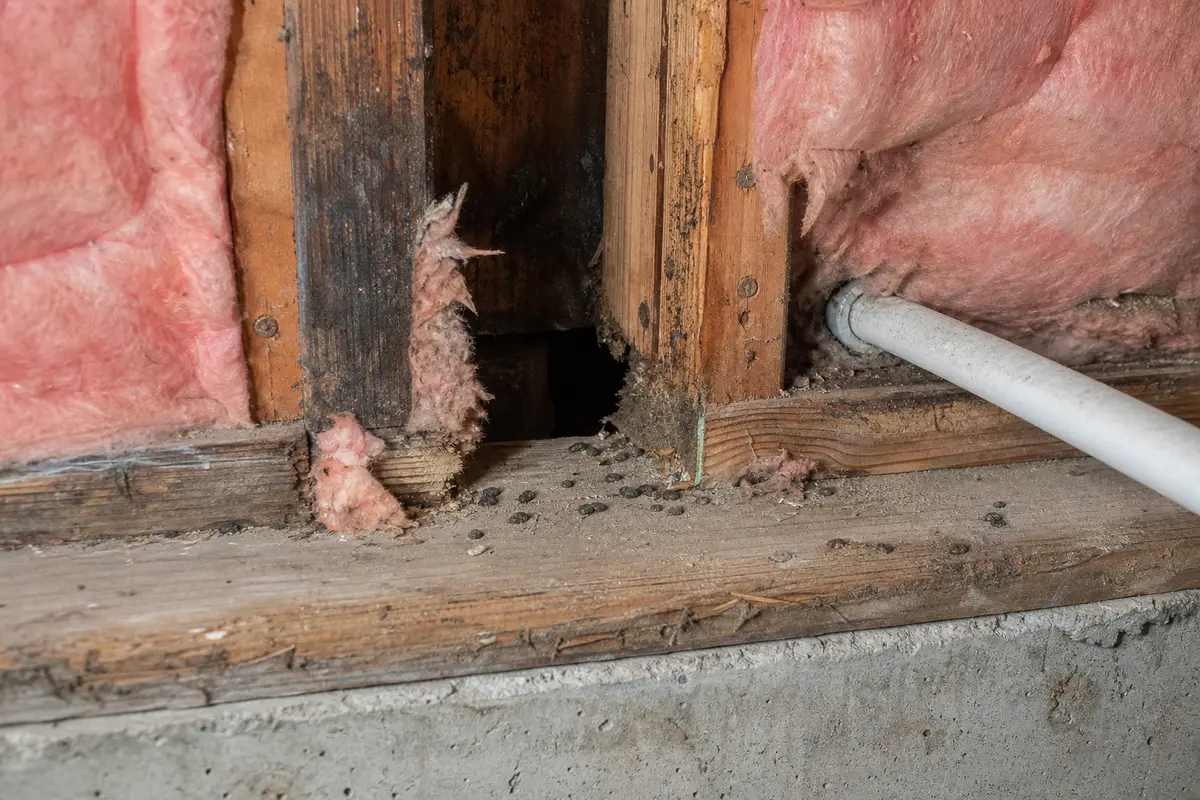
This is usually damage beside a pipe, wire, sill crack, corner, or loose old batt where mice found cover and warmth. Pull the damaged piece back enough to look for droppings, rub marks, daylight, or a chewed path into the next bay.
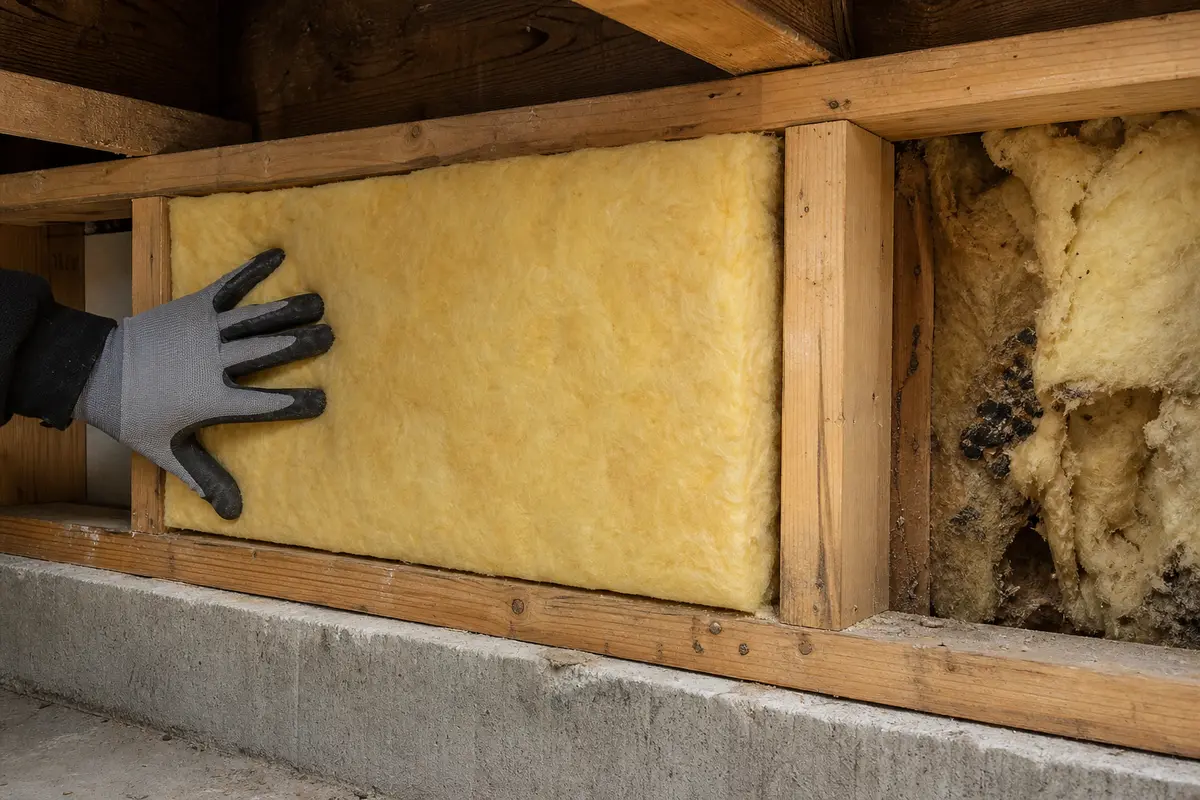
A good clue is what you find next door. Watch for clean neighboring bays versus odor, droppings, damp wood, or fresh chewing.
Don’t start with: Do not stuff new insulation over the chewed spot. You can bury droppings, trap odor, hide the entry hole, and hand mice fresh nesting material.
Remove the damaged piece, inspect neighboring bays, and replace the insulation after the wood face is clean and dry.
Treat that bay as contaminated. Bag the insulation at the work area and do not patch over it.
Deal with the entry route before reinsulating. New insulation will not stop mice by itself.
Assume the access path is still open or the infestation is active. Shift from insulation replacement to entry tracing and pest control.
Pause the insulation work. Find the moisture source or framing problem before closing the bay.
Stop handling the material and get the droppings identified before cleanup continues.
The chewed insulation is only the visible clue. Look at the rim joist bay, the two neighboring bays, the wood surface, and the nearest penetrations before deciding how much to remove.
Do not buy batts, foam board, spray foam, or pest products until the open bay matches the exact diagnosis. Match the replacement to the insulation type already there, the cavity size, the dry wood condition, and the entry repair you actually found.
Look at where the chewing sits first. Damage beside a pipe penetration, sill crack, corner, loose batt, or droppings in the next joist bay tells you whether to inspect one bay or trace the rim.
The first useful repair step is a controlled look. Keep dust down, keep the work local, and stop early if the damage is bigger than one small bay.
Do not replace every bay just because one corner looks chewed. Match the repair area to the evidence you can actually see.
| What you find | What it usually means | Next move |
|---|---|---|
| Light chewing in one clean dry bay | Small localized insulation damage | Remove that piece, inspect neighboring bays, and replace it after the entry check |
| Droppings embedded in fibers or a nest pocket | Contaminated insulation | Remove the affected bay material instead of covering it |
| Chewed foam or batt beside a pipe, wire, sill crack, or daylight gap | Likely mouse entry route | Fix the entry condition before the new insulation goes in |
| Fresh droppings after a past repair | Active access or infestation remains | Pause reinsulation and trace the mouse path |
| Wet, moldy, soft, or stained wood | Moisture or framing problem, not just pest damage | Find the water source or call a repair pro before closing the bay |
| Possible bat droppings or heavy contamination | Cleanup risk changed | Stop handling the material and get professional guidance |
Work in the order that keeps the real problem visible: inspect, control contamination, find the opening, replace only what needs replacing, then recheck.
Most bad repairs in this spot come from making the bay look full while the contamination or entry path stays in place.
These tools are for a small, accessible rim joist inspection after the area is safe. Heavy contamination, animal activity, wet framing, or exterior repair can move the job to pest control or a building pro.
Paid links. As an Amazon Associate I earn from qualifying purchases. Repair Riot may earn a commission at no extra cost to you.
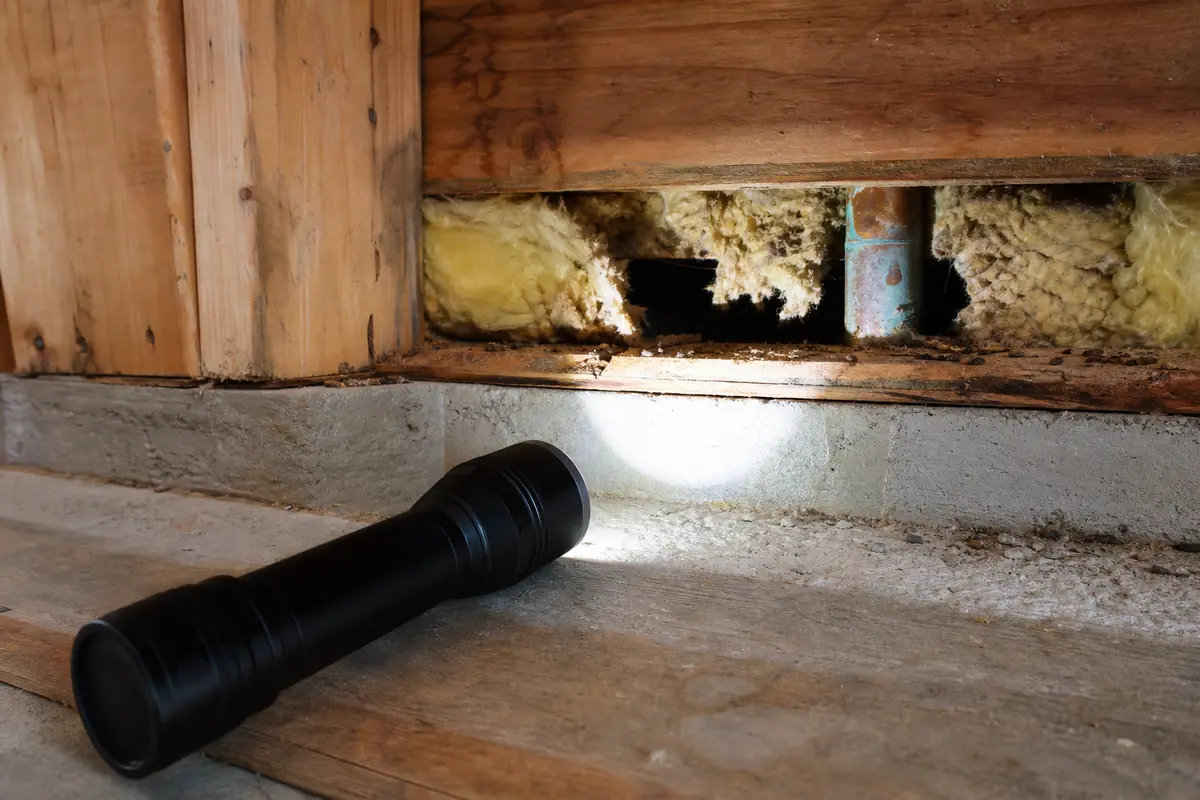
Helps when: Use it to see droppings, rub marks, sill gaps, pipe penetrations, and chewed edges in the neighboring bays.
Skip it when: Skip the DIY inspection if access is unstable, contamination is heavy, or the framing looks wet or damaged.
Compare inspection flashlights on Amazon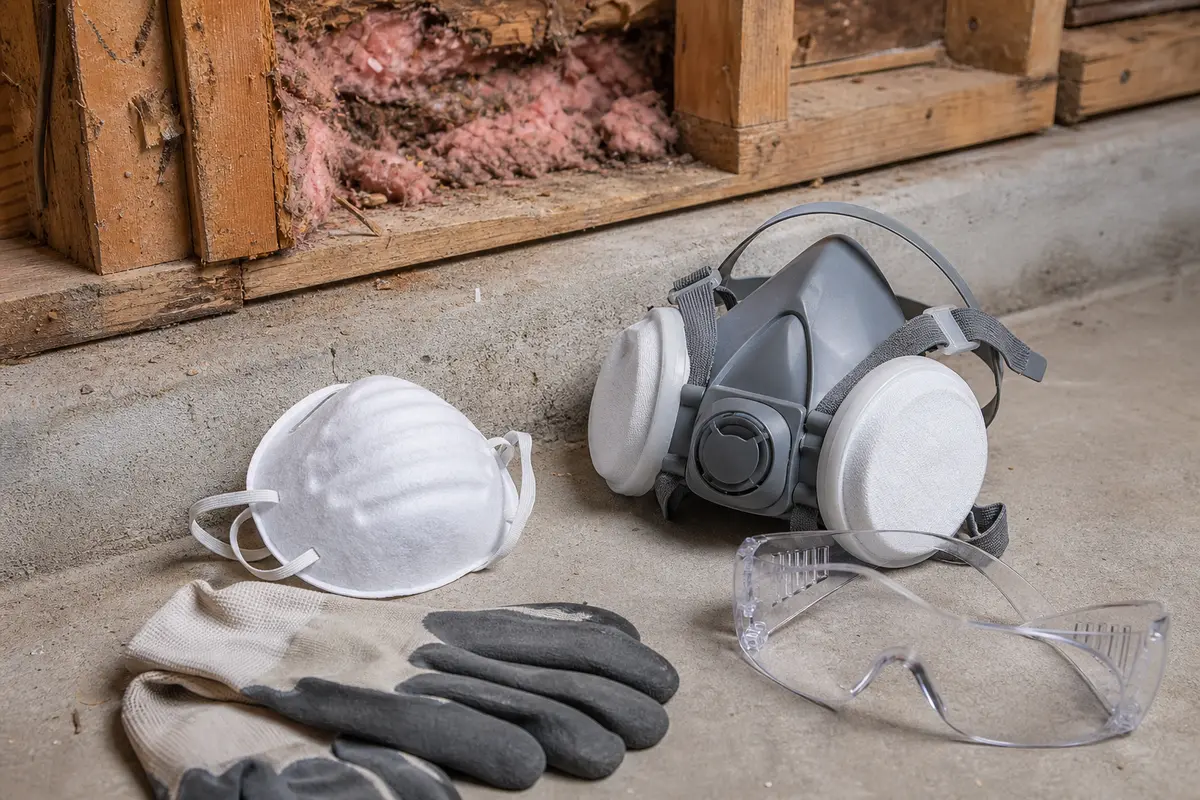
Helps when: Use it with gloves and eye protection when handling insulation fibers and rodent-contaminated dust.
Skip it when: Skip the cleanup and bring in help if droppings are widespread, odor is strong, or dust cannot be controlled.
Compare dust masks and respirators on Amazon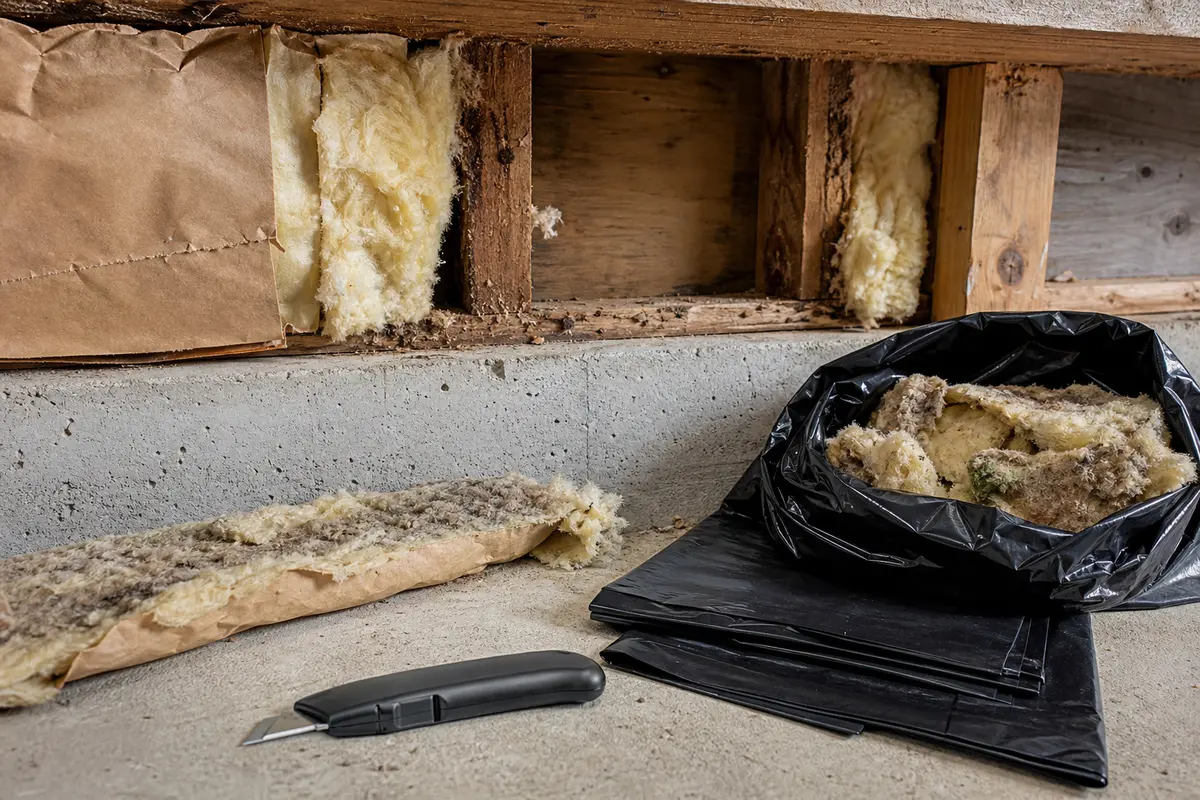
Helps when: Use a sharp blade to cut batt insulation back to clean material and bag damaged pieces before they spread debris.
Skip it when: Skip cutting if you cannot tell where contamination stops or the material is too dirty to handle safely.
Compare utility knives and contractor bags on AmazonBuy insulation after the old material is out and the bay tells you what it needs. Measure the opening and compare the old material before you choose batt or rigid foam.
Paid links. As an Amazon Associate I earn from qualifying purchases. Repair Riot may earn a commission at no extra cost to you.
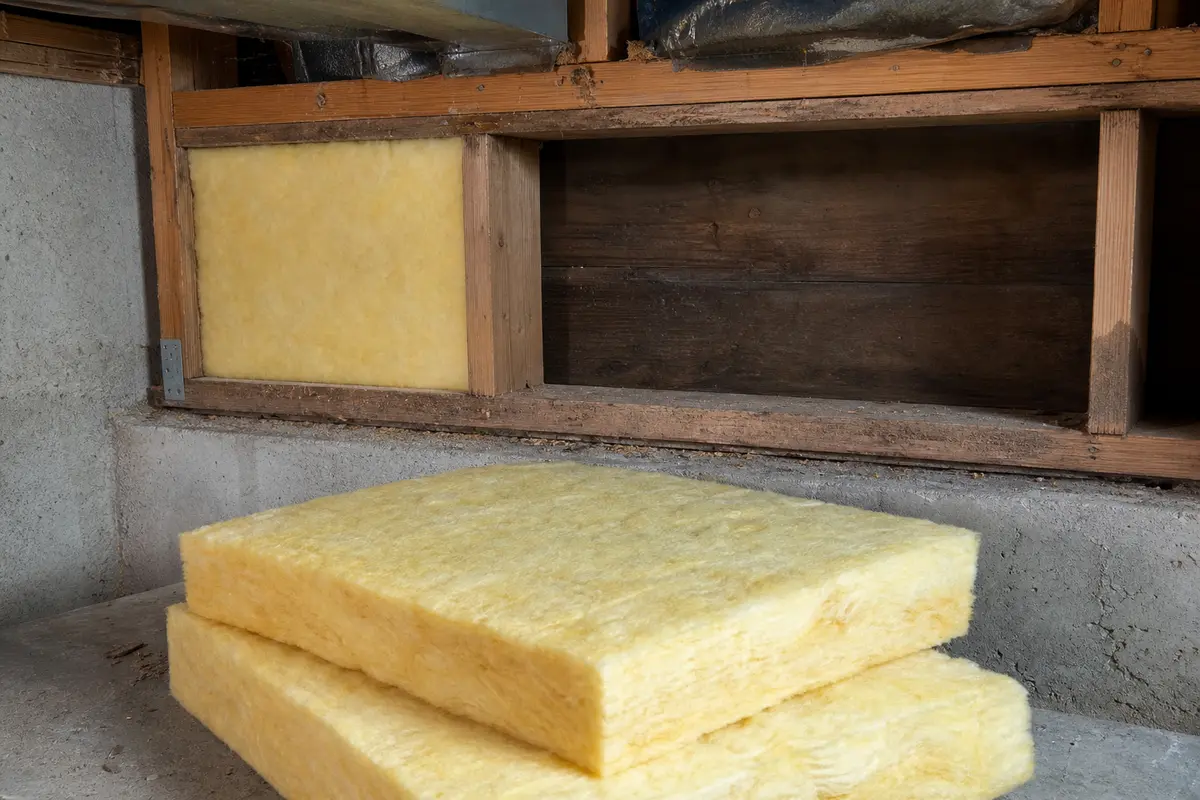
Helps when: Use it when the old material was batt insulation, the bay is dry, and your check found only a damaged section that needs a snug replacement.
Skip it when: Skip it if droppings, odor, damp wood, or an open entry path are still present.
Compare batt insulation on Amazon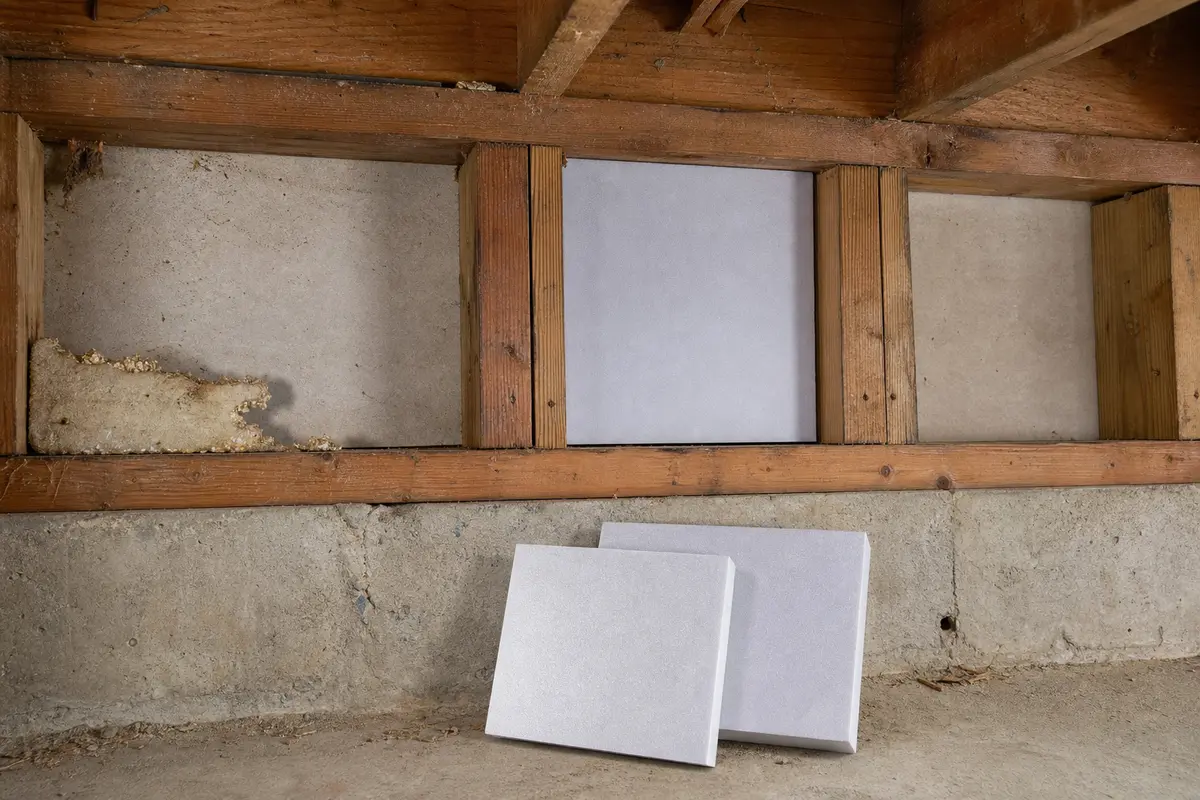
Helps when: Use it when the old bay had a cut foam panel and your check found a gnawed, dirty, or loose piece that should come out.
Skip it when: Skip it if you have not measured the cavity or if the opening behind the foam is still unsealed.
Compare rigid foam panels on AmazonNot if you see droppings, odor, staining, or nesting material in it. A face patch hides contamination and leaves the entry problem untouched. Remove the damaged section first, check the neighboring bays and nearby gaps, then replace only the areas that are clean and dry.
Usually no. If the damage is localized and the adjacent bays are clean, dry, and intact, replace only the affected section. If you find droppings or nests spreading bay to bay, the replacement area gets larger.
Match what was there if it was working and the area is dry. That usually means a properly cut insulation batt or a rigid foam insulation panel sized to the rim joist bay. The key is fit and cleanliness, not mixing random scraps together.
Contaminated insulation usually has droppings embedded in the fibers, urine odor, staining, matted spots, or nesting material mixed through the cavity. Pull back enough material to see the wood and the bay edges. Light edge chewing with clean, dry insulation around it is a much smaller repair.
The rim joist is warm, protected, and often close to tiny entry gaps at the sill, corners, or utility penetrations. If the chewing is tight to one of those spots, look for daylight, rub marks, loose old patch material, or fresh droppings before replacing the insulation.
No. New insulation only restores the thermal layer. If the access point is still open, mice can chew into the new material just like the old one.
Clean and inspect the affected bay first when you can do it safely. If you seal the face of the repair before removing contaminated insulation, you can trap odor, droppings, or nesting material where it is harder to reach later.
Spray foam may be part of an air-sealing or gap repair in the right assembly, but it is not a cleanup step. First remove contaminated insulation, expose the rim joist surface, and identify the entry route. Use foam or any other sealant only after the bay is clean enough to see what you are sealing.
At minimum, inspect the damaged bay and the two bays on each side. If you find droppings, odor, rub marks, or another chewed area, keep following the rim line until the bays are clean and quiet.
Pause the insulation replacement and find out why the bay is wet. Look for stained wood, soft framing, condensation on cold surfaces, or water tracking in from the exterior side. Damp rim joist insulation can point to air leakage, condensation, exterior water entry, or framing trouble, and new insulation will not fix that by itself.
Repair Riot built this page around checks a homeowner can see before closing the bay: localized chewing, droppings, nesting material, urine odor, damp wood, nearby entry gaps, and fresh activity after a repair. If the clues stay in one clean, dry bay, the fix can stay small. If they spread along the rim, point to a gap, or suggest heavy contamination, cleanup and entry tracing come first. The CDC and EPA references below support the cleanup and rodent-control guidance.