Do clothes come out warm but damp?
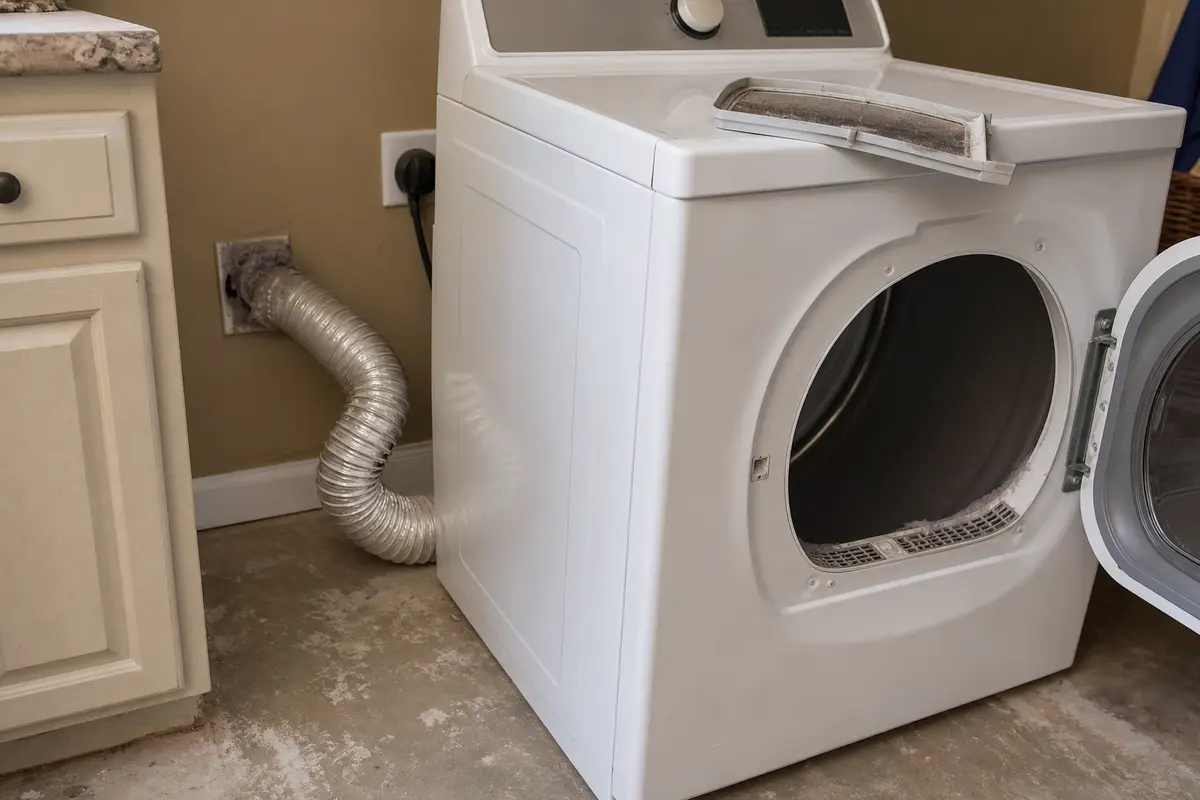
Start with airflow. Clean the lint screen, inspect the rear hose, and watch the outside hood before buying any heat part.
If your LG dryer takes too long to dry, start with airflow: lint screen, rear hose, outside hood, then one short vent-off comparison. If airflow is strong and the load still dries slowly, separate sensor-dry behavior from weak heat before buying parts.
A film-coated lint screen or crushed hose is more likely than a control board. Good clue: clothes are warm but damp and the outside flap barely moves.
Use the result you can see: weak outside airflow, damp heavy loads, sensor dry ending early, or a drum that never gets truly hot.
Don’t start with: a heating element or control board while the outside flap barely moves. Clear the vent path first, then shop only if strong airflow still leaves the drum cool.
Start with airflow. Clean the lint screen, inspect the rear hose, and watch the outside hood before buying any heat part.
The dryer is likely trapped behind a restricted vent path. Clear the screen, hose, wall duct, or hood first.
The house vent path is restricted. Fix that path before replacing dryer parts.
Clean the visible moisture sensor bars and retest with a medium load. Tiny or mixed loads can fool sensor cycles.
Now sort by dryer type: electric heat circuit or gas ignition path. Keep power disconnected for internal continuity checks.
Stop testing, shut the dryer off, and leave the area if you smell gas. Call the gas utility or a qualified technician before running another cycle.
Long dry times are easier to sort when you compare airflow before opening the cabinet. Start at the lint screen, rear hose, outside hood, then heat parts only if the airflow clues are clean.

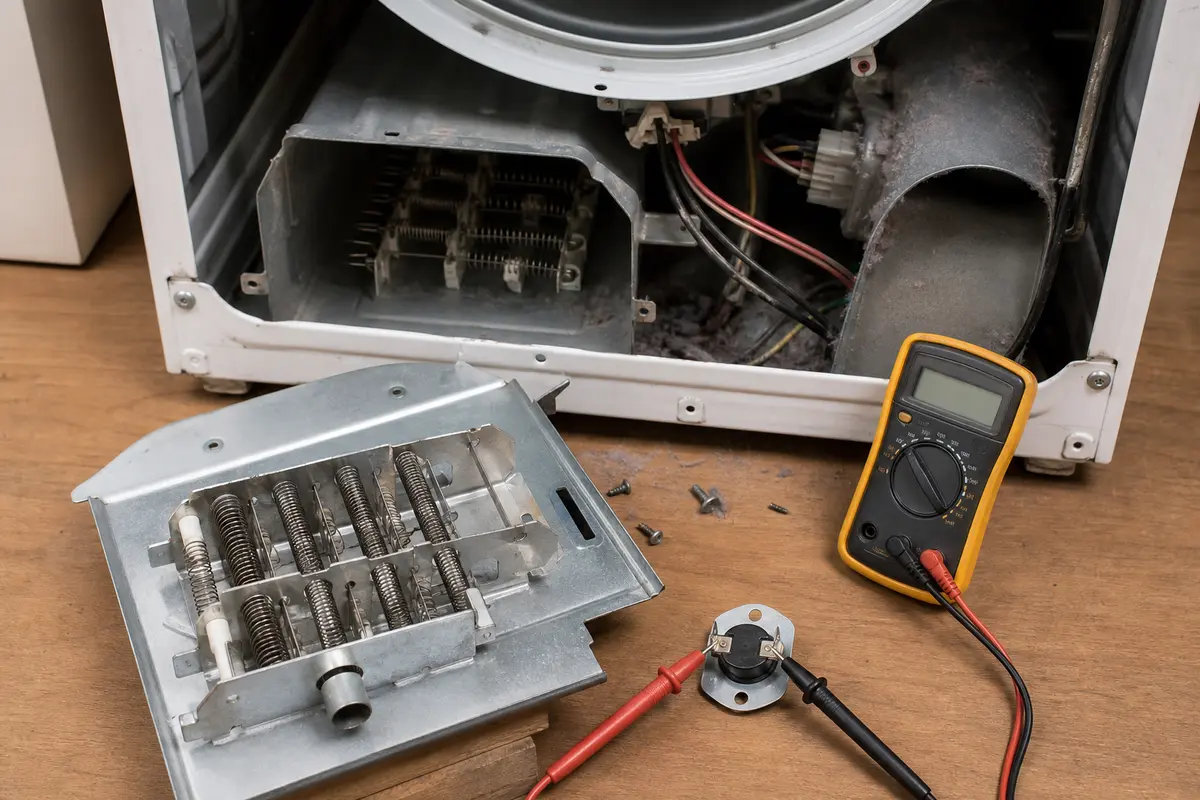
Before buying a heating element, thermal cutoff, high-limit thermostat, lint filter, igniter, or control board, prove the vent path is clear and copy the full model number from the dryer tag. Match screen shape, terminals, mounting holes, connector style, and ratings. Fix airflow first or a new heat-safety part can fail again.
If an LG dryer takes too long to dry, start where the air leaves the machine. Check for lint-screen film, a crushed rear hose, and an outside flap that barely moves while the drum is warm.
Most slow-dry mistakes come from replacing parts while the dryer is still starved for air.
Use one short run with the vent disconnected only to compare airflow. Reconnect the vent before normal drying.
| What you see | What it usually means | Next move |
|---|---|---|
| Air is much stronger with the hose off | The house vent path is restricted. | Clean or replace the crushed hose, clear the exterior hood, and call for hidden vent cleaning if airflow stays weak. |
| Dryer outlet airflow is weak even with the hose off | Lint may be packed in the dryer outlet, blower area, or internal lint path. | Unplug the dryer and clean only accessible lint. Book service if the blockage is inside the cabinet. |
| Airflow is strong but clothes still stay damp | Load size, cycle choice, sensor reading, or weak heat is now more likely. | Try timed dry with a normal load, then clean visible moisture sensor bars if your model has them. |
| Air stays room-temperature on high heat | The dryer may have a no-heat failure after airflow is ruled out. | Separate electric heat-circuit diagnosis from gas ignition diagnosis before ordering parts; keep power off for continuity checks. |
| The cabinet gets hot or you smell burning | The dryer may be overheating or holding lint where it should not. | Stop, unplug it, and do not run another load until the vent and dryer are checked. |
| Gas odor or rough ignition shows up | This is a fuel-safety issue, not a shopping clue. | Shut the dryer off, leave the area if needed, and call the gas utility or a qualified technician. |
Poor airflow can make a good LG dryer act weak. Handle the parts you can see before removing panels.
A dryer can make heat and still leave clothes damp if the load fools the sensor or blocks air through the drum.
Parts belong late in the diagnosis. The dryer has to point to a specific heat path first.
These tools support the safe homeowner checks on this page. Skip tool work when the dryer shows gas odor, scorched electrical parts, repeated breaker trips, or a hidden vent you cannot reach safely.
Paid links. As an Amazon Associate I earn from qualifying purchases. Repair Riot may earn a commission at no extra cost to you.
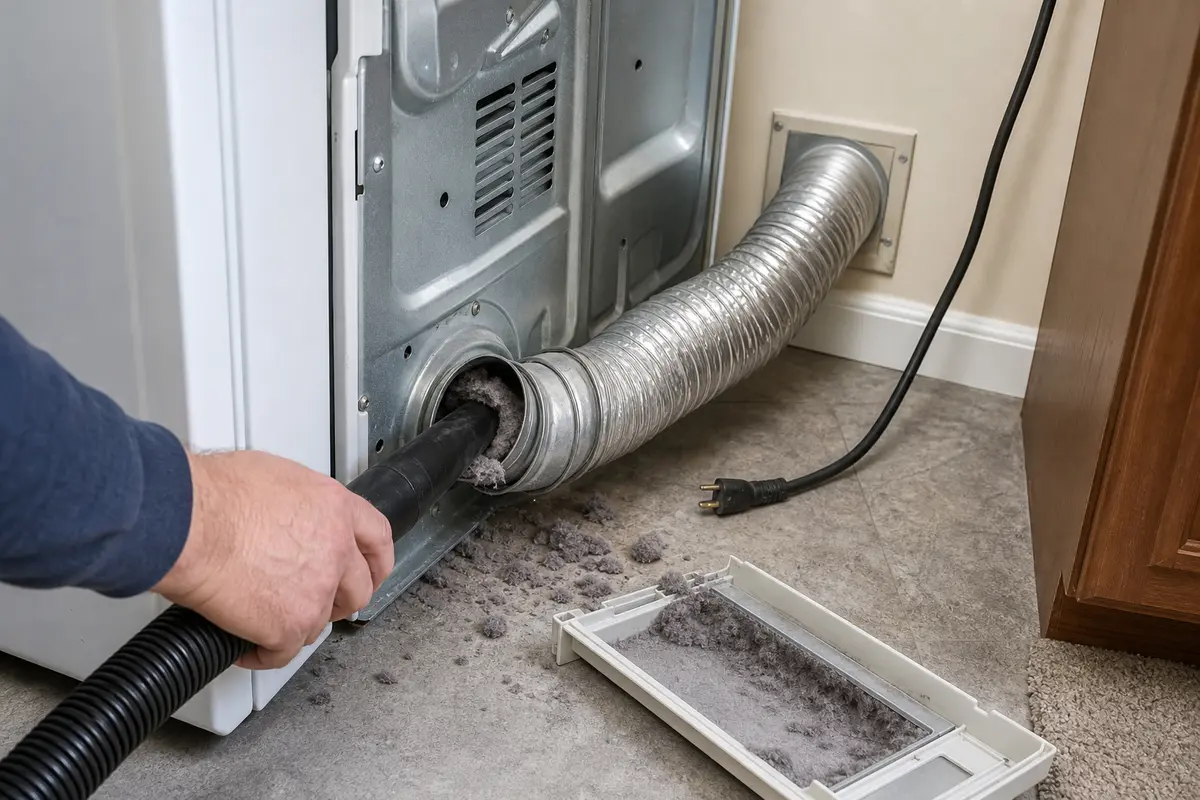
Helps when: Loose lint is visible at the rear dryer outlet, lint screen housing, floor, or accessible vent opening.
Skip it when: The blockage is hidden in a wall, ceiling, crawlspace, roof exit, or internal dryer area.
Compare vacuum hose attachments on Amazon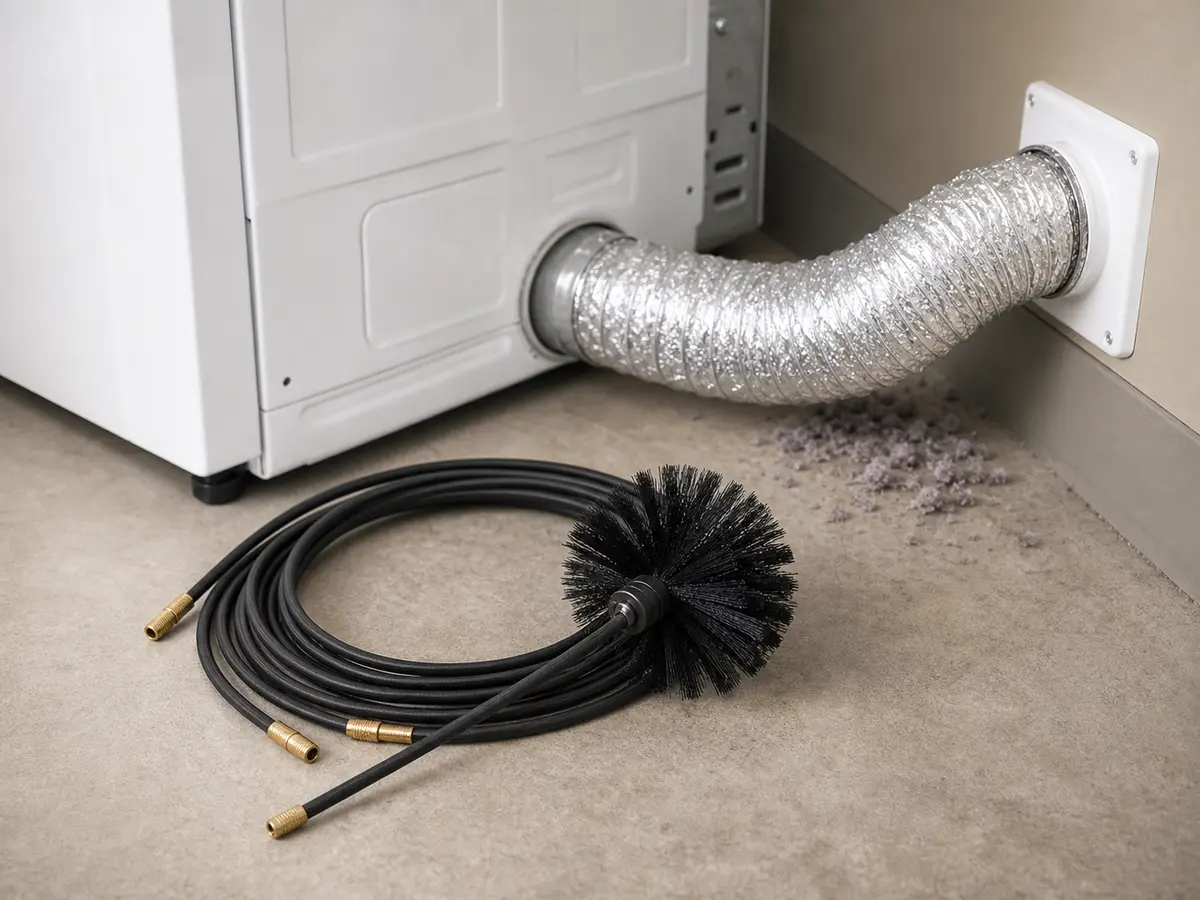
Helps when: You have a short, accessible vent section or exterior hood with visible lint buildup after the airflow check.
Skip it when: The vent exits the roof, disappears into a long hidden run, or the dryer shows overheating, gas odor, or rough ignition.
Compare dryer vent cleaning kits on Amazon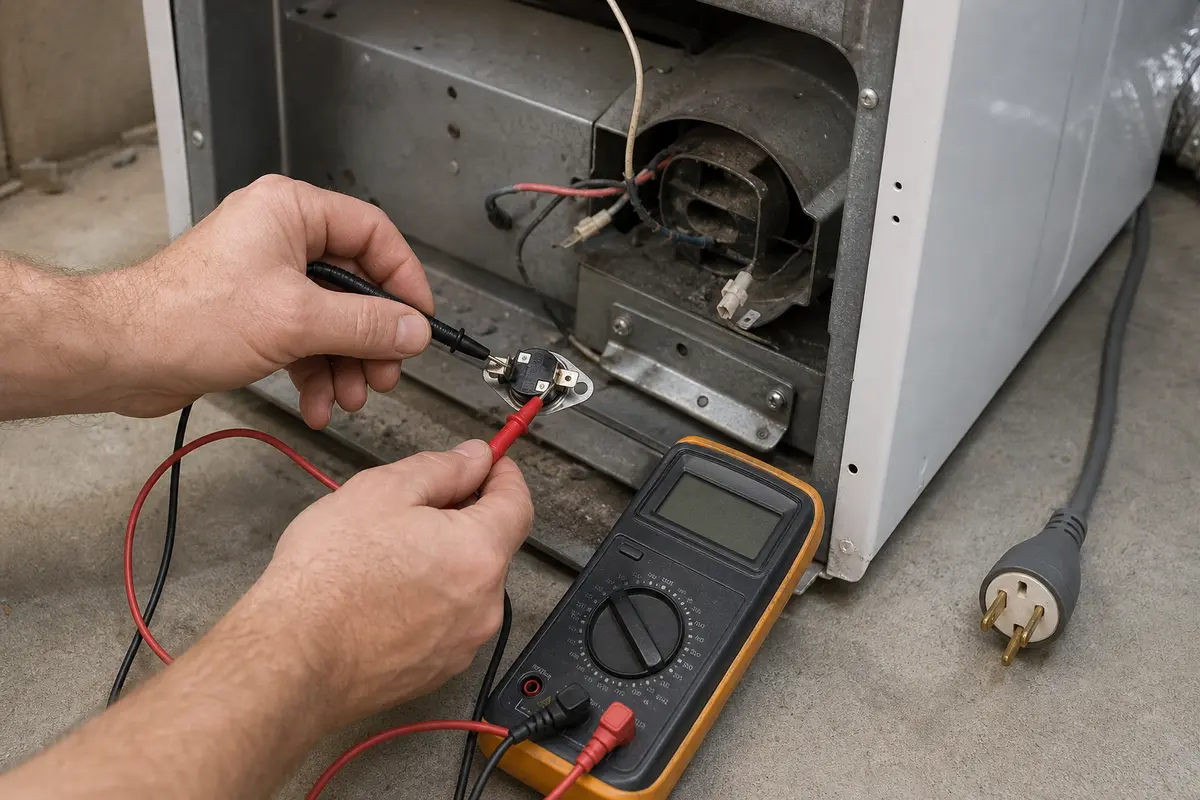
Helps when: You are checking continuity on an unplugged heating element, thermal cutoff, or high-limit thermostat after airflow is proven strong.
Skip it when: The next step requires powered outlet testing, internal voltage checks, gas-line work, or tracing burned wiring.
Compare digital multimeters on AmazonUse these only after the result map points past airflow and load behavior. LG dryer parts are model-specific, so the model tag and old-part layout matter more than the symptom name.
Paid links. As an Amazon Associate I earn from qualifying purchases. Repair Riot may earn a commission at no extra cost to you.
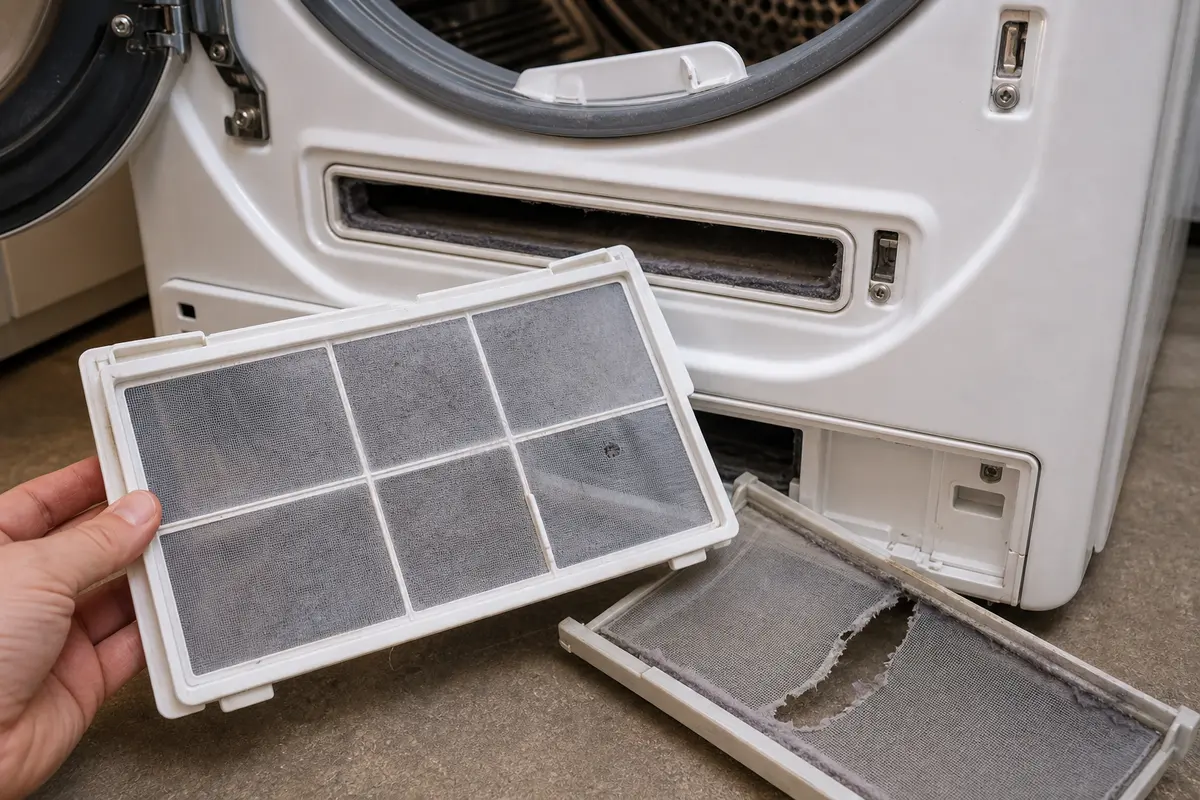
Helps when: The existing screen is torn, bowed, warped, or no longer seats tightly, letting lint get past the filter area.
Skip it when: The screen is intact and the slow drying points to the hose, outside hood, load size, or heat path instead.
Compare LG dryer lint filters on Amazon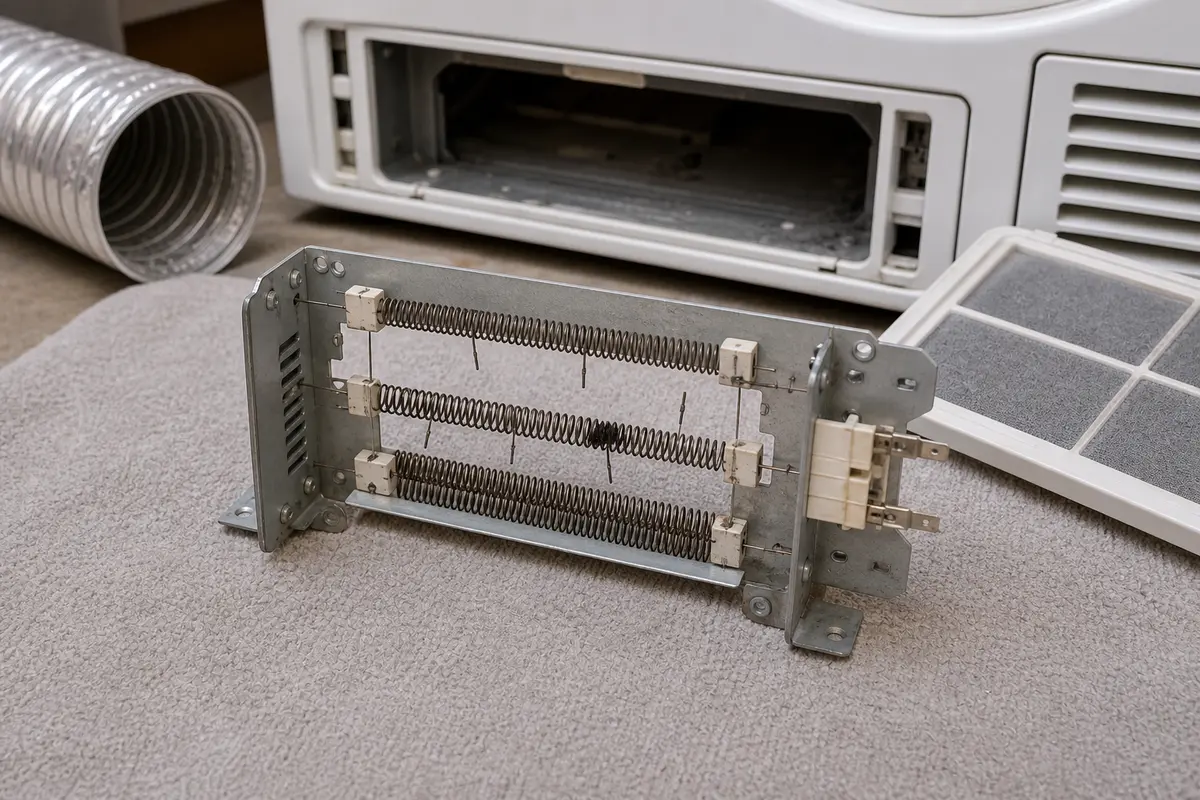
Helps when: An electric dryer has strong airflow, but the element is visibly broken or tests open with the dryer unplugged.
Skip it when: The dryer is gas, outside airflow is weak, or no-heat versus slow-dry behavior has not been proven; stop testing for gas odor or rough ignition.
Compare dryer heating elements on Amazon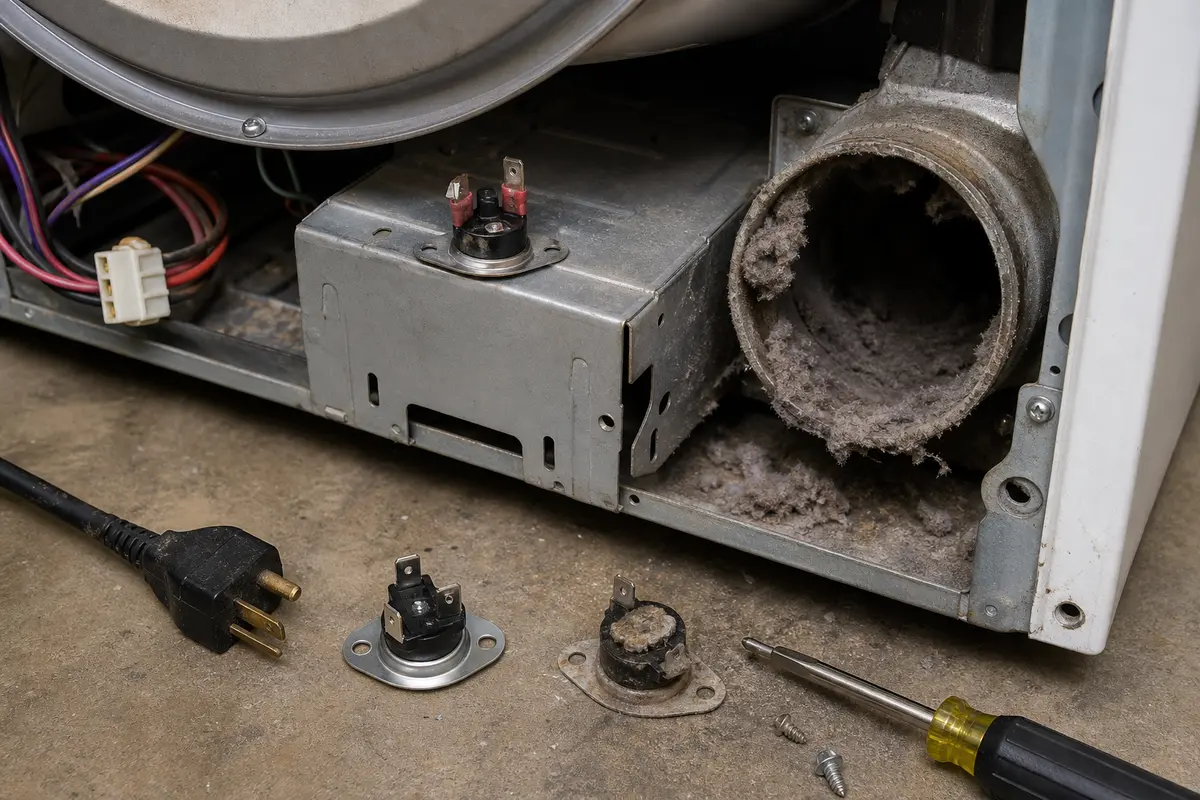
Helps when: The dryer lost heat after overheating, the vent restriction is corrected, and the cutoff tests failed.
Skip it when: The vent problem is not corrected or the no-heat clue points to supply power, ignition, or another tested part.
Compare dryer thermal cutoffs on Amazon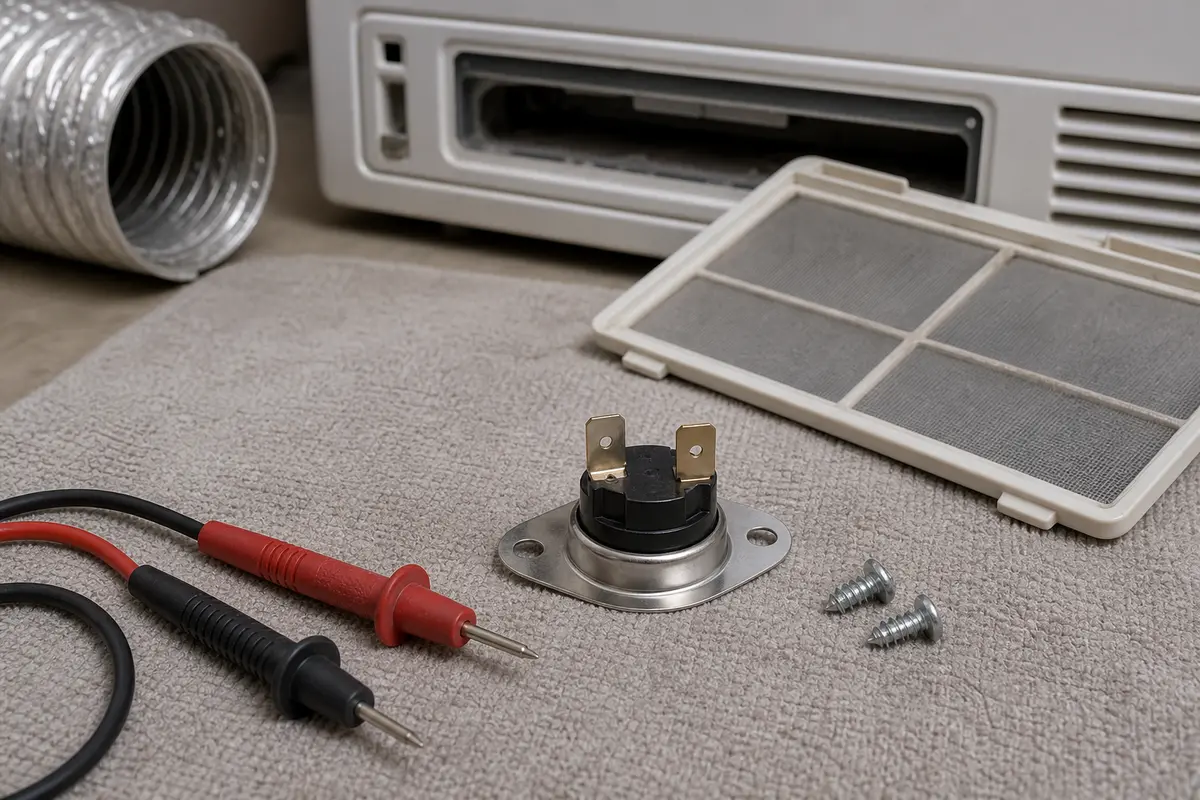
Helps when: Testing supports a failed high-limit thermostat in the heater circuit after airflow checks.
Skip it when: You are using it as the first guess or the terminal layout and rating do not match the old part.
Compare high-limit thermostats on AmazonMost often, warm damp air is not leaving the drum fast enough. Check lint screen film, the rear hose, and the outside hood before replacing heat parts.
That usually points to poor airflow. Watch the outside flap during a cycle; weak movement with a warm drum means moisture is staying in the dryer instead of exhausting outside.
Yes. A partly blocked vent or crushed hose can stretch a normal load into two or three cycles and can make the cabinet run hotter than normal.
No. A heating element makes sense only on an electric dryer after airflow is strong and the element is visibly broken or tests open with the dryer unplugged.
Timed dry uses a fixed runtime instead of the moisture-sensing decision. If it works better, clean the visible sensor bars, avoid tiny loads, and retest with a medium load.
It can contribute if the screen is torn, bowed, warped, or not seating correctly. Replace it with the exact model-fit filter, then clean any lint that got past the screen.
No. Use a vent-off run only as a short diagnostic comparison. Normal drying with the vent disconnected dumps lint and moisture into the room.
First rule out airflow. If there is gas odor, delayed ignition, rough ignition, or unusual burner behavior, stop and call the gas utility or a qualified technician.
Use service for roof vents, hidden duct runs, scorched wiring, repeated overheating, powered electrical testing, gas-system work, or internal lint buildup you cannot reach safely.
Repair Riot built this page around homeowner-visible dryer clues: lint screen condition, rear hose shape, outside airflow, load behavior, timed dry, sensor dry, and whether heat is missing after airflow checks. The source links support dryer airflow, lint-cleaning, efficiency, and fire-risk context; the repair sequence is original guidance.