Outlet fit
Look for: Tubing seats fully on the outlet barb or adapter and does not wobble.
Choose another repair if: A stretched, split, or oversized tube will leak no matter how much it is pushed on.
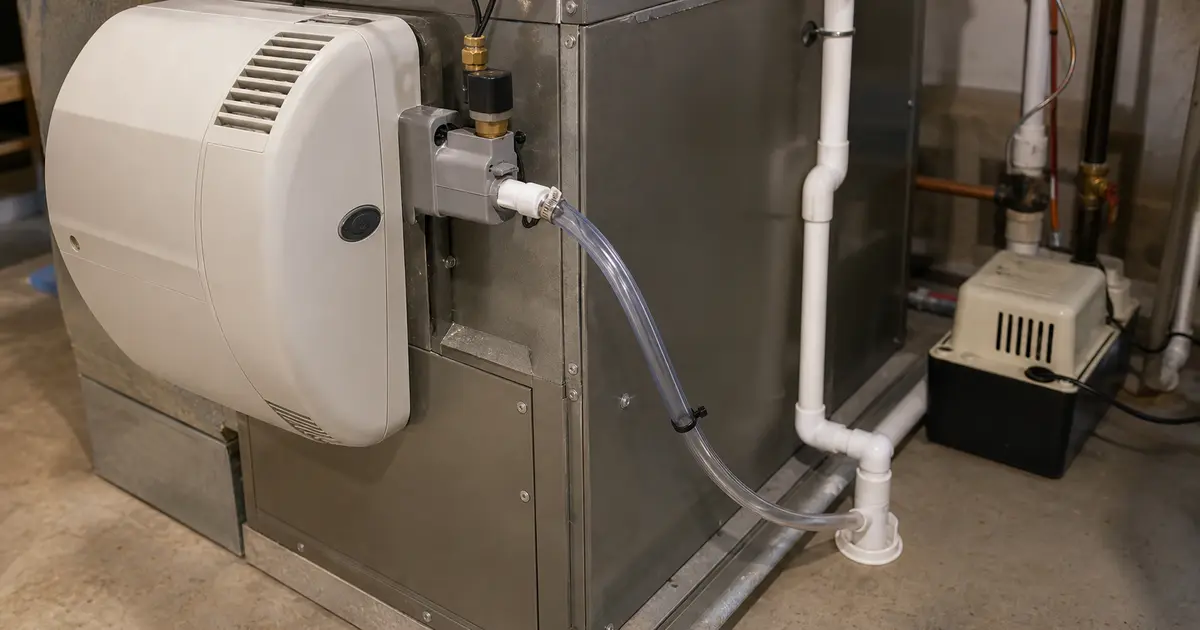
A good humidifier drain connection has tubing that fits fully over the cabinet outlet, is secured without being crushed, runs downhill without a belly, and discharges to the existing floor drain, condensate pump, air gap, trap, or indirect drain without being jammed airtight into the drain. If any one of those details is wrong, the humidifier can leak even with new tubing.
This page is for the detail people usually miss. The tube color is not the repair. The outlet fit, slope, support, and drain-end setup are what keep water away from the furnace cabinet.
Before you start: Do not guess at the tubing. Confirm the outlet size, support, slope, and drain end detail before replacing parts. If water is near electrical controls, stop and dry the area safely first.
Most humidifier drain leaks come from fit, slope, support, or drain termination. Check those before blaming the whole humidifier.
Look for: Tubing seats fully on the outlet barb or adapter and does not wobble.
Choose another repair if: A stretched, split, or oversized tube will leak no matter how much it is pushed on.
Look for: The tube runs downhill with no low belly that can hold water.
Choose another repair if: If the route must rise, you may need a condensate pump or a different drain route.
Look for: The end drains safely while preserving any air gap, trap, pump, or indirect-drain setup.
Choose another repair if: Do not jam tubing into a drain in a way that hides backups or causes siphoning.
A leak-free humidifier drain depends on a tight outlet fit, downhill tubing, support, and a drain end that cannot back up unnoticed.
Use it for: Lets you inspect the outlet, tubing slope, and drain end.
Shop flashlights
Use it for: Catches water during drain testing or disconnection.
Shop shallow pans
Use it for: Dries the area so fresh leaks are easy to see.
Shop towels
Use it for: Supports tubing and secures connections when the setup calls for it.
Shop hose clamps or zip tiesAs an Amazon Associate I earn from qualifying purchases. Repair Riot may earn a commission at no extra cost to you.
If it works: You know whether the connection detail is the leak source.
If it doesn’t: If water starts inside the humidifier cabinet, diagnose the pad, tray, solenoid, or distribution area instead.
If it works: The tube fits tight and straight at the outlet.
If it doesn’t: Replace the tubing or adapter instead of adding caulk or tape around a bad fit.
If it works: Water has a clear gravity path to the drain point.
If it doesn’t: Reroute with a longer smooth line or use the existing pump setup correctly.
If it works: The drain end stays put and water can discharge without backing up.
If it doesn’t: Fix the drain termination before running the humidifier normally.
If it works: Water drains cleanly and the furnace area stays dry.
If it doesn’t: Return to the first wet point and fix that detail, not a random part.
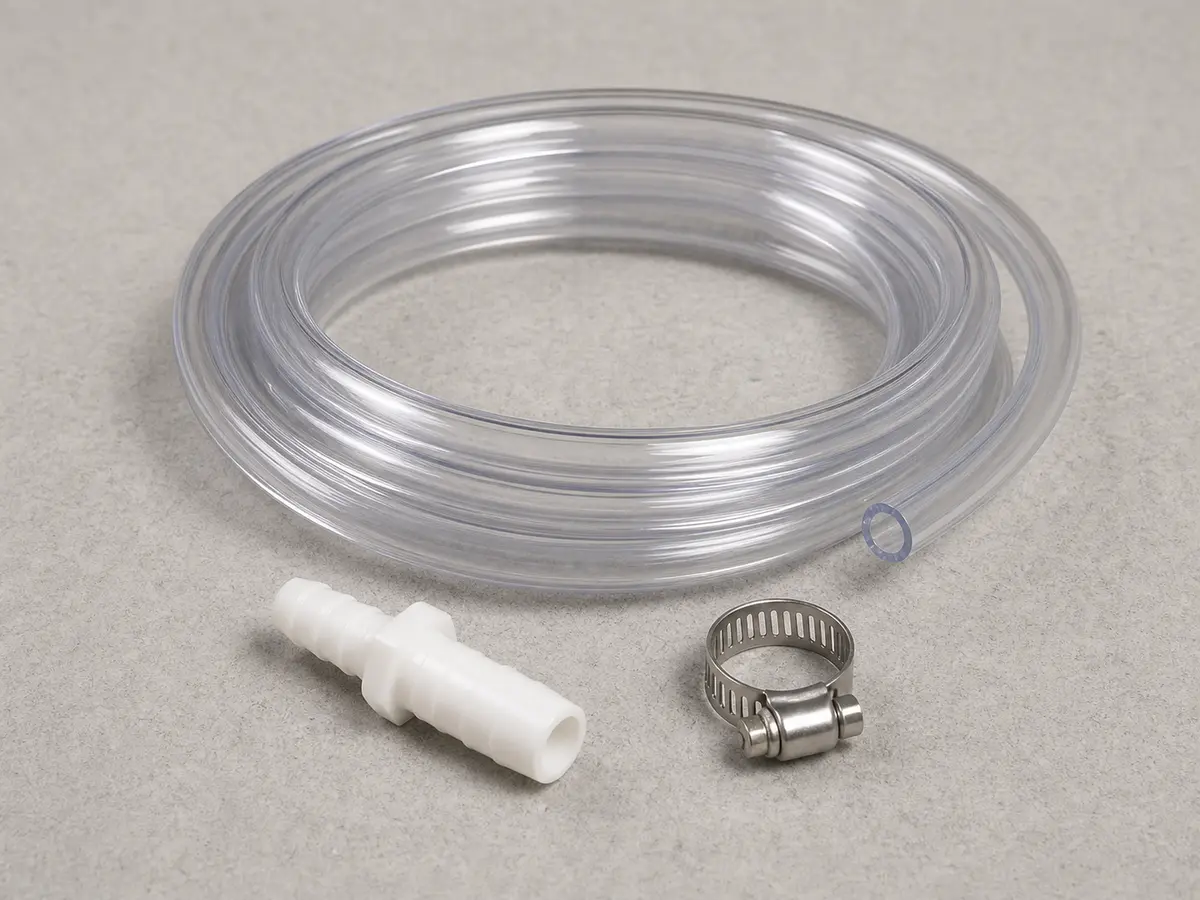
Match the tubing size and outlet connection before ordering.
As an Amazon Associate I earn from qualifying purchases. Repair Riot may earn a commission at no extra cost to you.
It varies by model and adapter. Match the old tubing inside diameter and the cabinet outlet, not the outside color or a generic label.
Many setups use an air gap or indirect drain so backups are visible and contamination cannot be pulled back. Preserve the existing approved setup.
Usually no. A proper tube should fit and clamp correctly. Glue or caulk can hide a bad fit and make the next service harder.
That usually means the outlet, slope, drain end, or internal tray only leaks when water is flowing. Dry the area and watch where fresh water appears first.
A gravity drain should not go uphill. If the drain point is higher, the setup may need a condensate pump or a different approved route.