Are hornets or wasps actively flying in and out of the exterior vent?
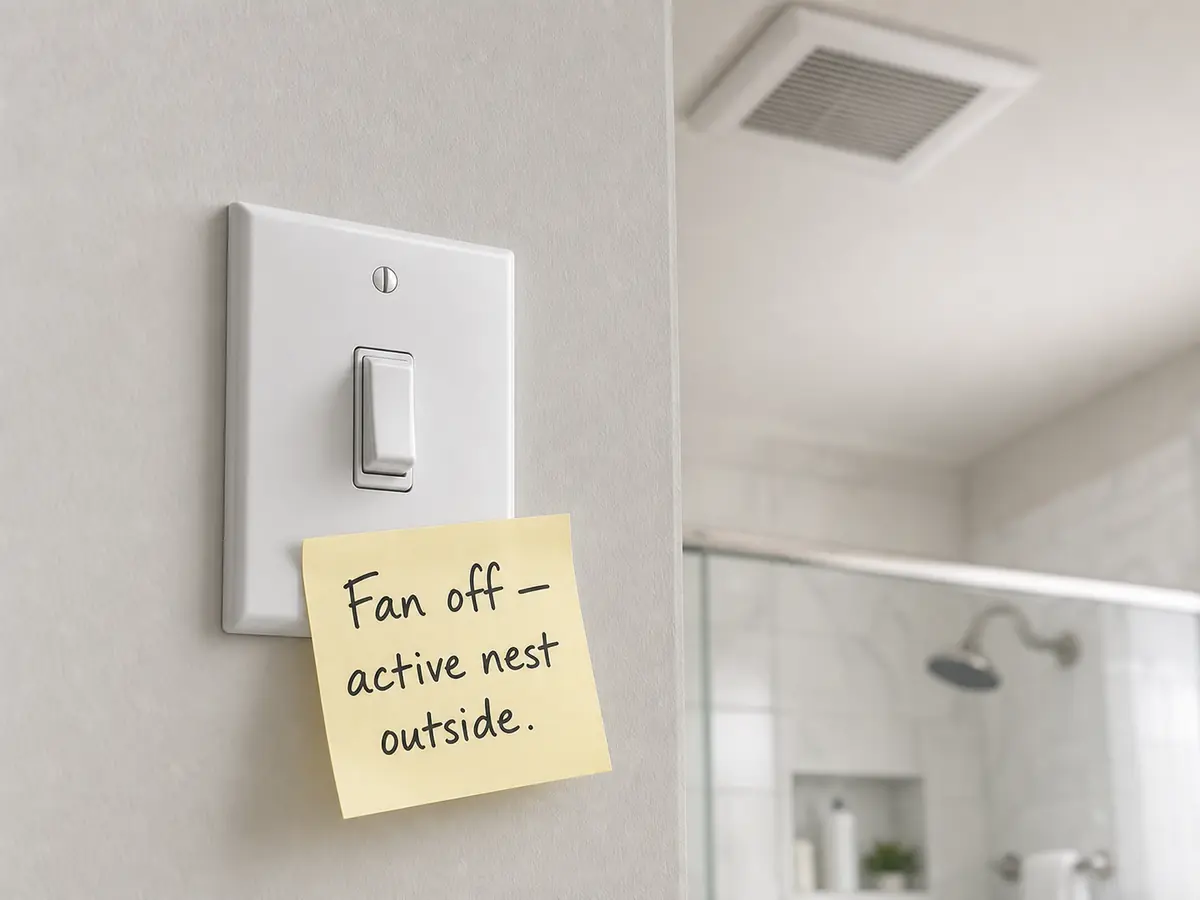
Keep the fan off, keep people and pets away, and call pest control. Do not remove the cover.
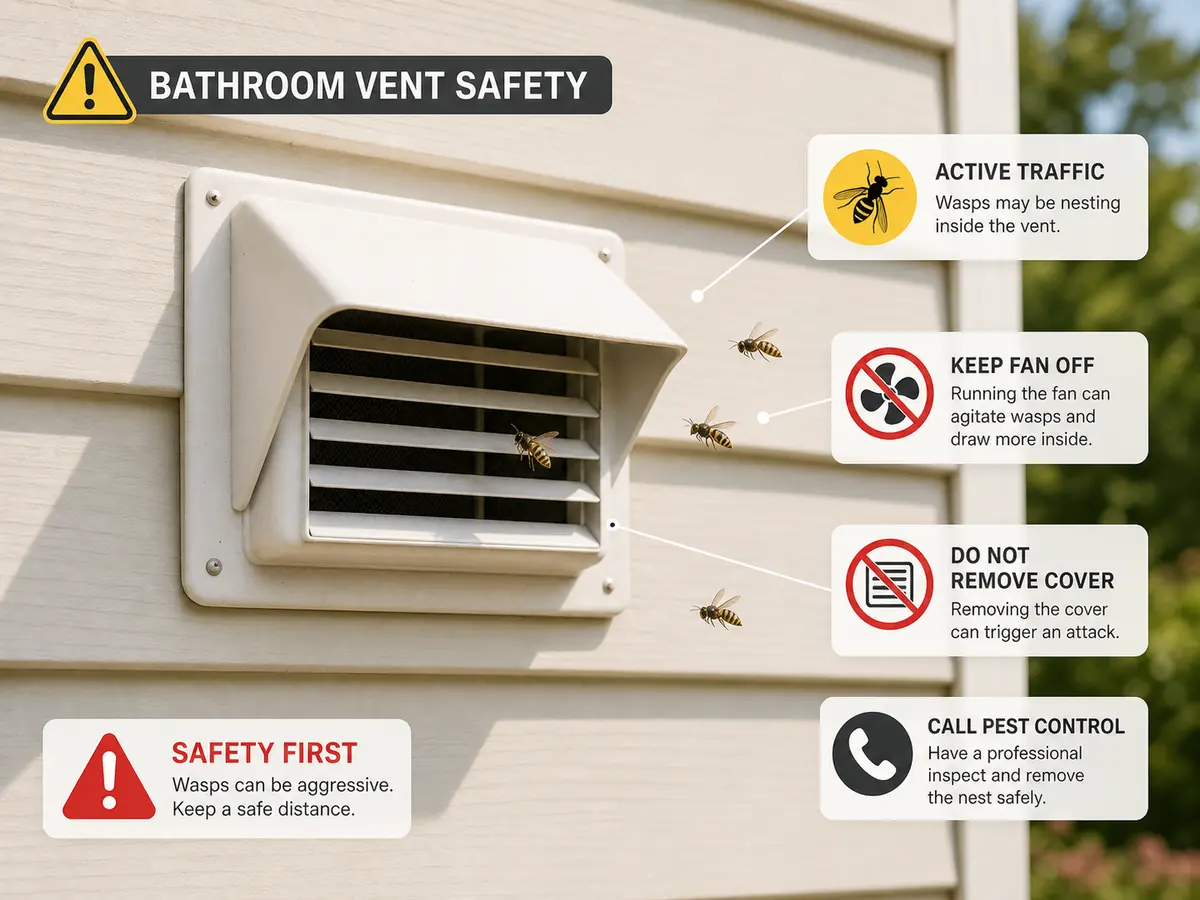
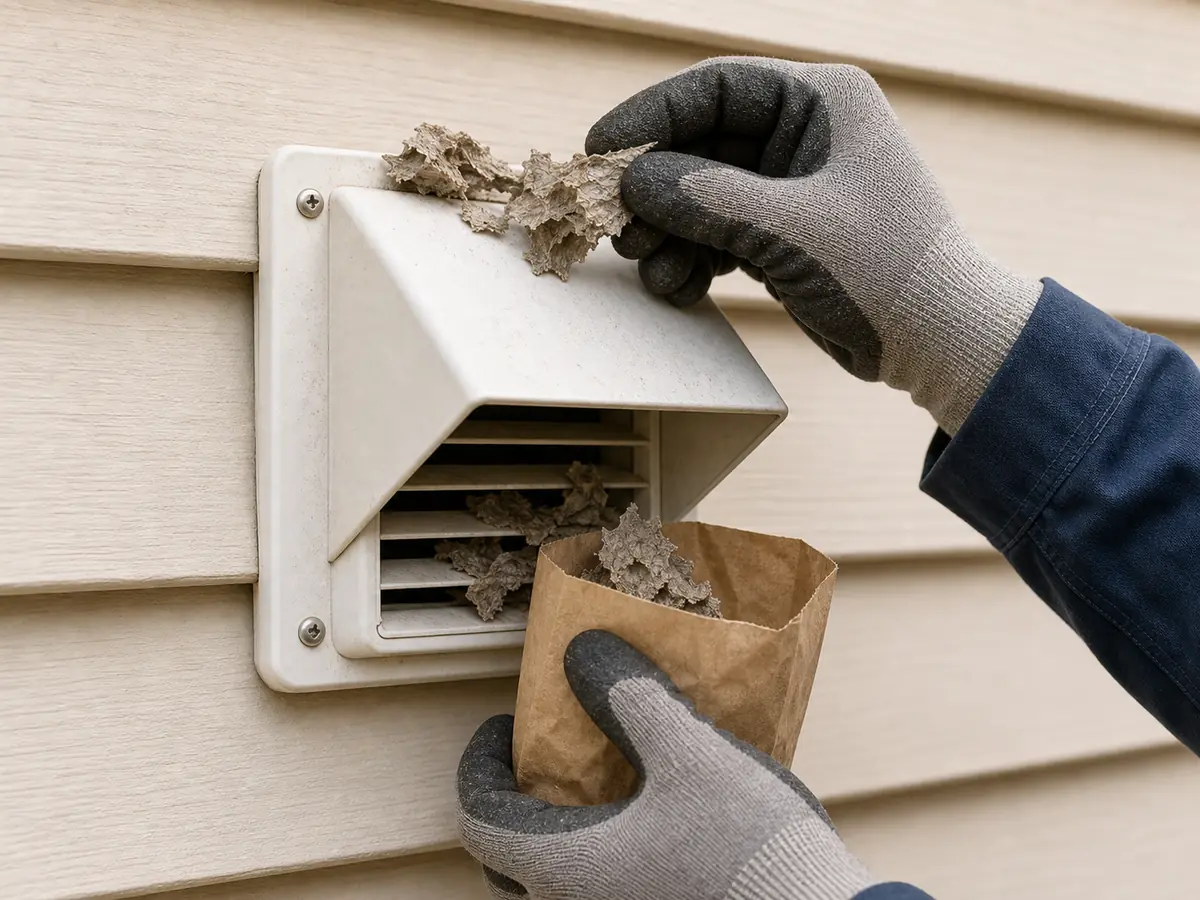
Hornets in a bathroom exhaust vent are a live-insect problem first. Keep the fan off, leave the grille alone, and watch the exterior cover from a safe distance. Active traffic means pest control before any vent repair.
If activity is gone, the common repair is a stuck or broken exterior cap or flap.
Sort active traffic from inactive debris, then repair the cover only when the vent is low and safe to reach.
Don’t start with: Do not turn on the fan, spray from the bathroom side, seal the opening, or pull the cover while insects are active. Those moves can drive insects indoors, trap a void nest, spread pesticide into the duct, or turn a small exterior problem into a room problem.
Keep the fan off, keep people and pets away, and call pest control. Do not remove the cover.
Close the bathroom door, keep the fan off, and stop DIY. The duct or fan housing may be involved.
Repair mode can start only if the vent is low, stable, reachable, and no repeated activity remains.
Stop DIY. The fall risk is not worth it.
Treat it as an airflow blockage, stuck flap, duct debris, or fan issue.
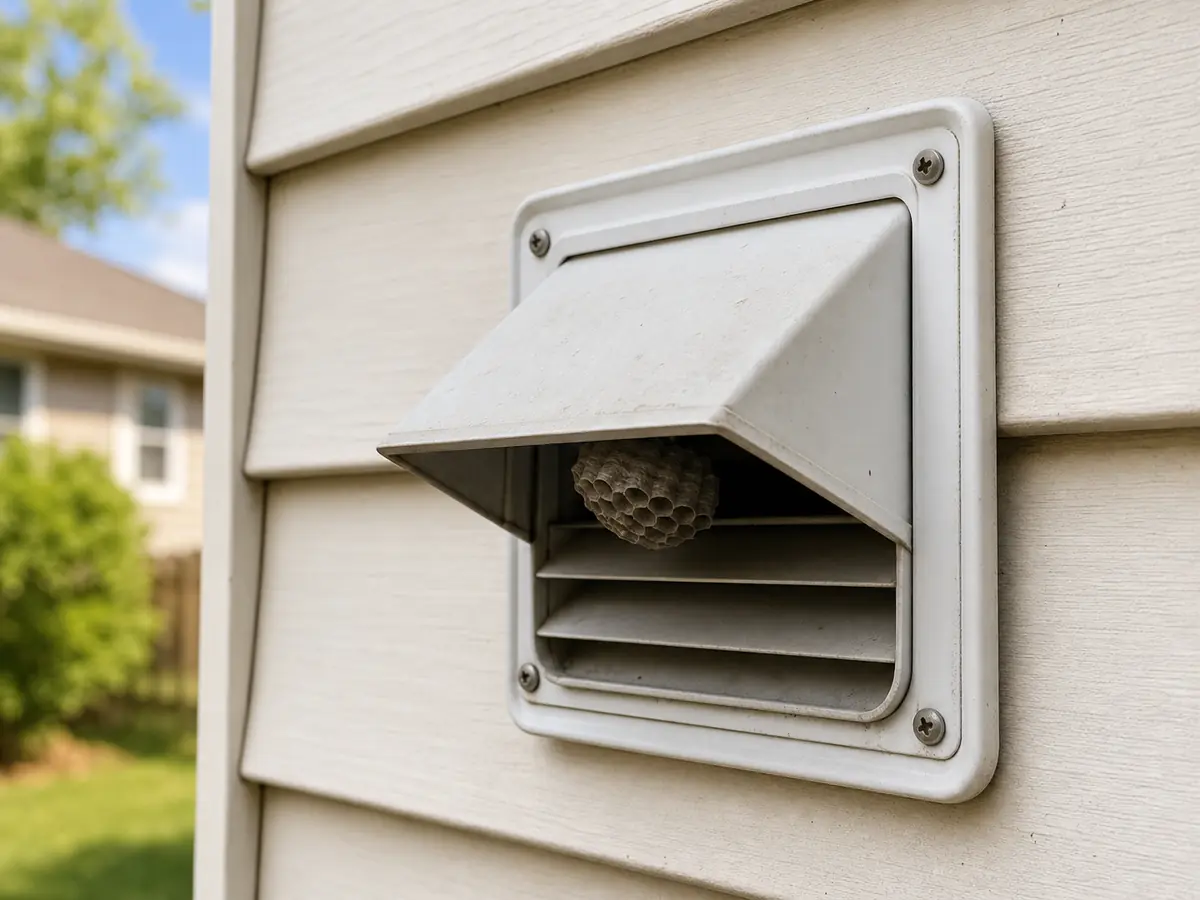
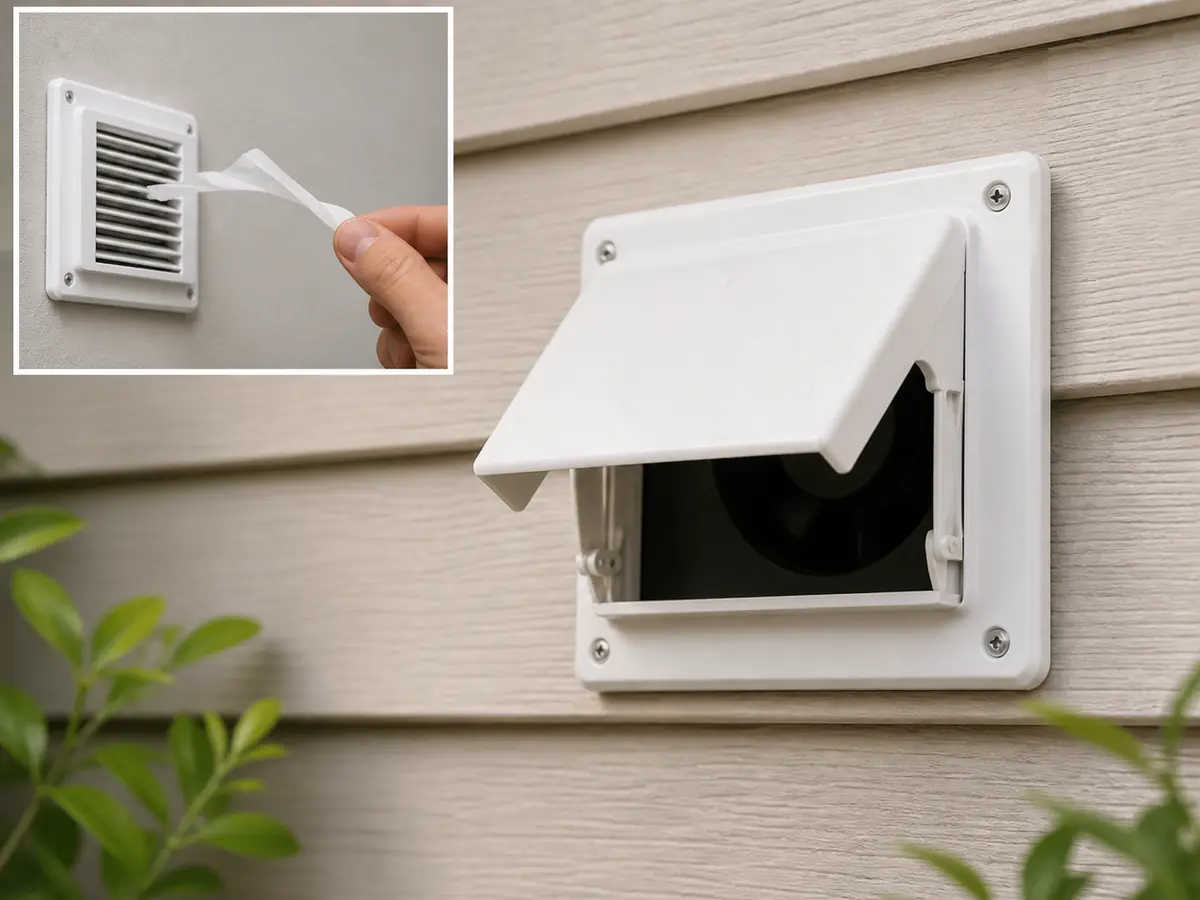
This is the visual clue to look for from a safe distance: a bathroom vent flap that is stuck open or a hood that gives insects a protected entry point.
Before you buy parts: If hornets or wasps are actively flying in and out, do not buy tools for removal yet. Keep the fan off and deal with pest control first. If the nest is old, inactive, and the vent is low and safe to reach, the part most homeowners usually need is a replacement bathroom exhaust vent cover or flap assembly.
These shortcuts are how a vent problem becomes an indoor insect problem.
Observe only from a safe distance. Look for repeated traffic, not one random insect. Keep the fan off, keep kids and pets away from that wall, and take a zoomed photo only if you can do it without approaching the vent.
Only move into repair mode after repeated checks show no activity. The vent must be low and easy to reach from stable ground.
These are only for the repair stage, after repeated checks show no hornet or wasp activity and only when the exterior vent is low and reachable from stable ground. If the vent is high, awkward, hidden, or active, call a pro.
Paid links. As an Amazon Associate I earn from qualifying purchases. Repair Riot may earn a commission at no extra cost to you.
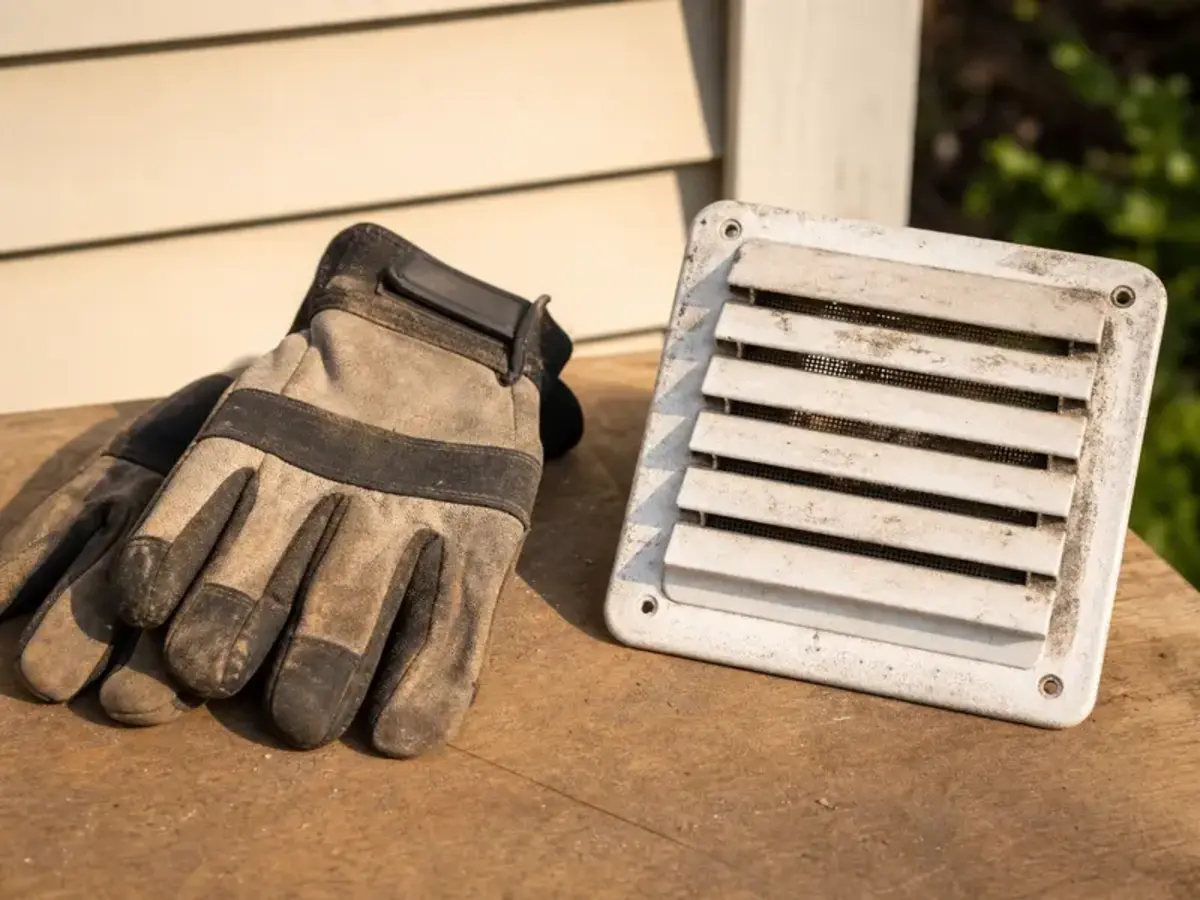
Helps when: You are handling old inactive nest material, dirty vent parts, or sharp sheet-metal edges.
Skip it when: The nest is active. Gloves do not make active nest removal safe.
Compare work gloves on Amazon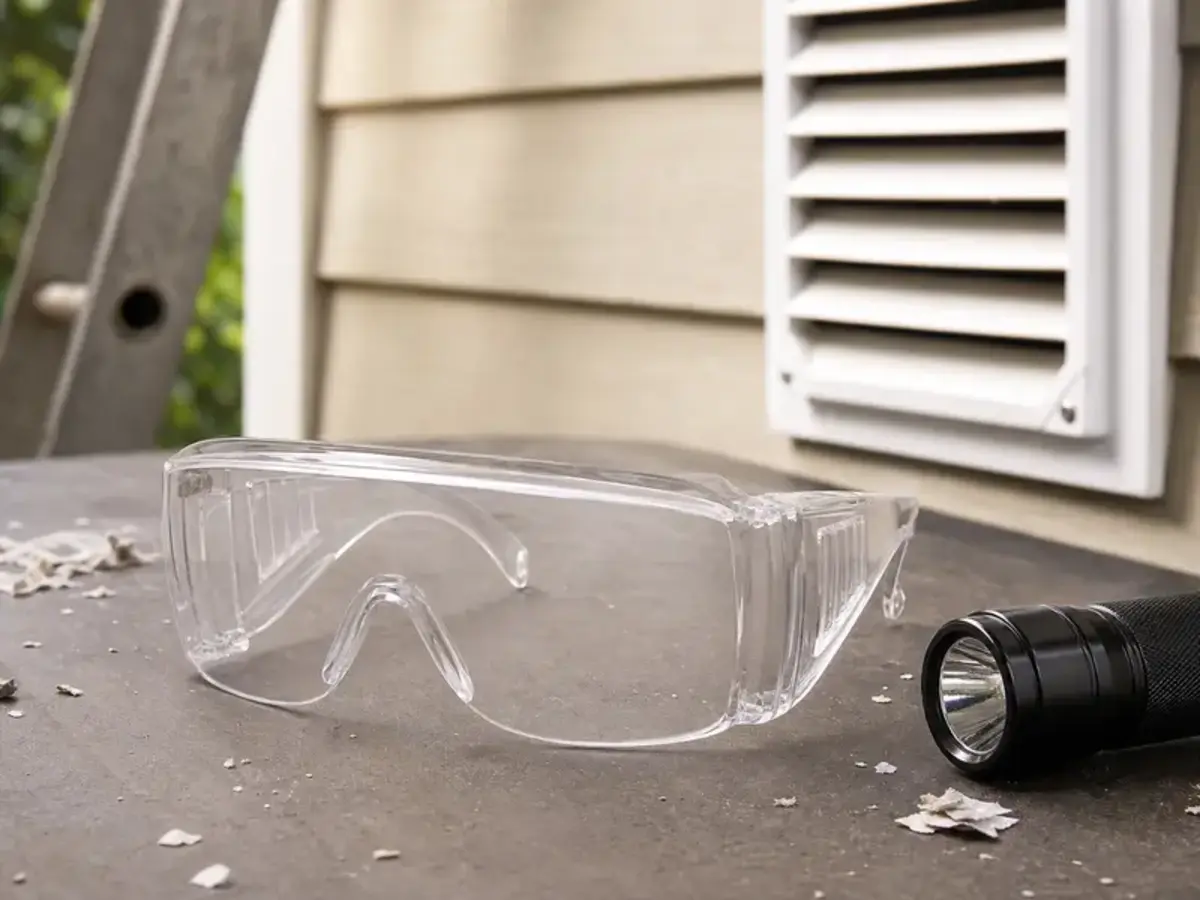
Helps when: You are inspecting or clearing loose paper nest material, dust, or debris from a low exterior vent.
Skip it when: You would be working underneath or near an active nest.
Compare safety glasses on Amazon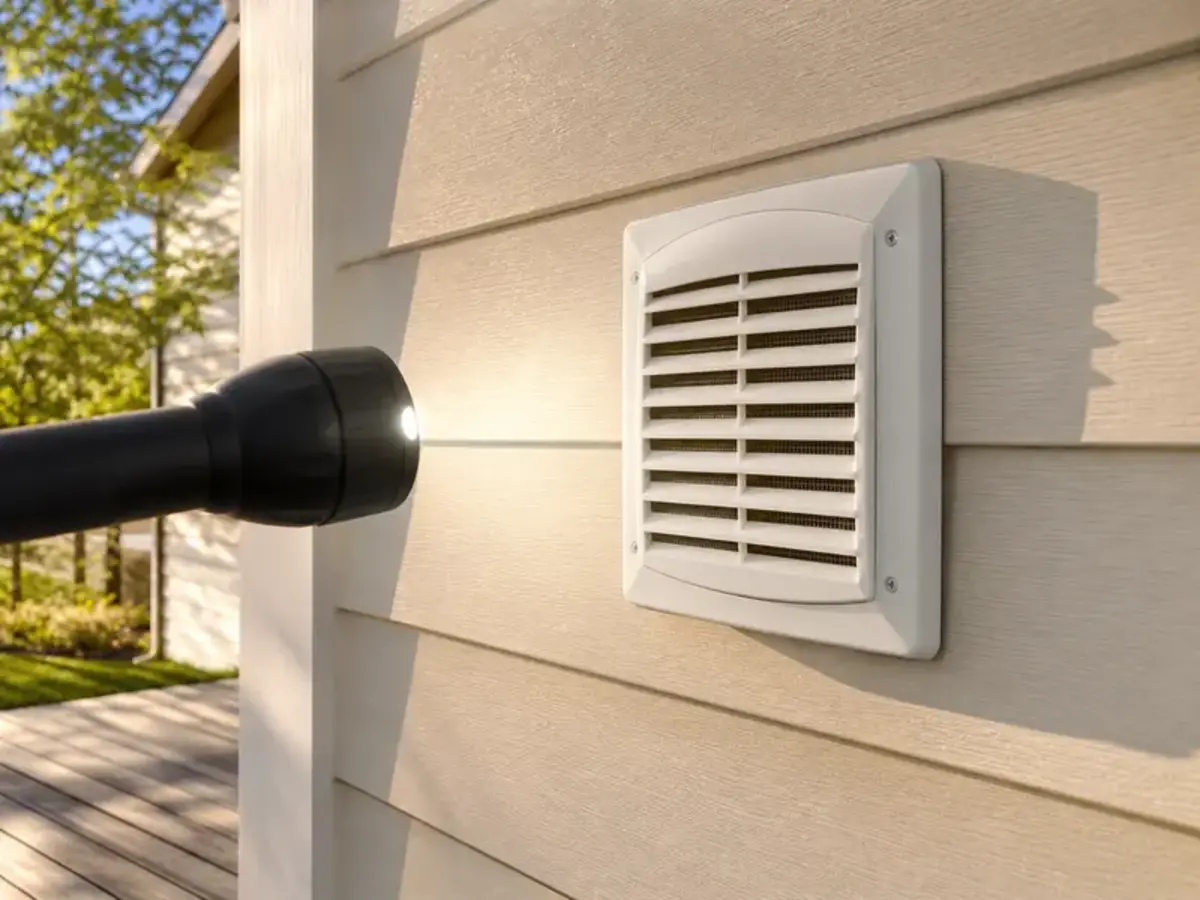
Helps when: You need to inspect the vent hood without putting your face near the opening.
Skip it when: You would need to get close to an active nest or shine light into it from close range.
Compare flashlights on Amazon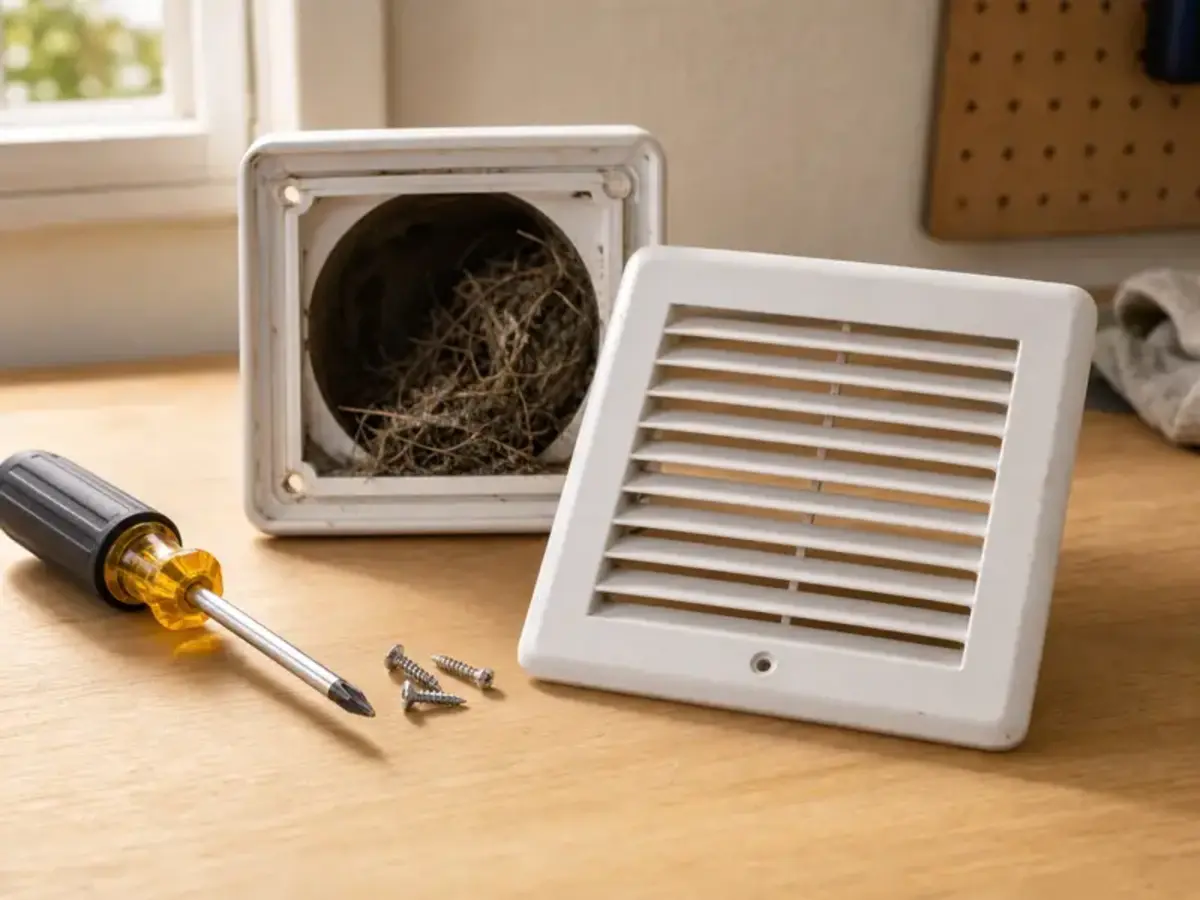
Helps when: The exterior cover is serviceable and the nest is inactive, so screws can be removed safely.
Skip it when: Hornets or wasps are still actively entering or leaving the cover.
Compare screwdrivers on AmazonThese are no longer simple cover-replacement clues. They point to debris, contamination, fan strain, or a deeper duct problem.
The replacement cover has one job: exhaust bathroom air while closing by itself when the fan stops.
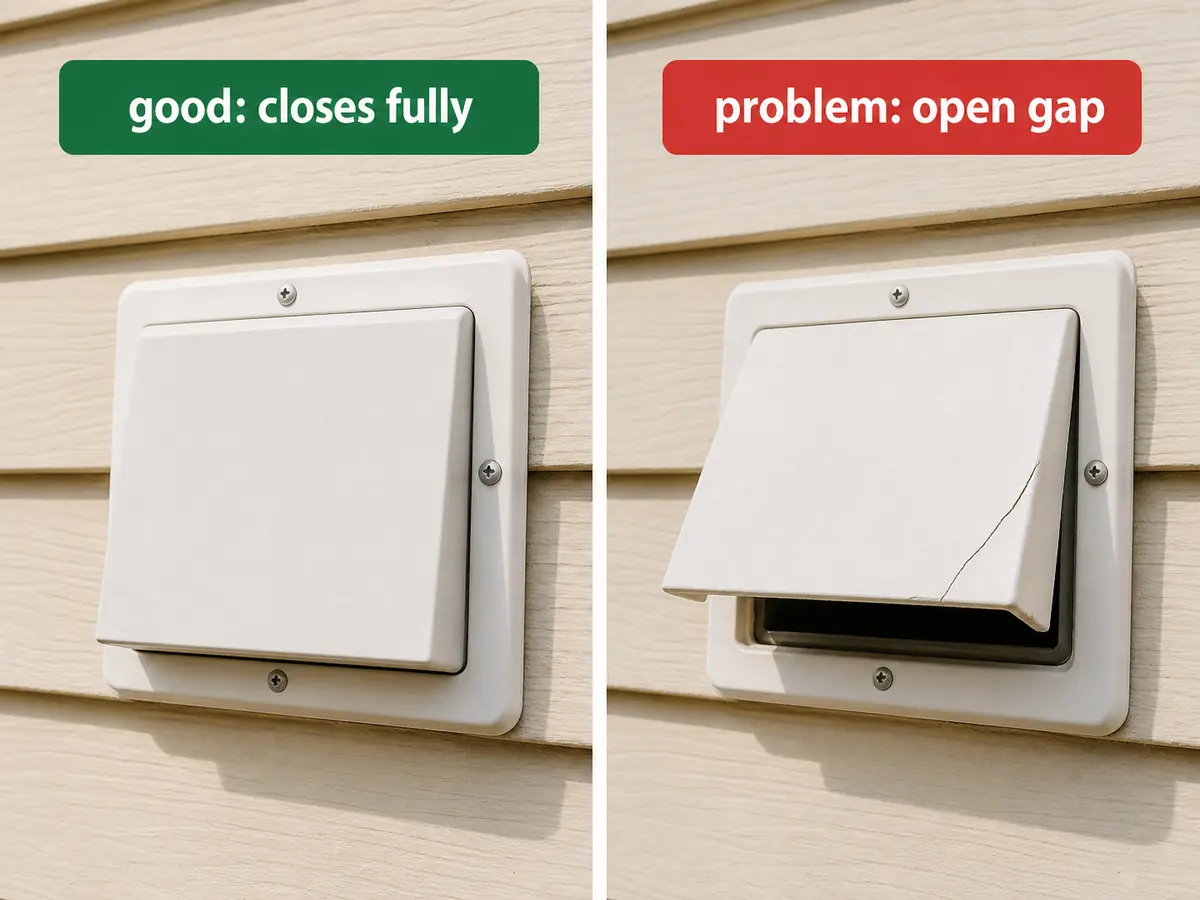
The safest replacement is not the fanciest cover. It is the cover that matches the duct size, closes fully when the fan stops, sheds weather, and does not restrict bathroom exhaust airflow.
Paid links. As an Amazon Associate I earn from qualifying purchases. Repair Riot may earn a commission at no extra cost to you.
Helps when: The old cap is cracked, loose, warped, missing a flap, or stuck open after the nest is inactive.
Skip it when: Hornets or wasps are still actively entering or leaving the vent.
Compare vent covers on Amazon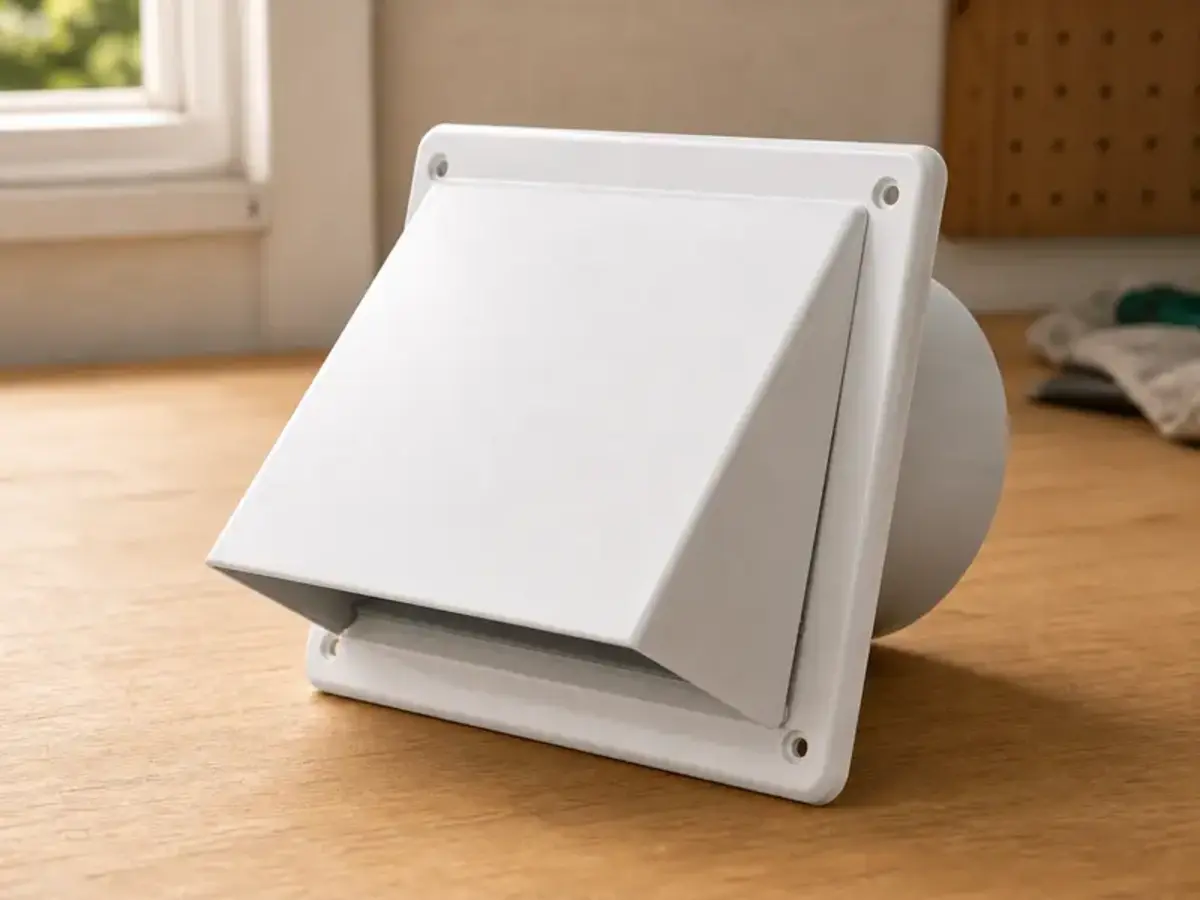
Helps when: The duct exits through an exterior wall and the old damper no longer closes.
Skip it when: You have not confirmed the duct diameter or the outlet is not a wall termination.
Compare wall caps on Amazon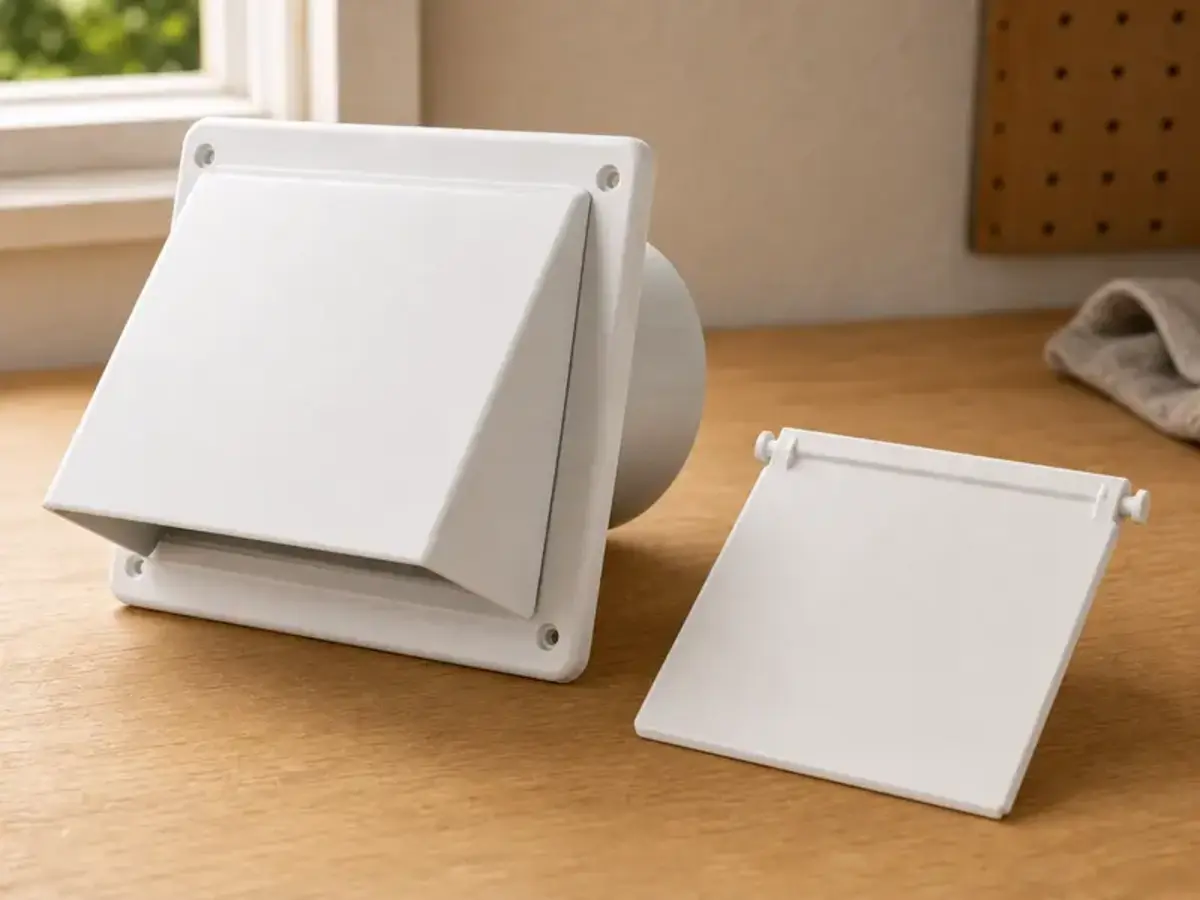
Helps when: The cover body is still sound but the flap is broken, missing, or stuck open.
Skip it when: The flap would restrict airflow or fail to close by itself.
Compare vent flaps on Amazon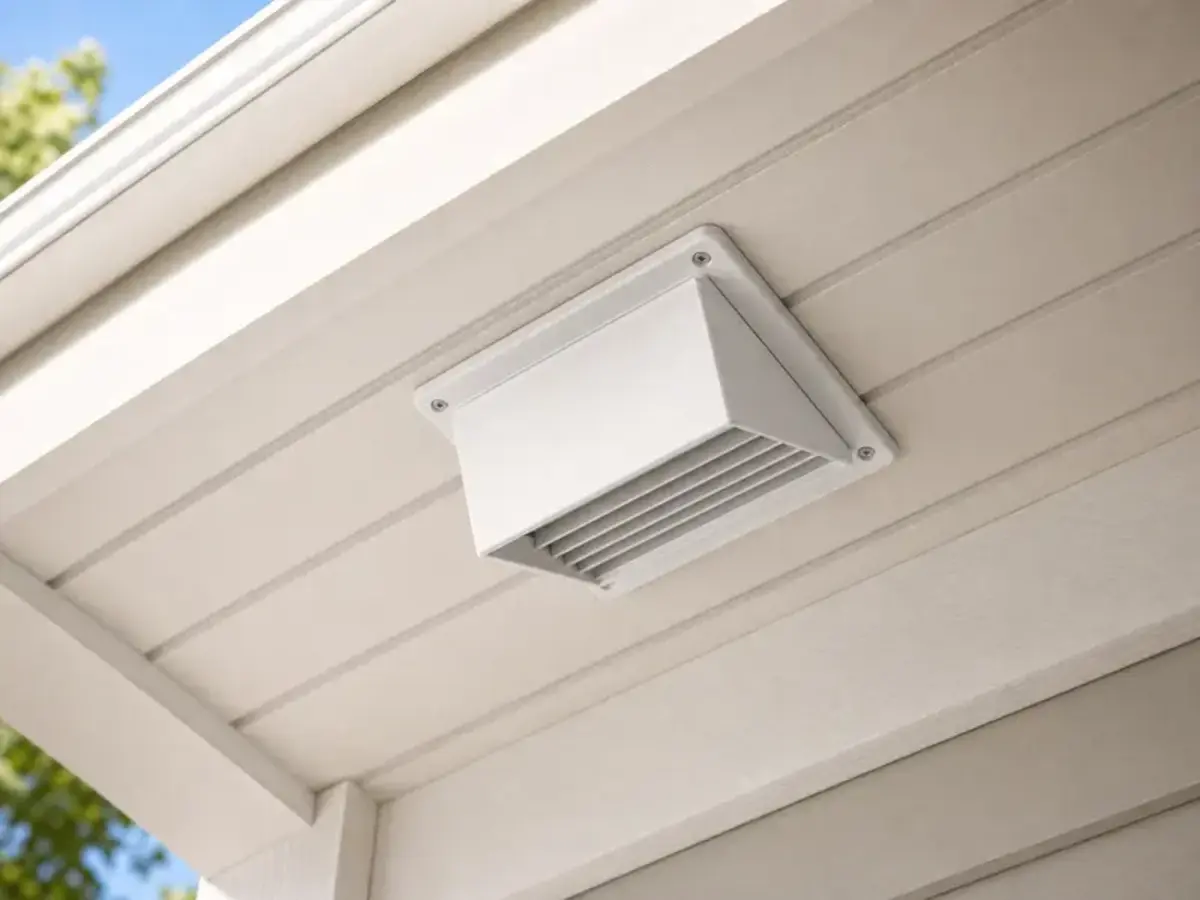
Helps when: The bathroom exhaust actually terminates at a soffit-rated vent.
Skip it when: You are replacing a wall cap; wall and soffit terminations are not interchangeable.
Compare soffit vent covers on AmazonA repaired cover is not enough if the bathroom still cannot exhaust moisture.
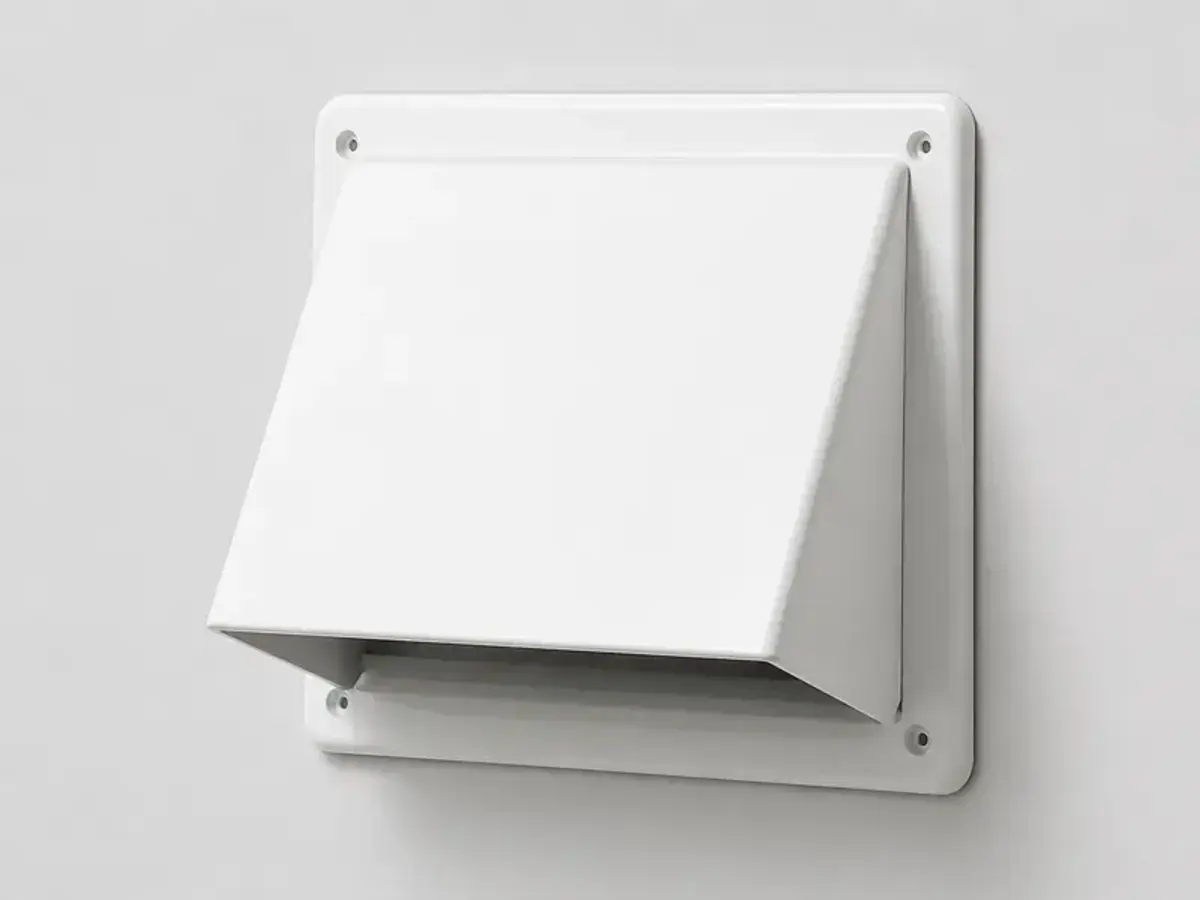
The prevention fix is boring: keep the exterior outlet working and closed when the fan is off.
No. It can push pesticide into the bathroom or duct and may drive insects toward the room. Active nests should be handled from the exterior by pest control when needed.
No. Keep the fan off while insects are active or debris is blocking the outlet. Turning it on can stir insects, move debris, or strain the motor.
Homeowners often use these names loosely. The safe decision is the same: repeated traffic at the vent means do not remove the cover and do not spray through the duct.
You can usually use the room carefully if insects are not entering indoors, but leave the fan off. Skip steamy showers if the fan cannot exhaust moisture.
Wait until activity has stopped and follow the pest-control instructions you were given. Do not immediately rip open the cover after treatment.
Usually not. If the fan runs normally after the outlet is clear, the common repair is the exterior vent cover or flap. Replace or service the fan only if airflow, odor, noise, or debris problems remain.
Odor can come from leftover nest material, dead insects, dirty duct surfaces, or moisture that lingered while the vent was blocked.
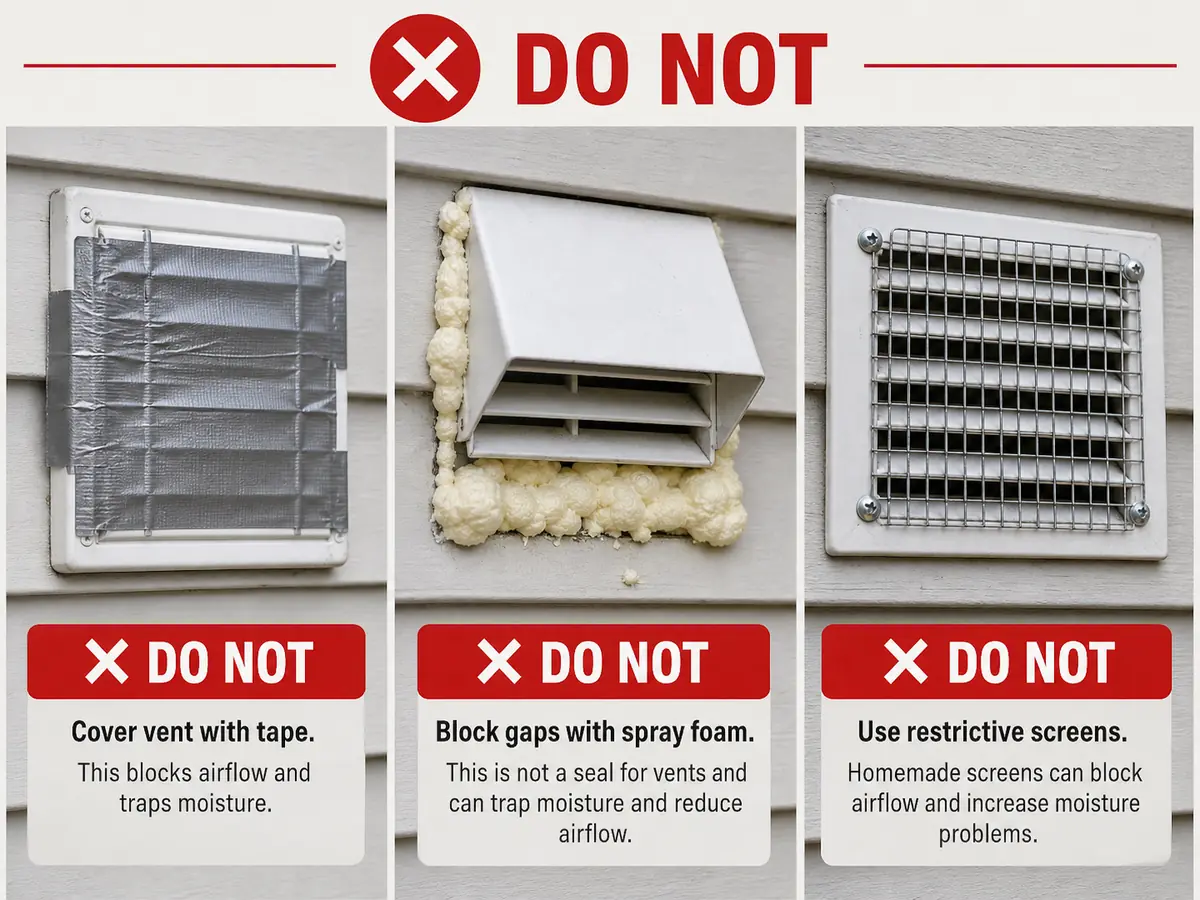
Avoid improvised screen patches. They can restrict airflow and trap debris. Use a proper exterior vent cap with a flap that closes by itself.
They can if the exterior flap still sticks open or the hood has gaps. The prevention fix is a sound cover, free-moving flap, and normal exhaust airflow.
Tell the landlord or property manager there is active insect traffic at the bathroom exhaust vent and keep the fan off until they arrange pest control and vent repair.
Repair Riot used homeowner-visible clues, bathroom exhaust repair logic, and public safety references. Active, hidden, high, or unsafe nests are pest-control work.