Does it thump only with clothes inside?
Check shoes, coins, zippers, heavy seams, bunched towels, and bedding. Test again with a smaller balanced load.
A GE dryer thumping noise is usually load noise or a drum support problem. Start with an empty-drum check. Quiet empty means shoes, bedding, heavy seams, coins, or hard items are likely. A steady empty thump points to front glides, rear support, or the belt/idler path.
A good clue is rhythm. Listen for one bump per drum turn, front scrape-plus-thump, or a lower knock with belt dust.
Run the dryer empty before you shop for parts. If it goes quiet, fix the load; if the same thump stays, unplug it and check the drum support path.
Don’t start with: Do not order a motor, control board, or random kit first. Listen for the clue first: front scrape, one bump per drum turn, or a lower knock with belt dust. Match parts by full model number only after the sound points to a support, glide, belt, or idler.
Check shoes, coins, zippers, heavy seams, bunched towels, and bedding. Test again with a smaller balanced load.
Unplug the dryer and check front drum play, rub marks, and rear support clues before looking at parts.
Front glides or the front felt/support surface move up the list. Look for lint dust, shiny wear, or a drum that lifts too much.
Think rear support or a flat-spotted support surface, especially when the sound is strongest at startup.
After support checks, inspect the belt and idler with the dryer unplugged. Belt dust, wobble, chirp, or rough pulley feel matter.
Stop the test. Leave power off, avoid gas components, and call a qualified appliance tech or licensed pro as appropriate.
A load thump, front-rub thump, and lower-cabinet knock are different paths. These checks keep the first decision simple and visible.
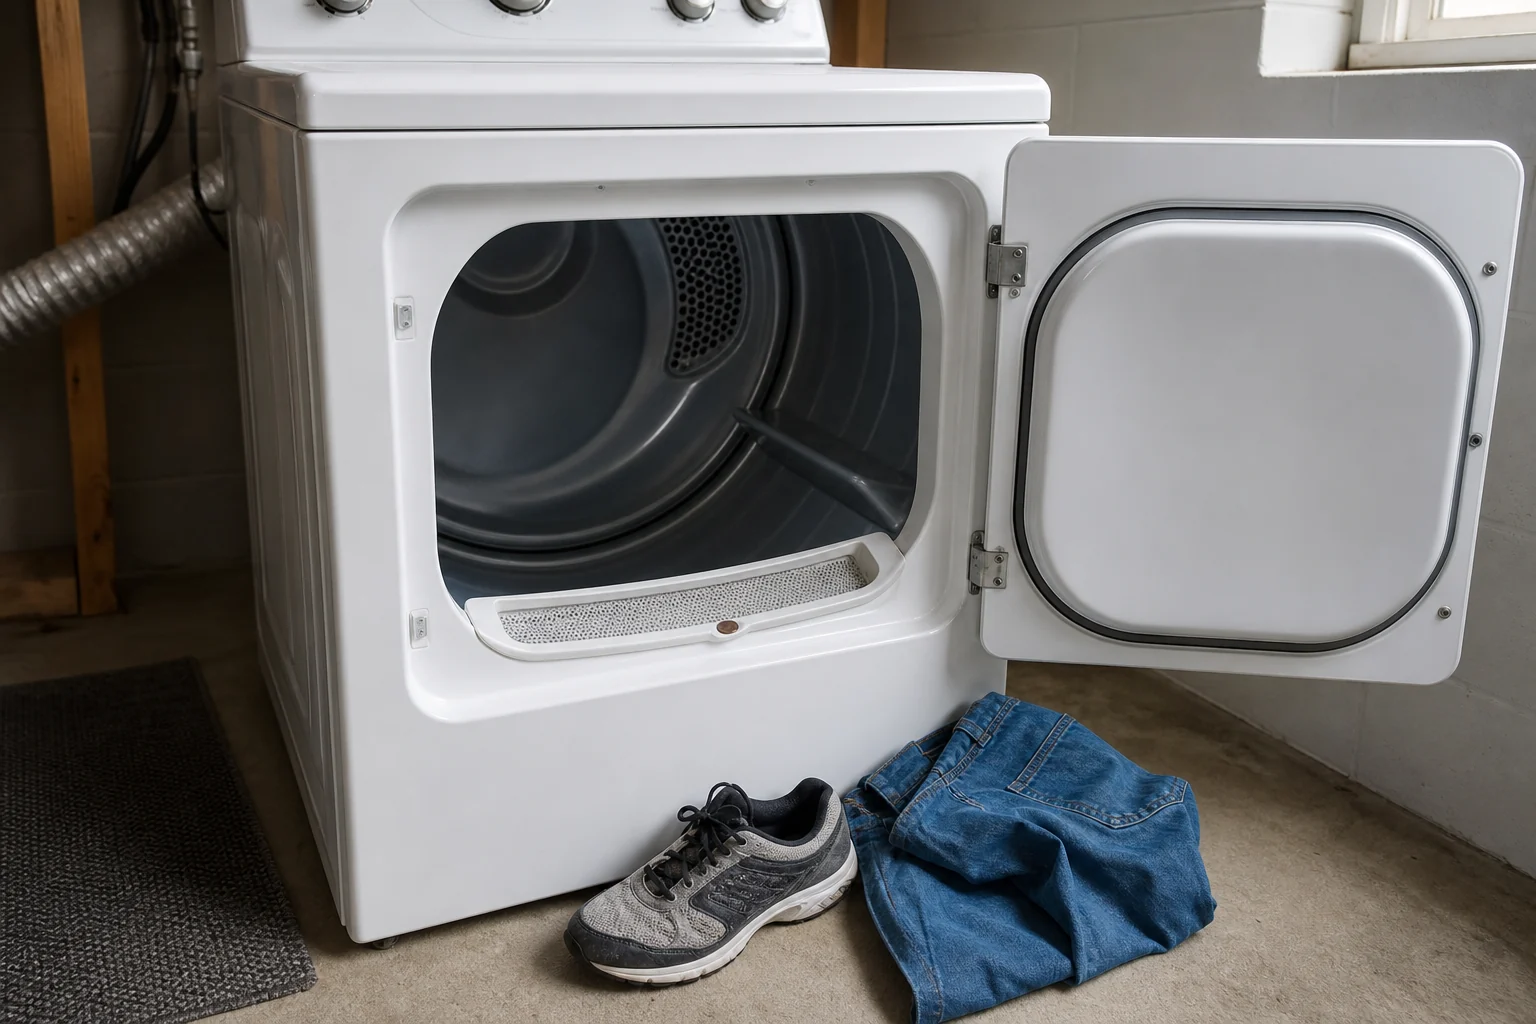
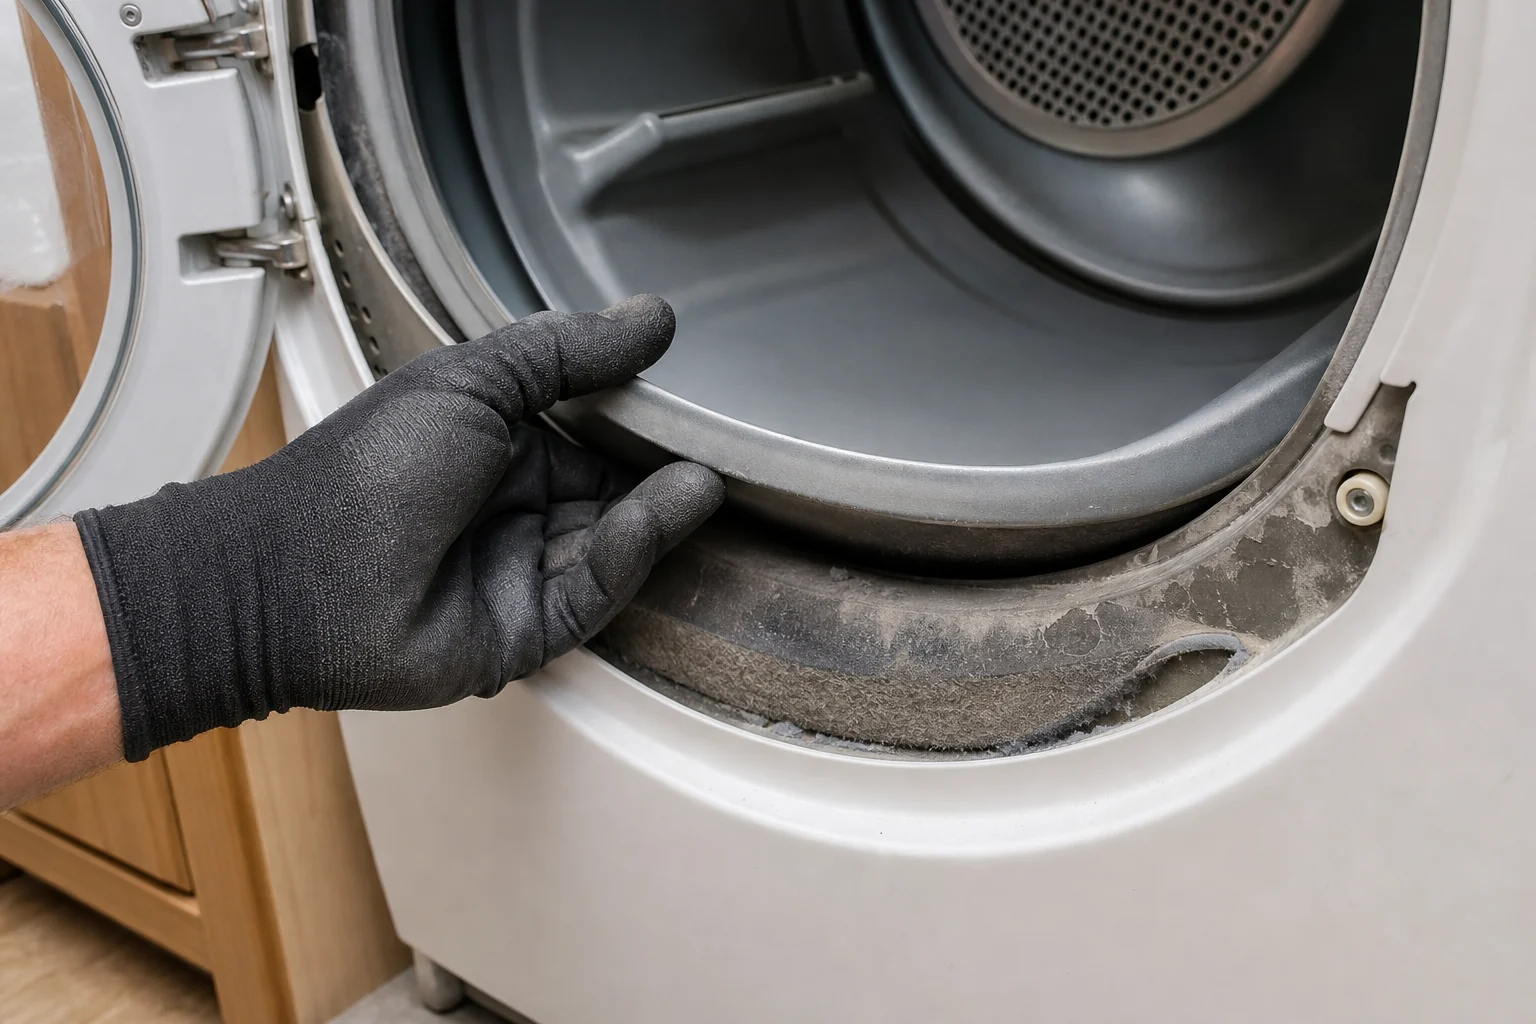
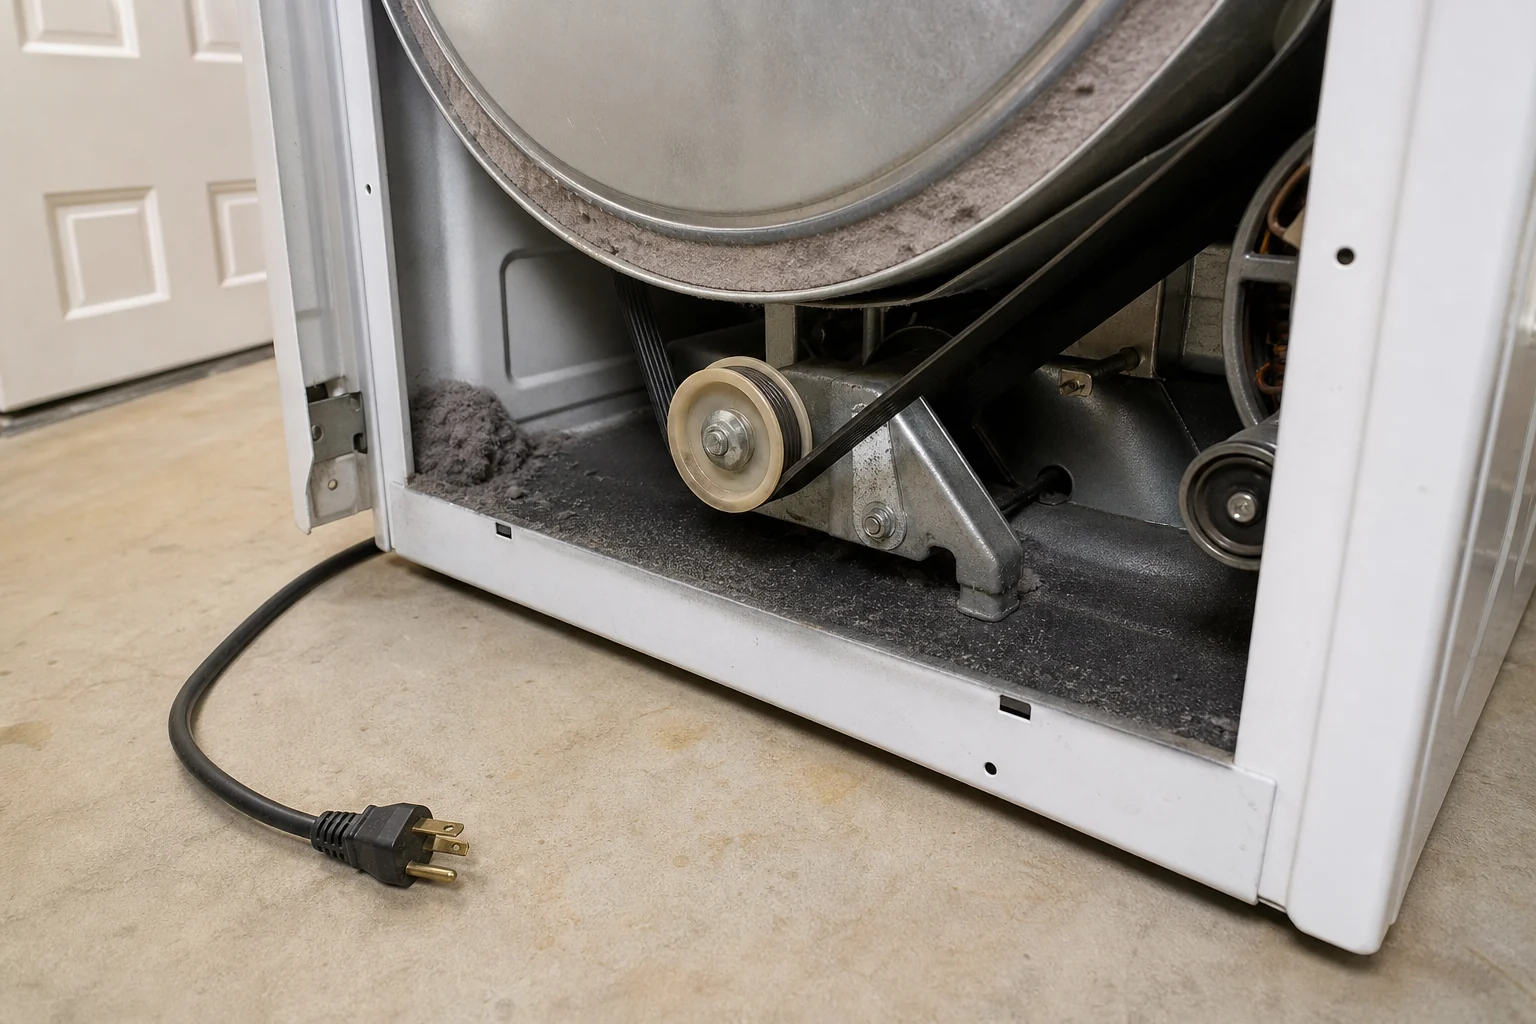
Copy the full model number from the dryer tag before comparing parts. GE-style dryers do not all use the same glide, rear support, belt, or idler. Let the checks narrow it down first. Quiet empty points back to the load. Front play points toward glides, a once-per-turn bump points rearward, and belt dust or rough pulley feel points to the belt/idler path.
The useful split is load noise versus machine noise. A dryer can sound broken when one heavy item is riding the drum, but an empty-drum thump needs support checks.
Do not turn a sound pattern into a parts cart. The wrong kit can fit badly, leave the thump, or hide a safety problem.
Work from the outside in. The goal is to prove where the thump lives before you remove parts.
| What you hear or see | What it usually means | Next move |
|---|---|---|
| Quiet empty, thumps with load | Load balance or hard item noise | Remove hard items, split bulky loads, and retest with a small balanced load. |
| Same beat empty and loaded | Drum support or drum alignment clue | Unplug the dryer and check front glides, rear support, and drum play. |
| Scrape plus thump near door | Front glide or felt/support wear | Look for front lift, dust, shiny rub marks, or missing glide material. |
| One bump per full turn | Rear support flat spot or worn support surface | Turn the drum by hand with power disconnected and feel for the same rough spot. |
| Lower knock with belt dust or chirp | Belt or idler path clue | Inspect belt tracking and idler pulley only after drum support checks. |
| Burning smell, gas smell, sparks, or binding | Safety stop, not a parts-shopping clue | Leave the dryer off and call a qualified pro. |
These tools support inspection and simple cabinet access. They are not permission to work on live wiring or gas parts.
Paid links. As an Amazon Associate I earn from qualifying purchases. Repair Riot may earn a commission at no extra cost to you.
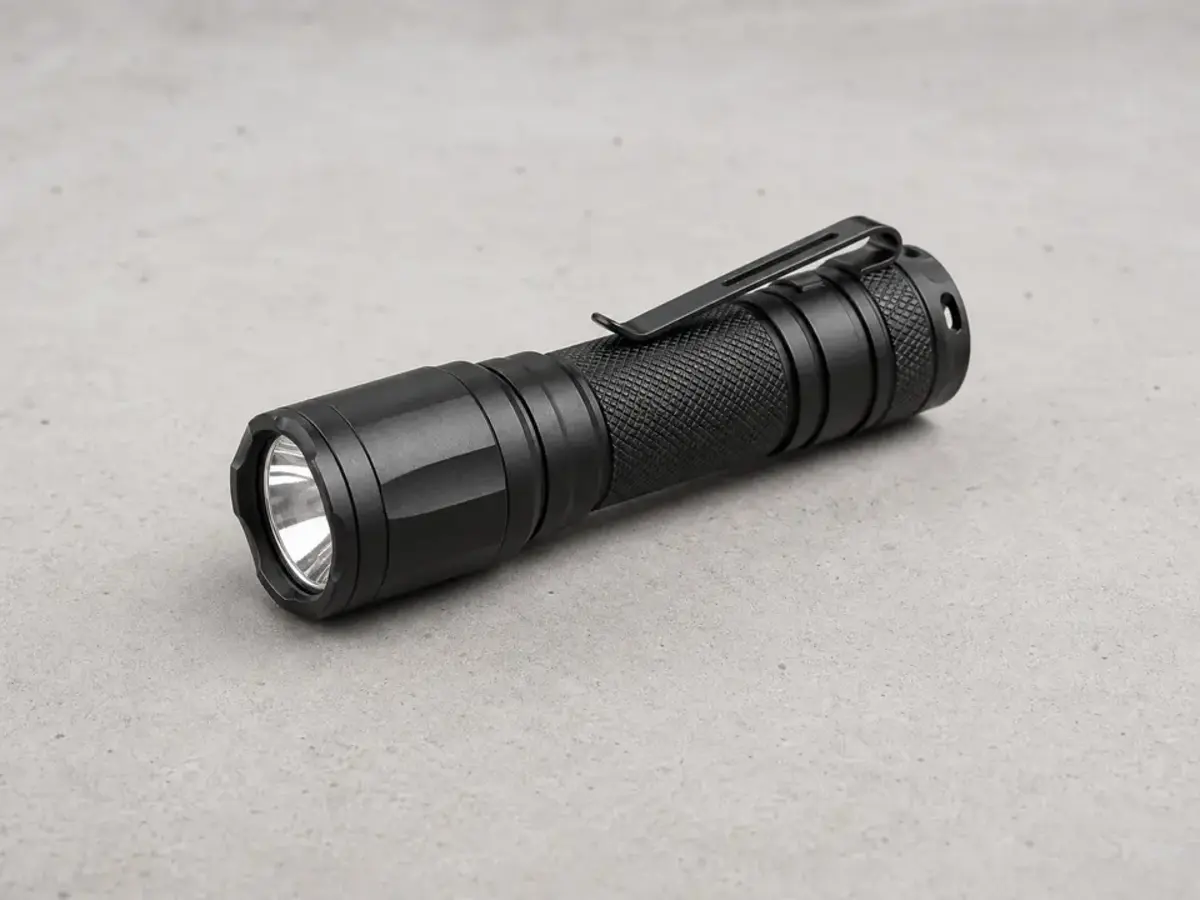
Helps when: You need to see rub marks, lint dust, belt dust, the model tag, and the idler area clearly.
Skip it when: The check would require live testing, gas disconnection, or reaching around parts you cannot support safely.
Compare inspection flashlights on Amazon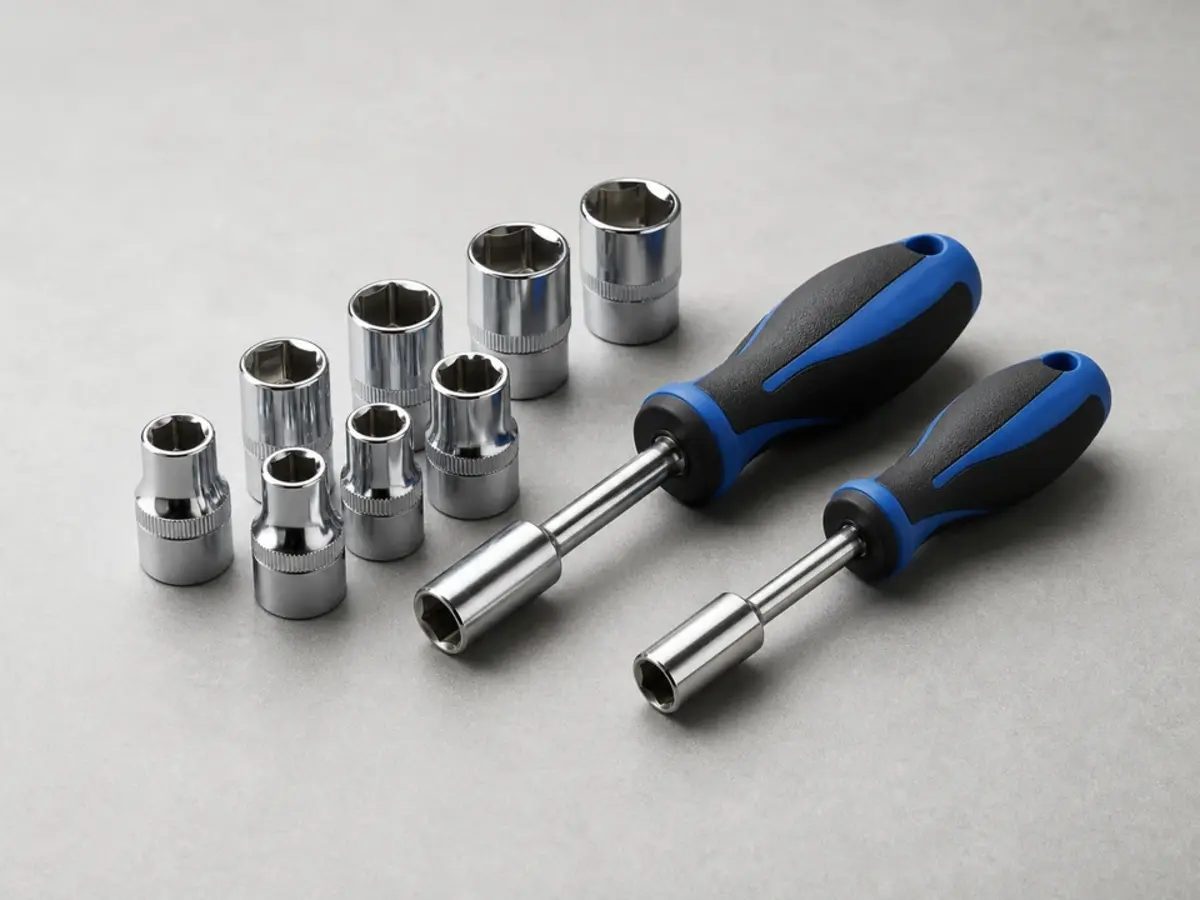
Helps when: Many dryer panels and brackets use hex-head screws once the dryer is unplugged.
Skip it when: You are unsure which panel comes off or the dryer cabinet layout does not match your manual.
Compare nut driver sets on Amazon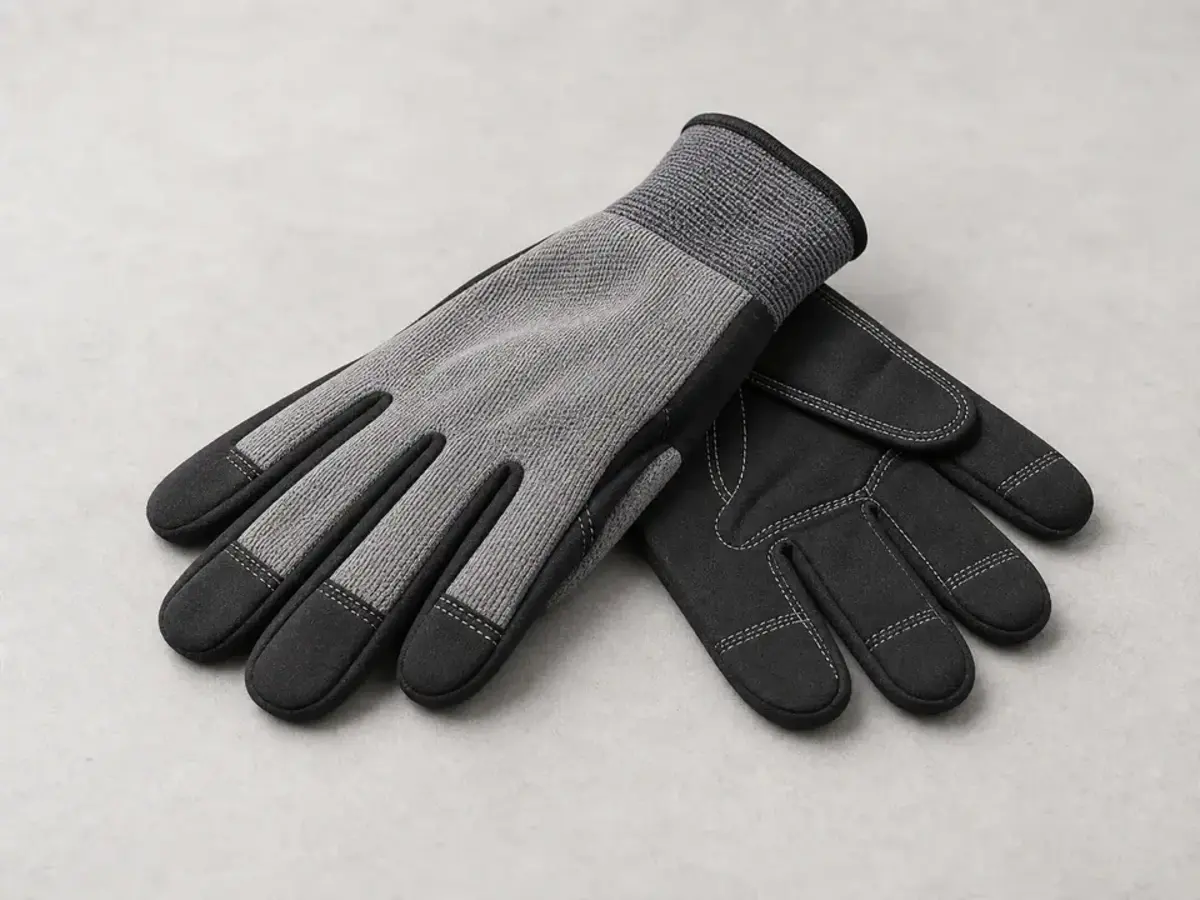
Helps when: Dryer cabinet edges and internal brackets can be sharp during inspection.
Skip it when: Gloves would make you force a part or lose control of the drum support.
Compare work gloves on Amazon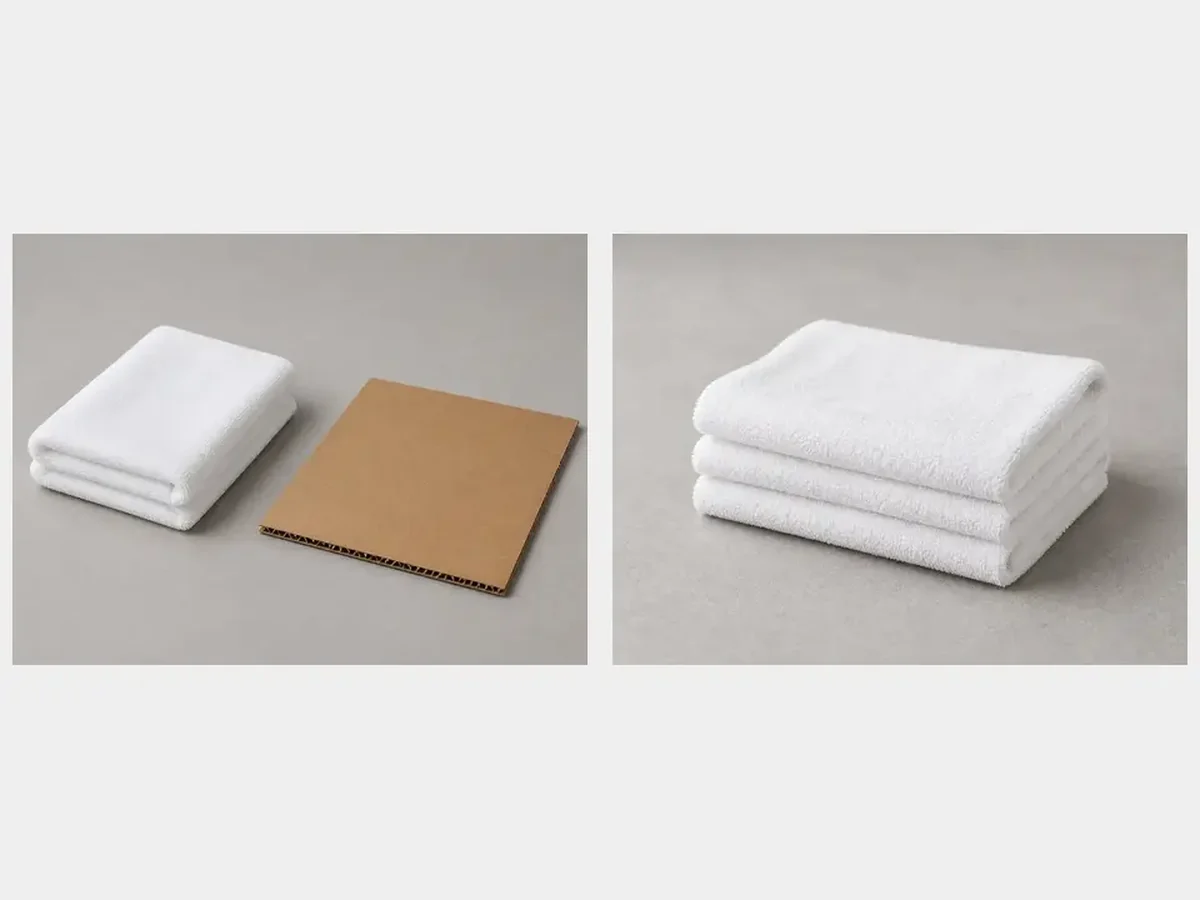
Helps when: Protects the floor when you pull the dryer forward for a safe look behind or below.
Skip it when: Moving the dryer would strain a gas line, vent, or cord.
Compare appliance moving mats on AmazonSome noise checks are reasonable for a careful homeowner. Gas work, live electrical diagnosis, bent supports, and cracked drums are not casual troubleshooting.
Compare parts only after the clue points there. Use the full model number and the parts diagram; dryer support parts can look similar and still mount differently.
Paid links. As an Amazon Associate I earn from qualifying purchases. Repair Riot may earn a commission at no extra cost to you.
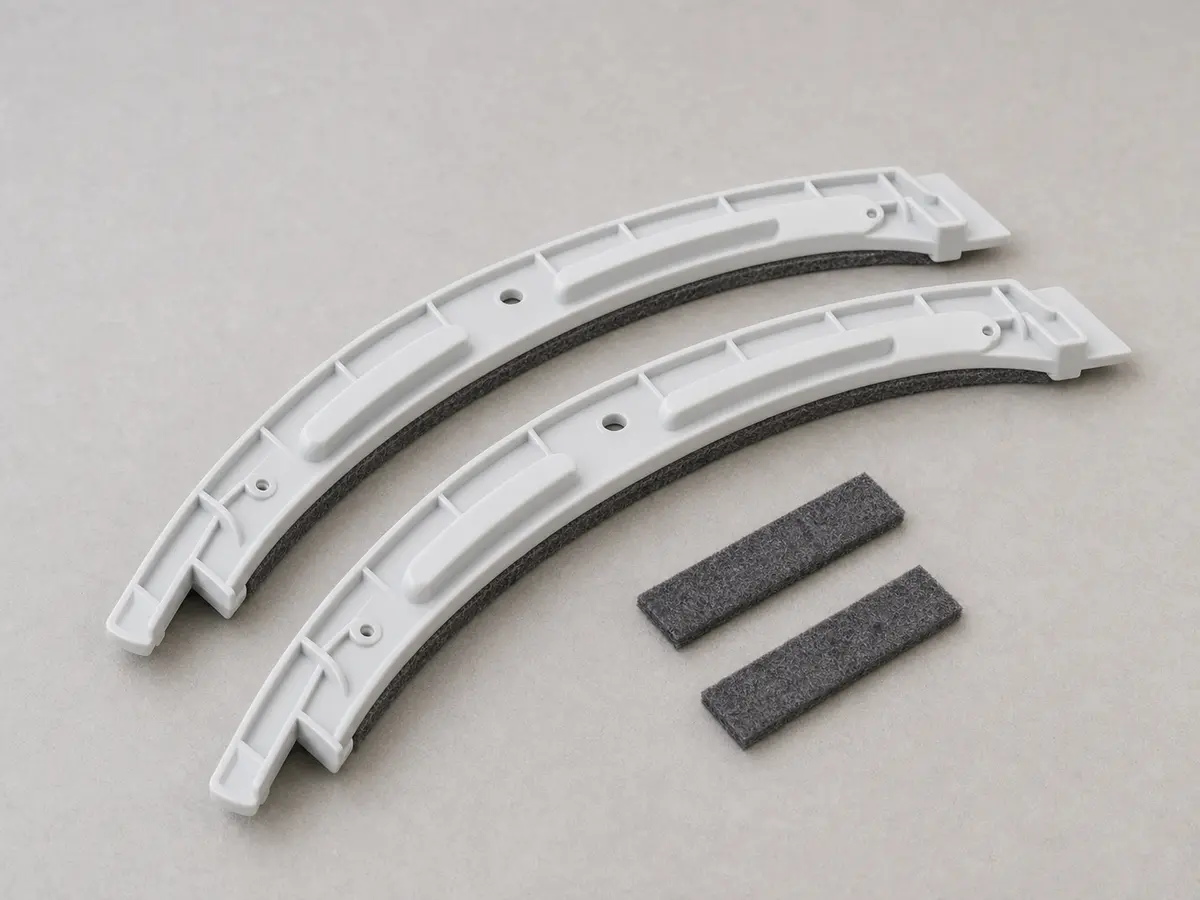
Helps when: The front of the drum lifts too much, scrapes near the door opening, or the glide/felt support surface is worn through.
Skip it when: The dryer is quiet empty or the thump is lower in the cabinet with no front rub marks.
Compare dryer drum glides on Amazon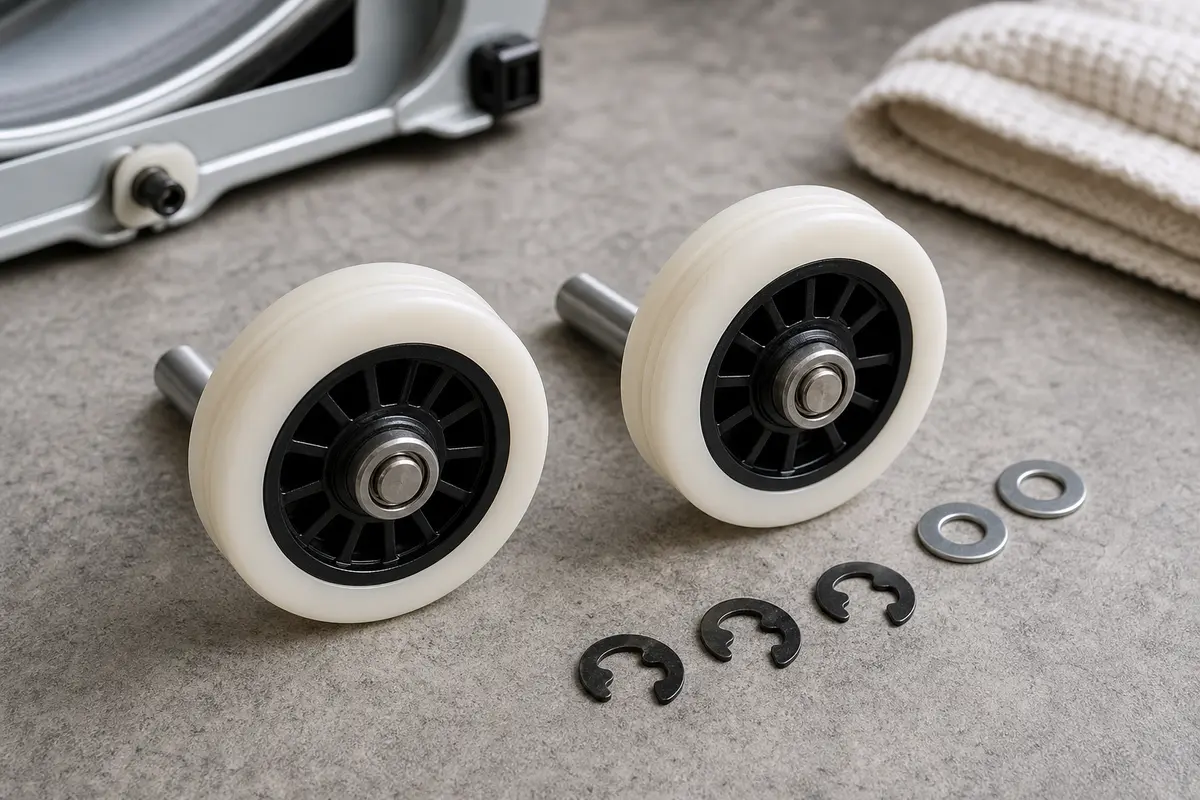
Helps when: The thump repeats at the same spot every drum turn, especially empty or during startup, and the rear support feels rough or flat-spotted.
Skip it when: The noise disappears empty or front glides clearly explain the rubbing.
Compare rear drum supports on Amazon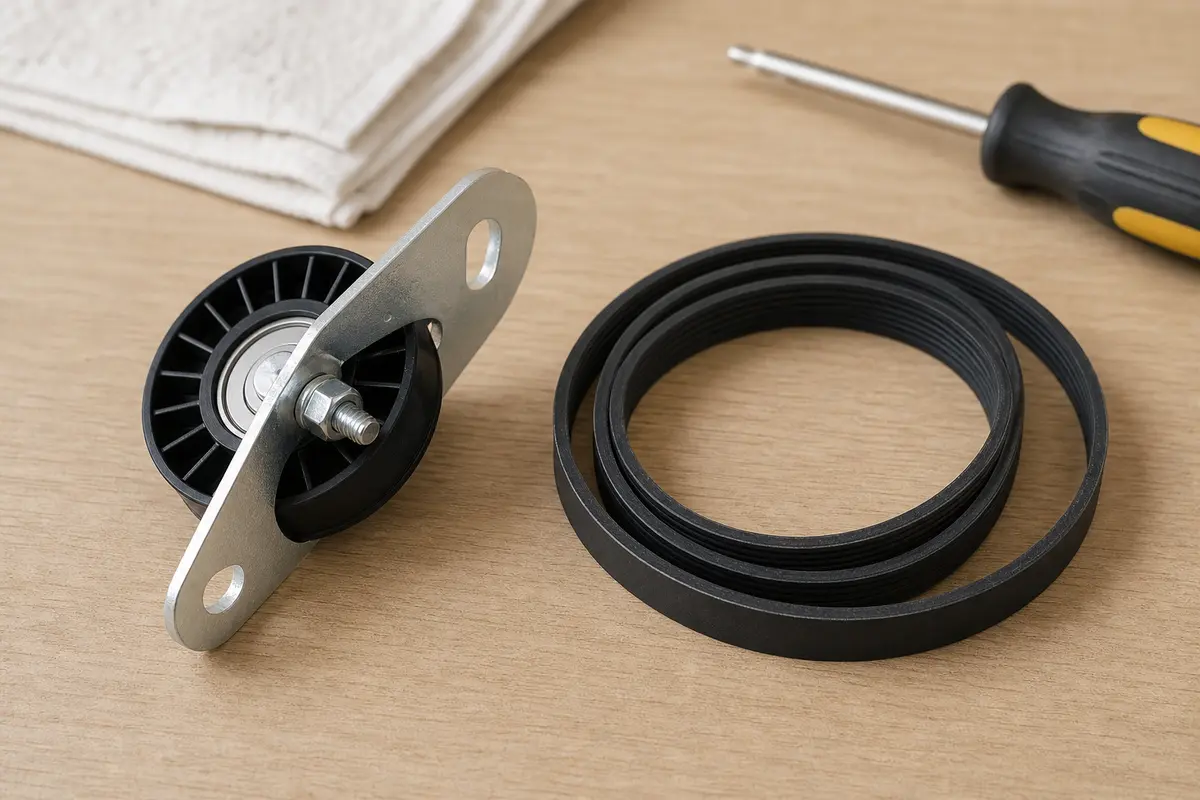
Helps when: The lower-cabinet noise comes with a rough, wobbling, or binding idler after the drum support checks.
Skip it when: You have not inspected the front glides or rear support yet.
Compare dryer idler pulleys on Amazon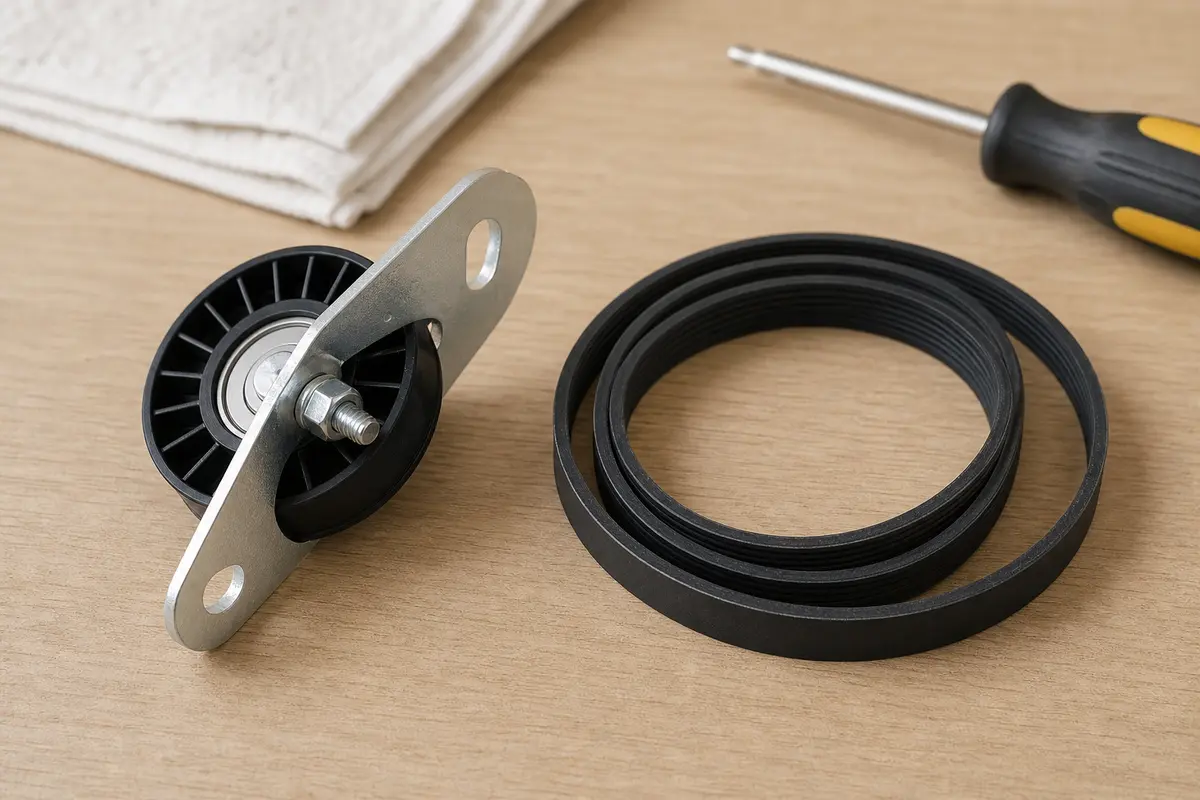
Helps when: The belt is frayed, glazed, twisted, stretched, or riding out of line during inspection.
Skip it when: The belt looks clean and tracks normally; do not replace it just because the dryer is open.
Compare dryer drive belts on AmazonA startup thump often points to a drum support surface that has a worn or flat spot. A heavy load can do it too, so run the dryer empty first. If the empty drum still bumps for the first few turns, unplug the dryer, turn the drum by hand, and feel for one rough spot before looking at the motor.
Yes. Shoes, one wet blanket, dense towels, and bunched jeans can hit the drum hard enough to sound like a bad part. A quiet empty-drum test points back to the load.
A mild load thump is usually a load problem. A hard empty-drum thump, scraping metal, hot-rubber smell, burning odor, or drum binding is different. Stop running it until the support, belt, or idler path is checked.
Front glide trouble usually shows up as front drum lift, scraping near the door, lint dust, or shiny rub marks at the opening. For a rear support clue, unplug the dryer and turn the drum slowly by hand. A thump that repeats once per full turn and feels like one rough spot points rearward.
Only if the belt is frayed, glazed, twisted, stretched, or tracking wrong. A clean belt that rides normally does not need to be replaced just because another support part failed.
A motor problem usually sounds like humming, grinding, stalling, or failure to start. If the dryer starts and tumbles normally, listen for the pattern before pricing a motor. One repeating thump usually sends you back to the drum support path first.
Look around the door opening, inside the door area, the cabinet frame, or the rear/side model tag depending on the model. Copy the full model number before comparing any glide, support, belt, or idler.
Sometimes. Run it empty and listen first. If the thump disappears, remove hard items and split heavy bedding. When the empty dryer still thumps, check front drum play at the door; confirming and replacing support parts usually requires opening the cabinet with power disconnected.
You can still do load and sound checks, but do not loosen gas tubing, burner parts, or the gas valve. If access requires moving or disconnecting gas components, call a licensed pro or qualified appliance tech.
Write down the full model number first. Check whether the thump happens empty or once per drum turn. Listen for scraping at the front and note any hot smell. If you turned the drum by hand with power disconnected, tell the tech whether it moved smoothly or hit one rough spot.
Repair Riot built this page around visible homeowner checks: empty-drum test, load balance, drum support clues, belt/idler inspection, and clear stop points. Model-specific parts still need the dryer model tag and the manufacturer parts diagram.