Door starts down, then reverses right away?
Check the safety sensor path first. Clear stored items, wipe the lenses, aim both brackets at each other, and look for loose or pinched low-voltage wires.
If a garage door opens but will not close, start at the floor-level safety sensors. Clear the beam path, wipe both lenses, and look for a bumped bracket or loose low-voltage wire before blaming the opener.
Watch one close attempt from inside the garage. Reversing right away points to sensors. Reversing near the floor points to debris, seal drag, roller bind, or travel adjustment after the door path is smooth.
The useful clue is where it reverses. Clear the sensor path first, then check the last foot of travel before you price parts.
Don’t start with: Don’t start by buying an opener or touching springs, cables, or other tension hardware.
Check the safety sensor path first. Clear stored items, wipe the lenses, aim both brackets at each other, and look for loose or pinched low-voltage wires.
Treat that as a sensor-circuit clue before blaming the remote, keypad, or main opener. The opener may be allowing constant-pressure close while normal close commands fail.
Inspect the threshold, bottom weather seal, lower track, and last roller travel for debris, ice, packed dirt, or a spot that drags every time.
Stop using the opener as a puller. Disconnect only if safe, test the door gently by hand, and stop at heavy, uneven, or rough travel.
After sensors and manual travel check out, look at close-travel or close-force settings using the opener instructions. Make small changes only.
Use the bottom of the opening first. Sensors, the floor line, the lower track, and the first few rollers tell you more than the opener cover.
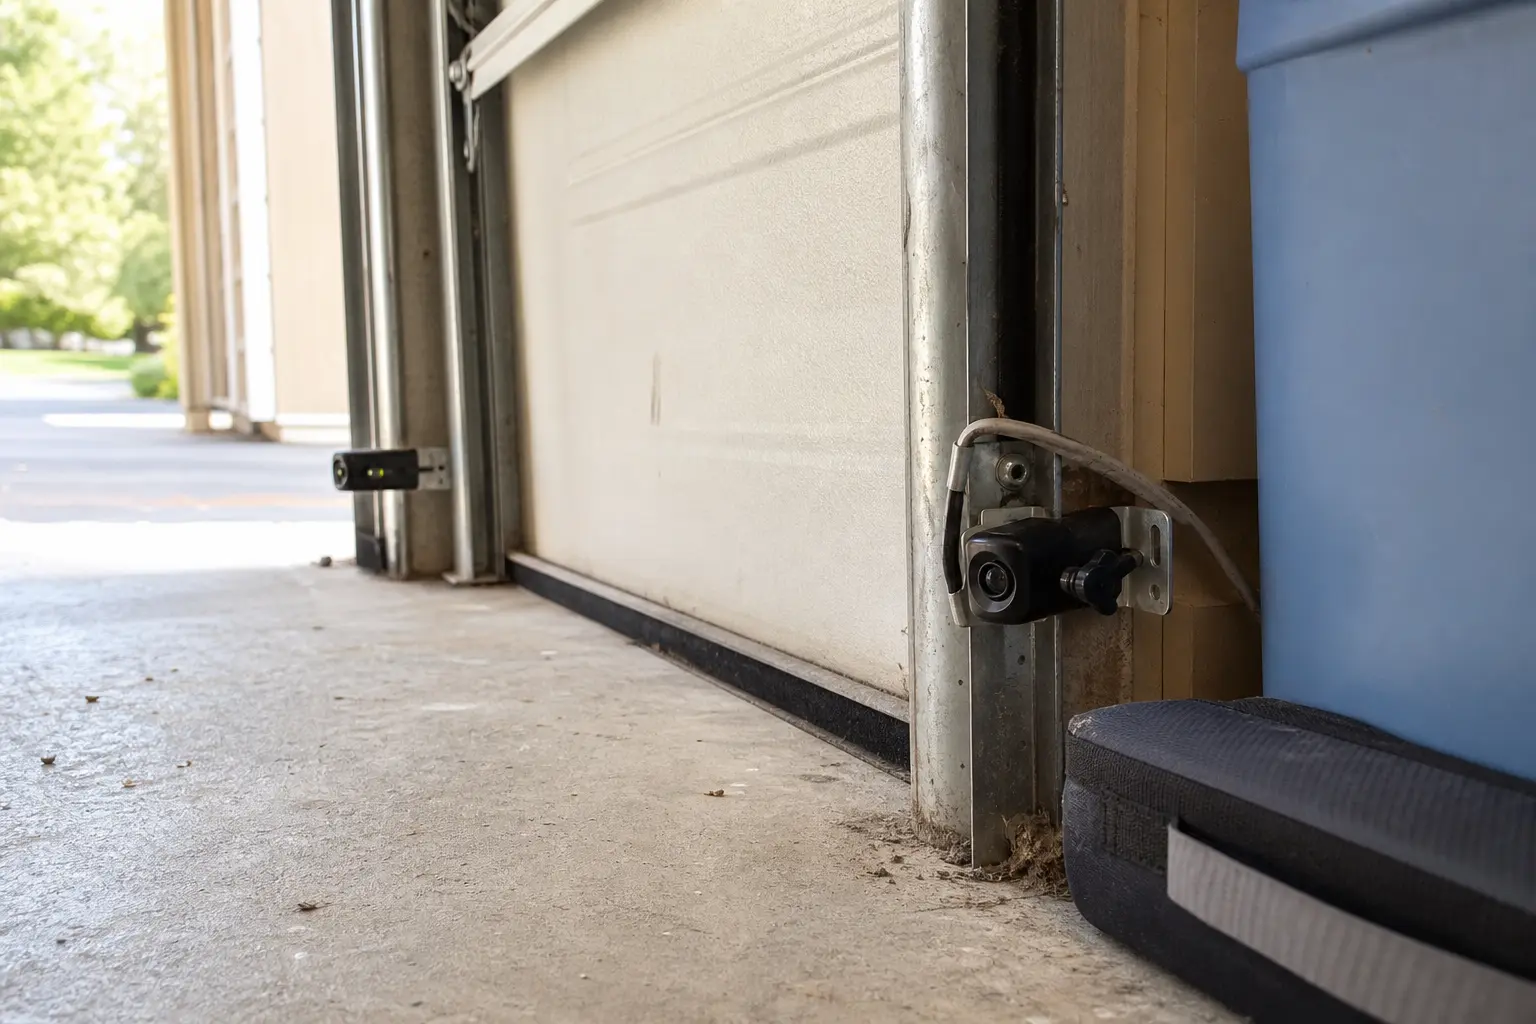
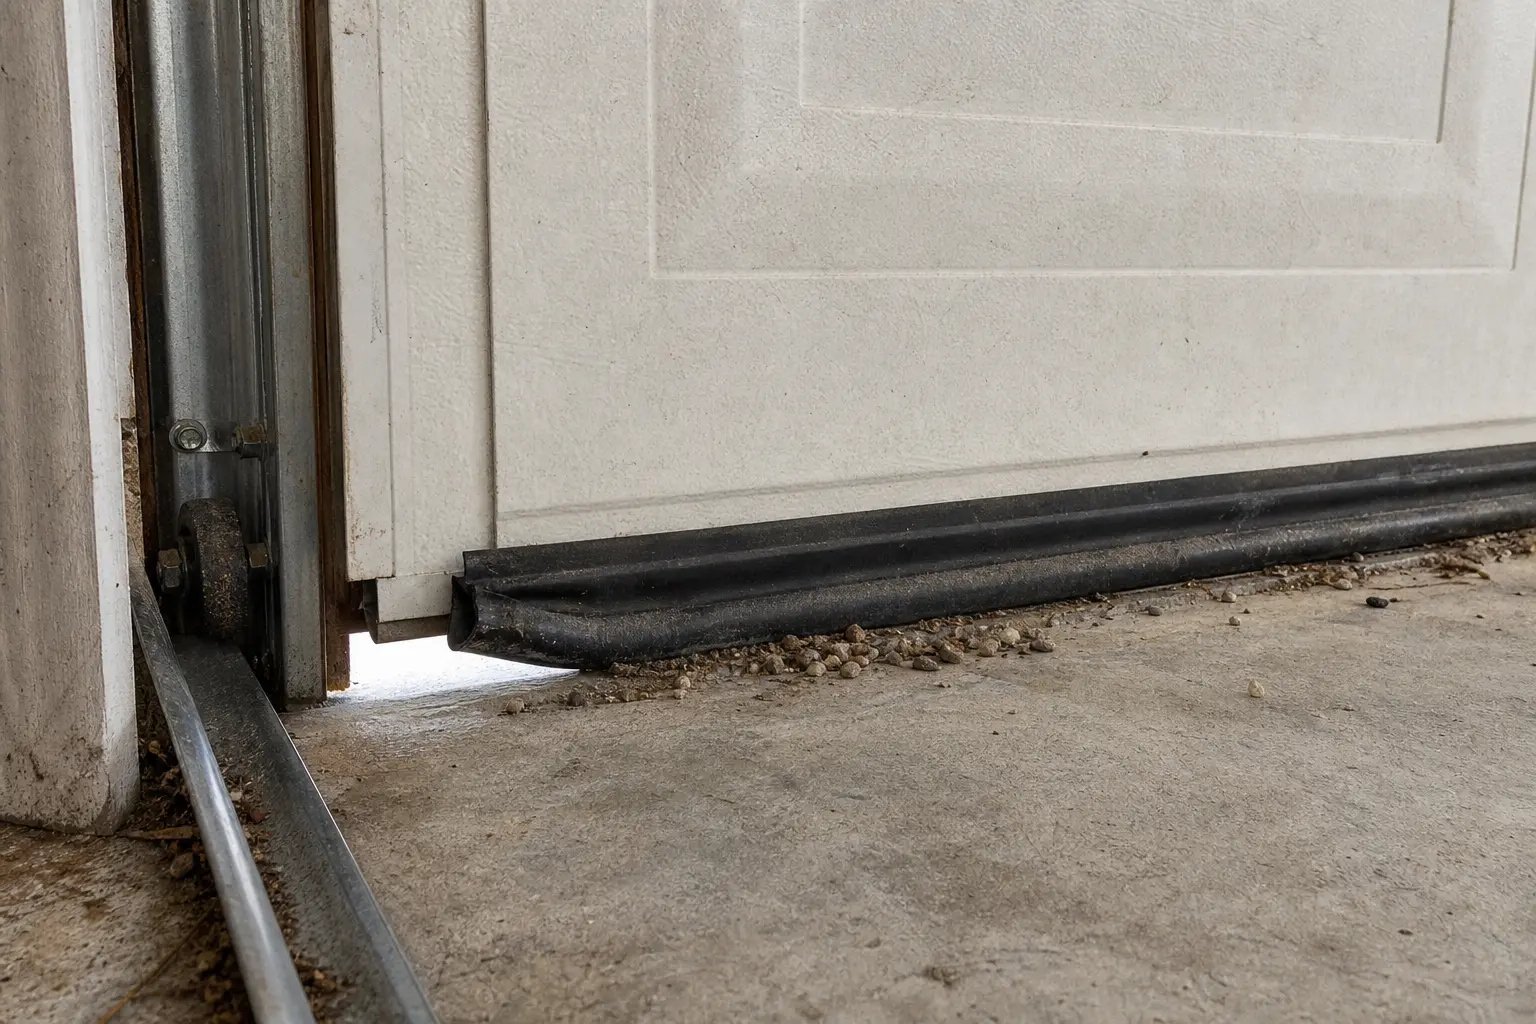
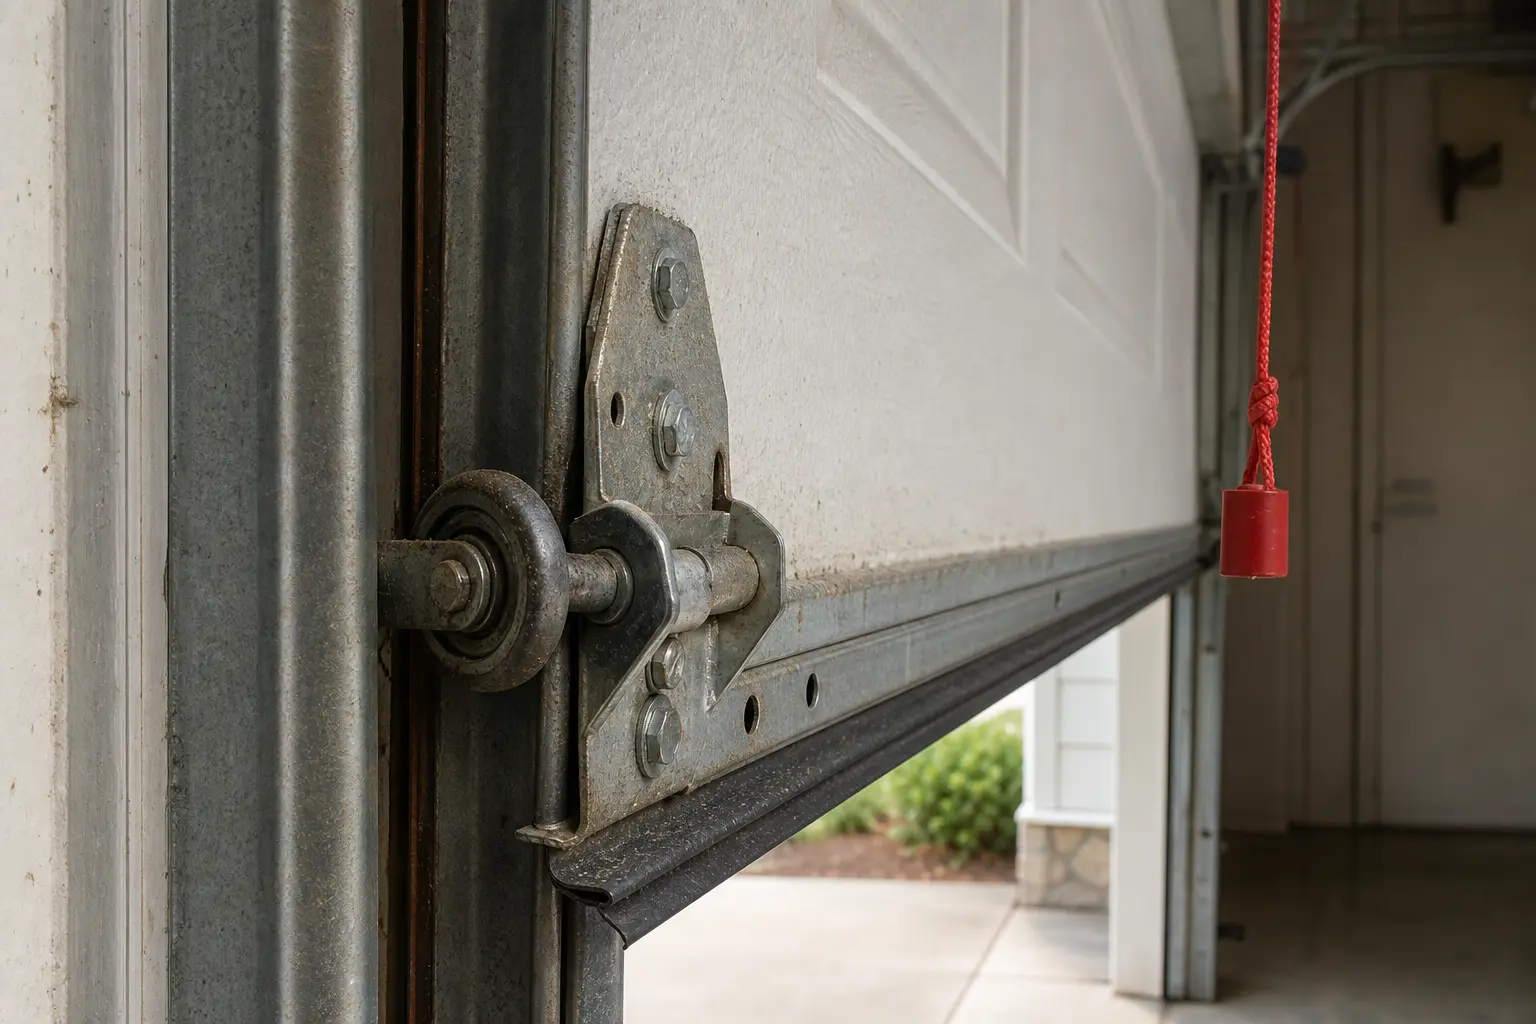
Watch one close attempt before shopping. Hold-to-close points to the sensor circuit, a bounce near the floor points to resistance, and a smooth touch-then-reverse points to travel adjustment. Match sensor sets to the opener model, rollers to track and stem size, hinges to the hinge number and door section, and bottom seals to the retainer shape.
The opener is refusing the close command. Watch the sensor lights and the last foot of travel. Then compare that with the wall button: a door that needs constant pressure is telling you to stay with the sensor circuit.
Watch for the first reverse before blaming the opener. First, observe one cycle, clear the beam path, clean the lenses, and check the floor line. If it still reverses, that result tells you where the next check belongs.
Run one careful test from inside the garage where you can see both sensor areas and the full door travel. Stop after the result is clear; you do not need to cycle the door over and over.
| What the door does | What it usually means | Next move |
|---|---|---|
| Starts down, then reverses right away | The opener may be losing the safety sensor signal. | Clear the beam path, clean both lenses, aim the brackets, and inspect low-voltage wires. |
| Closes only while holding the wall button | The sensor circuit is still the leading suspect. | Stay with the sensors and wiring before buying a remote, keypad, or opener board. |
| Gets within a few inches of the floor, then rises | The door may be meeting resistance at the threshold or lower track. | Sweep the floor line, check the bottom seal, and watch the lower rollers. |
| Jerks, binds, or one side lags | The door hardware may be dragging or out of square. | Disconnect the opener only if safe, then hand-test gently and stop at heavy or uneven movement. |
| Touches the floor smoothly, then reverses | The close limit or force setting may be slightly off. | Use the opener instructions for a small close-travel correction after all physical checks pass. |
A sensor problem is not just a dirty lens. Check the whole low-floor system: an open beam path, clean lens faces, brackets aimed at each other, indicator lights if present, and the small wires that get bumped by storage and cleaning.
A door that reverses near the floor may be doing exactly what it was designed to do: backing away from resistance. The fix can be as simple as clearing grit from the threshold, but the clue can also be a roller, hinge, or track spot that binds in the same place.
Opener adjustment comes later. Use the release only when the door is closed or safe to control, then lift it by hand and feel the lower track area. Watch the lower rollers and check the sensor lights. Smooth travel keeps opener travel or sensors on the list; heavy, crooked, or rough travel points back to door hardware.
These tools are for inspection, cleaning, and light accessible fastener checks. They are not a license to work on spring, cable, drum, or bottom-bracket hardware.
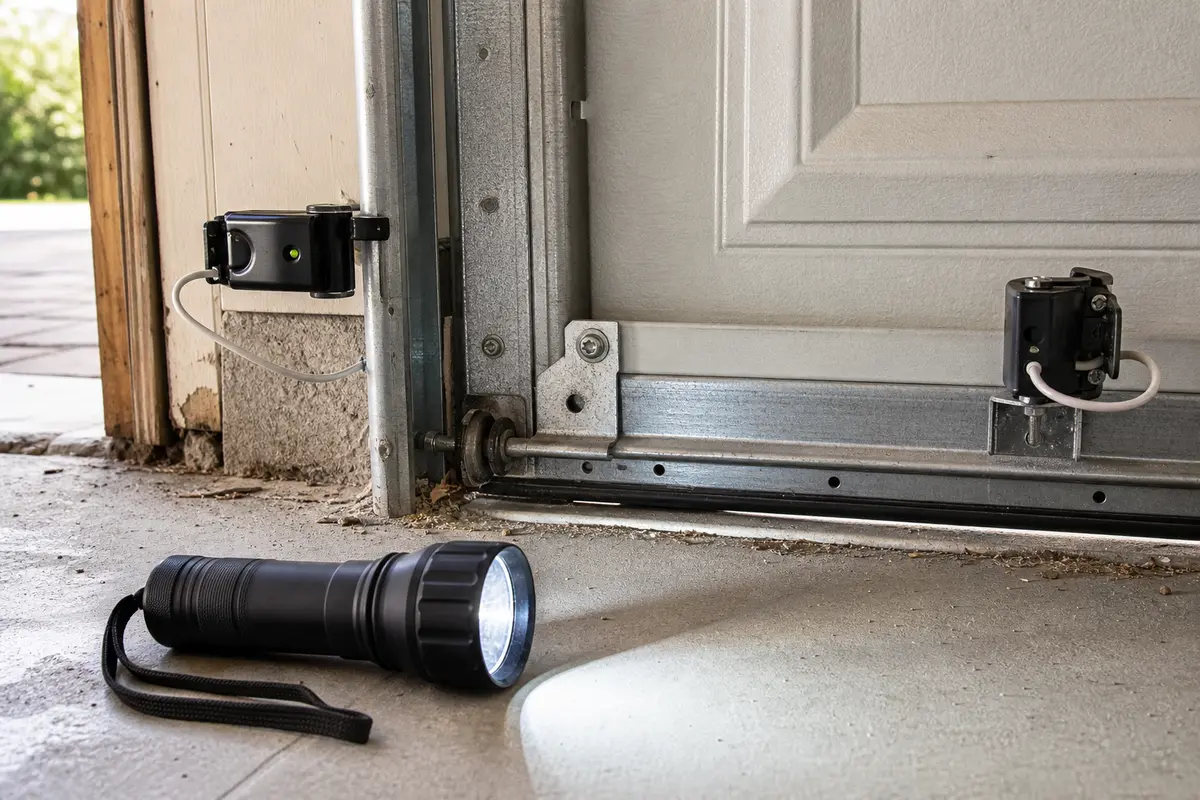
Helps when: Use it to see sensor lenses, low-voltage wires, lower rollers, hinge screws, and debris at the threshold.
Skip it when: Daylight clearly shows both sensor areas and the lower track.
Compare inspection flashlights on Amazon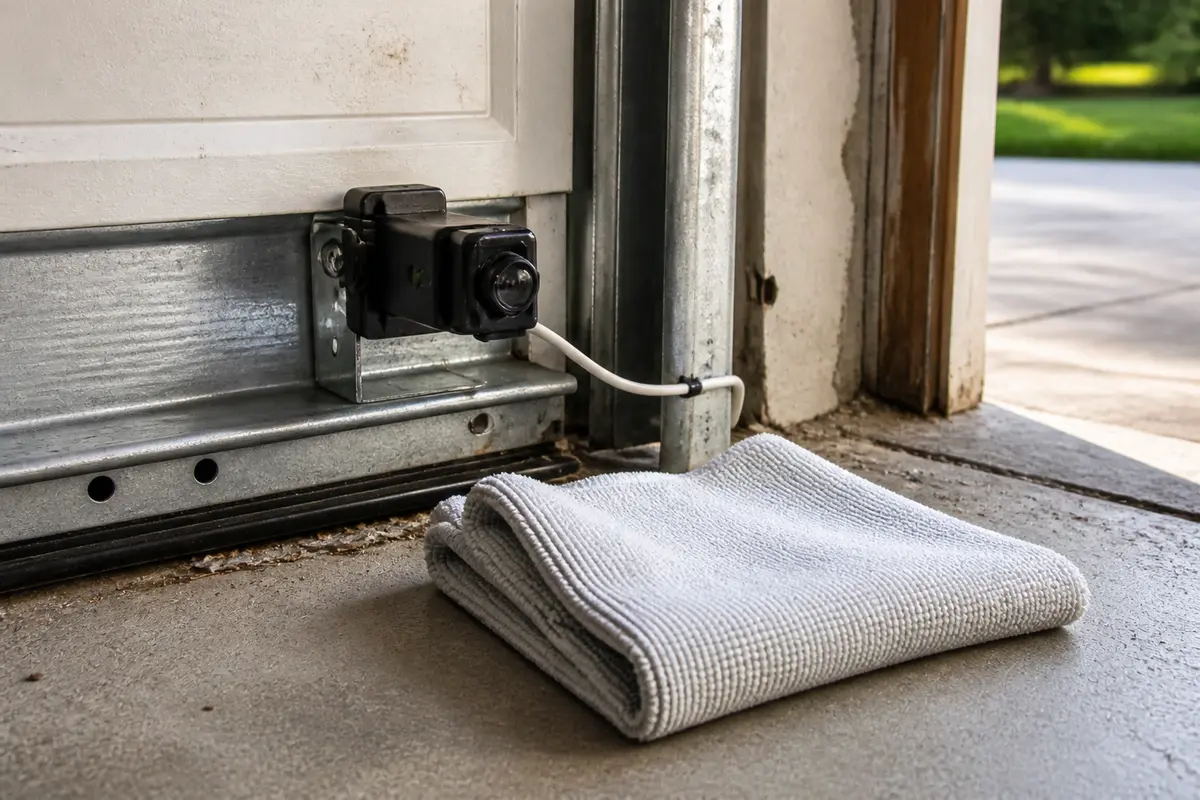
Helps when: A clean cloth is enough for most safety sensor lenses and accessible track grime.
Skip it when: The lenses are already clean and the problem clearly follows a mechanical bind.
Compare soft cleaning cloths on Amazon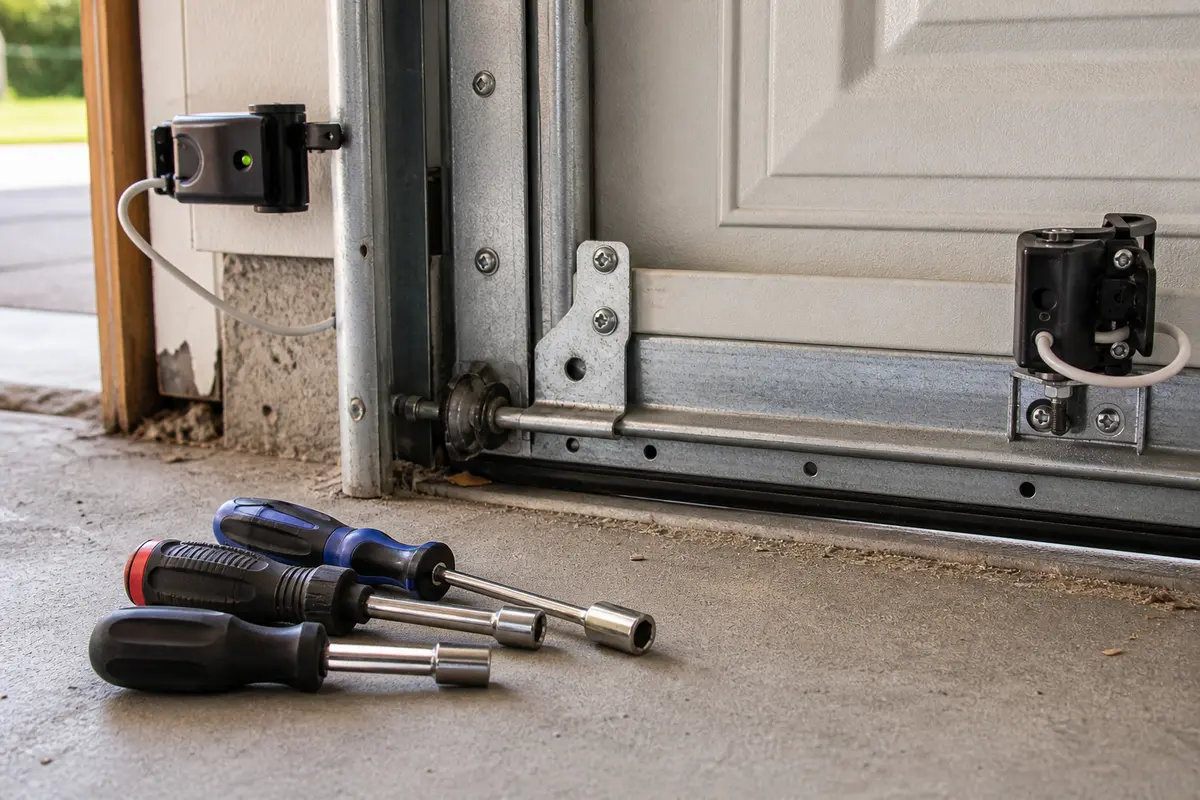
Helps when: Use it only to snug accessible sensor brackets or loose hinge screws that are not tied to cable or spring hardware.
Skip it when: The loose part is a bottom bracket, cable bracket, drum, or spring support.
Compare nut driver sets on AmazonAs an Amazon Associate I earn from qualifying purchases. Repair Riot may earn a commission at no extra cost to you.
Buy parts only after the symptom and inspection agree. A sensor set, roller, hinge, or bottom seal can be the right repair, but each one has a clear clue. Match the opener model, door hardware size, and seal profile before ordering.
Helps when: The door closes only while holding the wall button, or sensor lights will not stay aligned after cleaning and visible wire checks.
Skip it when: The door reverses only near the floor after the sensors are aligned and clean.
Compare garage door safety sensors on AmazonHelps when: The seal is torn, swollen, folded under, or dragging at the same spot where the door reverses near the floor.
Skip it when: The seal is only dirty or the door reverses before it reaches the threshold.
Compare garage door bottom seals on AmazonHelps when: One roller wobbles, binds, tilts, or a cracked hinge lets the door section shift during manual travel.
Skip it when: The door feels heavy, crooked, partly off track, or the repair would touch bottom brackets, cables, or springs.
Compare garage door rollers and hinges on AmazonAs an Amazon Associate I earn from qualifying purchases. Repair Riot may earn a commission at no extra cost to you.
Most of the time the opener is seeing a safety problem on the close cycle. Watch the first movement. A right-away reverse sends you to the garage door safety sensors: clear the beam, wipe the lenses, and check bracket aim. A reverse near the floor sends you to debris, a bad roller, or a damaged hinge.
If the wall button can close the door only while you hold it, the safety sensor circuit is the first suspect. If neither remote nor wall button closes it normally, clear the sensor beam, check the door path, look for opener lock or vacation mode, and watch the close-travel behavior before replacing the opener.
That usually points to the safety sensor circuit. The opener is letting you close only under constant pressure, so look for a blocked beam, dirty lenses, a bracket aimed off-center, or a loose visible sensor wire first.
Either the safety beam is being interrupted or the door is meeting resistance and the opener thinks it hit something. For a quick reverse, clear the beam and check bracket aim. For a reverse near the floor, inspect the threshold, bottom seal, lower rollers, and close-travel behavior.
Only after the sensors are working and the door moves smoothly by hand. Adjusting close force or travel around a real bind can make the door unsafe and hide the actual problem.
Sometimes, but only if the repair stays well away from springs, cables, and bottom brackets, and the door is stable in the track. Work only on accessible roller or hinge hardware that is not tied to lift cables. If the door is crooked, heavy, or under visible strain, stop and call a pro.
Usually no. A bad opener is not the first bet here. Watch where the door reverses, then check the sensors, floor-level obstructions, worn rollers, and bent hinges before spending money on a major part.
It is a useful clue, but it is not the whole diagnosis. Clear the beam path, make sure the brackets are aimed straight at each other, then watch whether the door reverses immediately or only near the floor.
Yes, if the seal is folded, swollen, torn, frozen, or dragging hard enough for the opener to read it as resistance. Clear the threshold and inspect the seal before adjusting opener force.
Repair Riot built this page around visible no-close clues: sensor behavior, constant-pressure wall-button closing, floor resistance, manual door movement, and opener travel adjustment. The sequence keeps homeowners away from spring and cable hardware while still giving practical checks they can do from the floor.