Does the moisture appear without rain?
Start with condensation and indoor humidity. Flashing work waits until rain clearly triggers the wet area.
Wet trim is usually the exit point. During rain, mark the first wet spot: top trim or one upper corner usually points to head flashing, a loose siding lap above, or an open trim end.
After the first wet spot is mapped, inspect one to three feet above the window for loose siding, gutter overflow, exposed flashing tape, and open trim. Buy parts only when that visible clue matches the repair.
Treat the stain as a water-path clue, not proof that the window unit failed. Use the table below before caulking.
Don’t start with: Skip full-perimeter caulk. A bead across the bottom edge can trap water behind trim and hide the path you need to fix.
Start with condensation and indoor humidity. Flashing work waits until rain clearly triggers the wet area.
That points to head flashing, corner laps, trim coil, J-channel, or water feeding from above.
Loose siding, open trim, missing pieces, gutter overflow, and penetrations above the opening can feed the leak.
That supports a targeted flashing-tape repair if the surrounding sheathing is dry and sound.
Window head trim coil may be the repair path, but only if it can still shed water outward after replacement.
Stop before full perimeter caulk, bottom-edge caulk, or broad patching. The repair has to preserve drainage.
Use three views: the exterior window and siding layout, an exposed flashing-tape failure point, and the condensation lookalike that can mimic a leak.
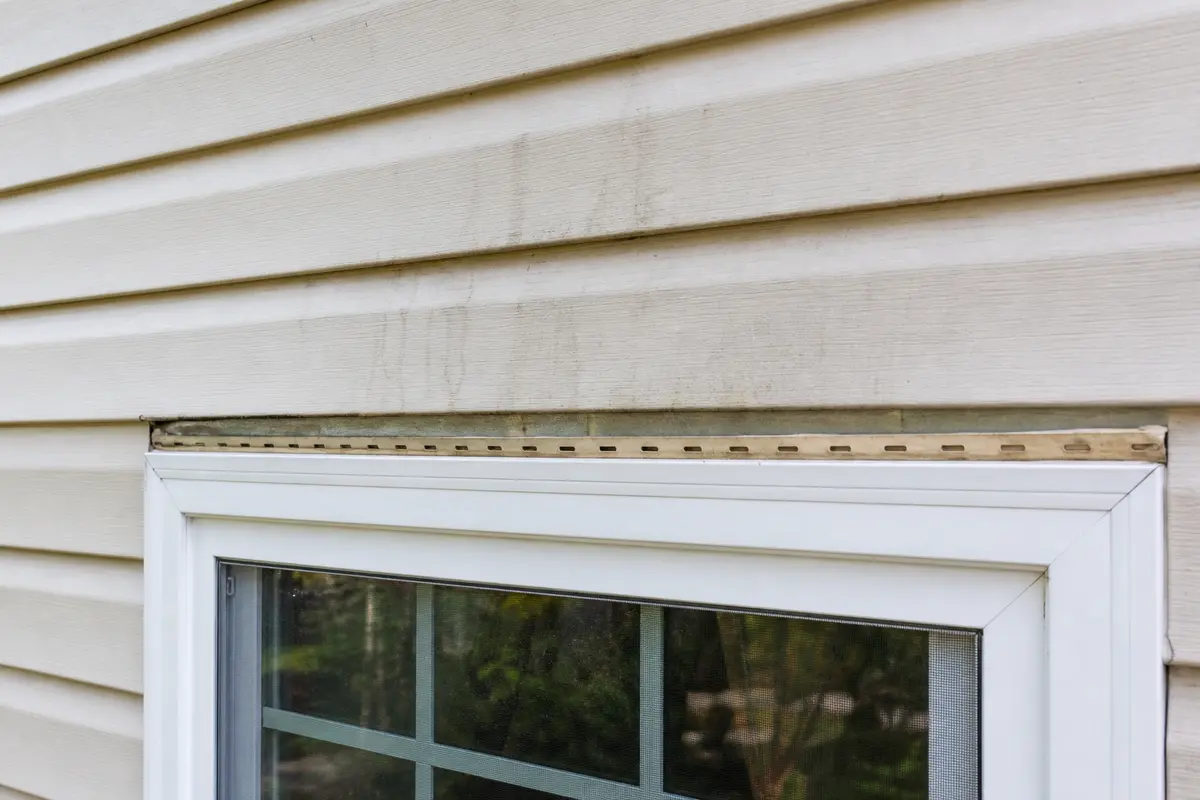
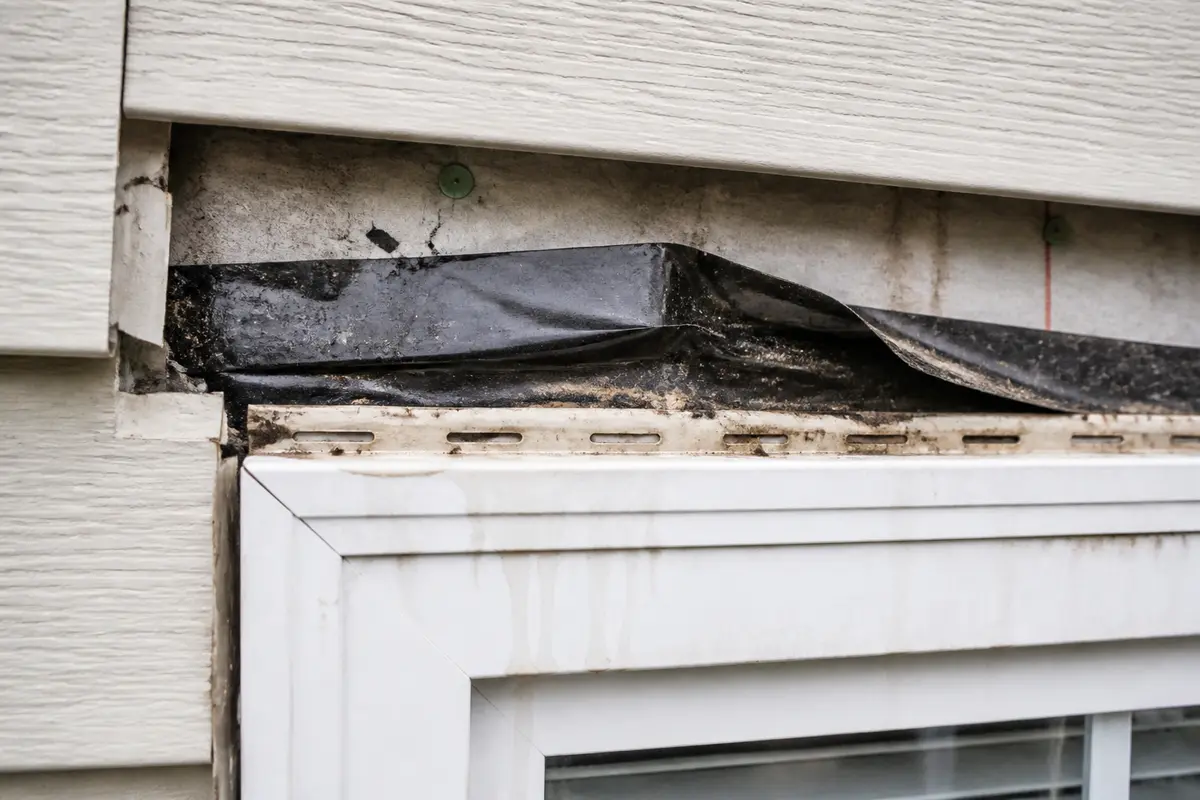
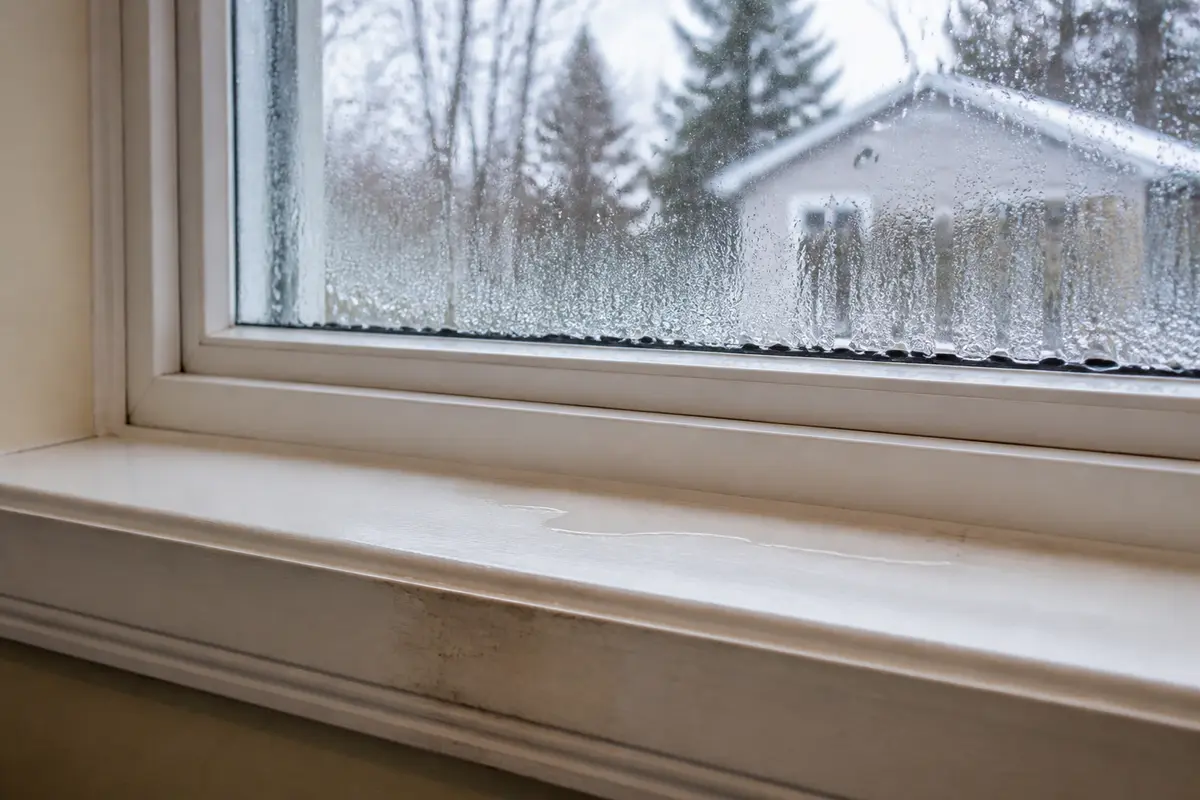
Buy parts only after the exact diagnosis and fit are clear: tape width and surface compatibility, trim-coil material and bend profile, or siding panel profile and exposure. If you cannot name which layer failed, do not order from the stain alone.
The first clue is when and where the moisture appears. That tells you whether to look indoors, above the window, or at a local trim detail.
Work from the upper wall down. A window opening can be the exit point for water that entered through siding, trim, gutter overflow, or a penetration above.
| What you find | Likely meaning | Next move |
|---|---|---|
| Glass sweats without rain | Condensation lookalike | Control indoor humidity and watch the next rain before exterior repair. |
| Top trim or one upper corner gets wet first | Head flashing, trim coil, or corner lap is suspect | Inspect the head area and upper siding before sealing lower edges. |
| Water appears only after spraying above the window | Source is higher on the wall | Repair the upper defect instead of replacing window parts. |
| Tape is torn, lifted, or reversed | Localized flashing-tape failure | Replace tape only if the surface is dry, sound, and compatible. |
| Sheathing or trim is soft | Hidden water damage | Stop DIY patching and plan selective opening or professional repair. |
A small exterior defect can be repairable, but the fix has to restore overlap and drainage rather than burying the clue.
Tie every no-go to an observable clue. If the clue points somewhere else, pause instead of covering the trim face.
These tools help confirm the branch. They do not make high exterior work or hidden wall damage a DIY repair.
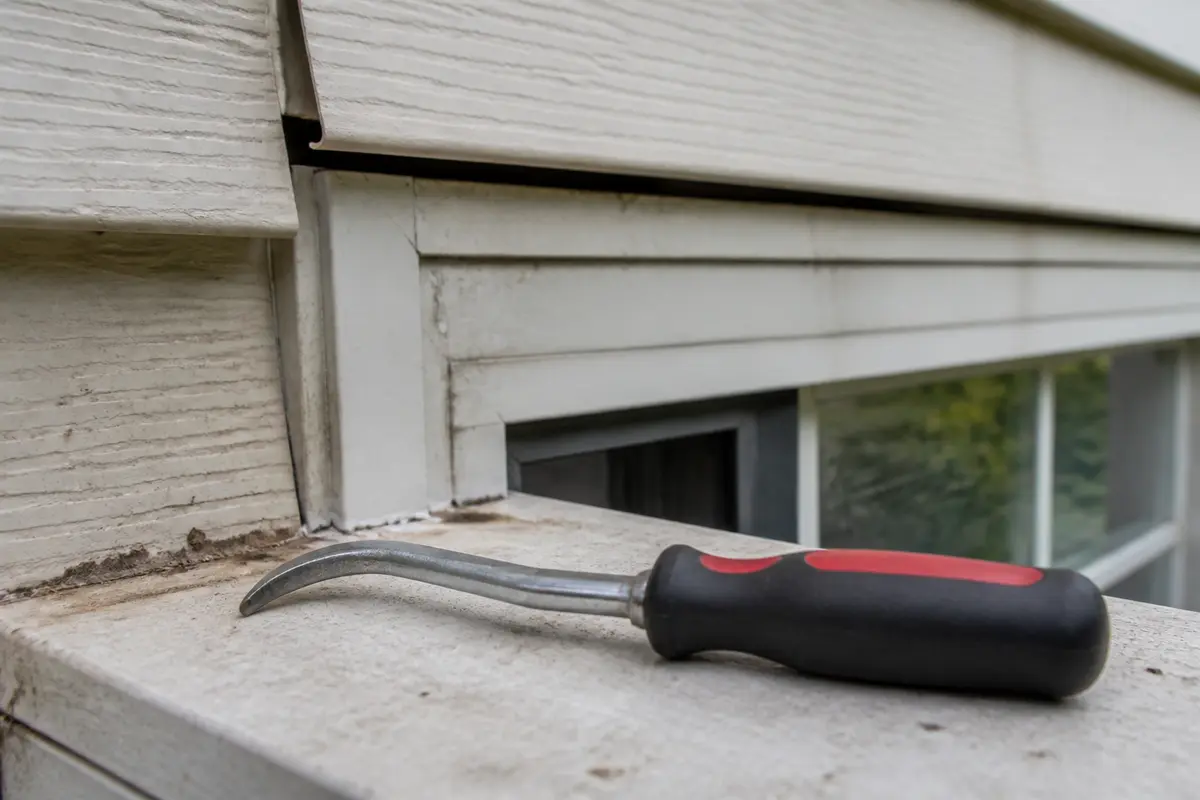
Helps when: You need to inspect a small already-loose siding edge without forcing a large section open.
Skip it when: Skip it when siding is brittle, painted tight, high off the ground, or hiding soft sheathing.
Compare siding zip tools on Amazon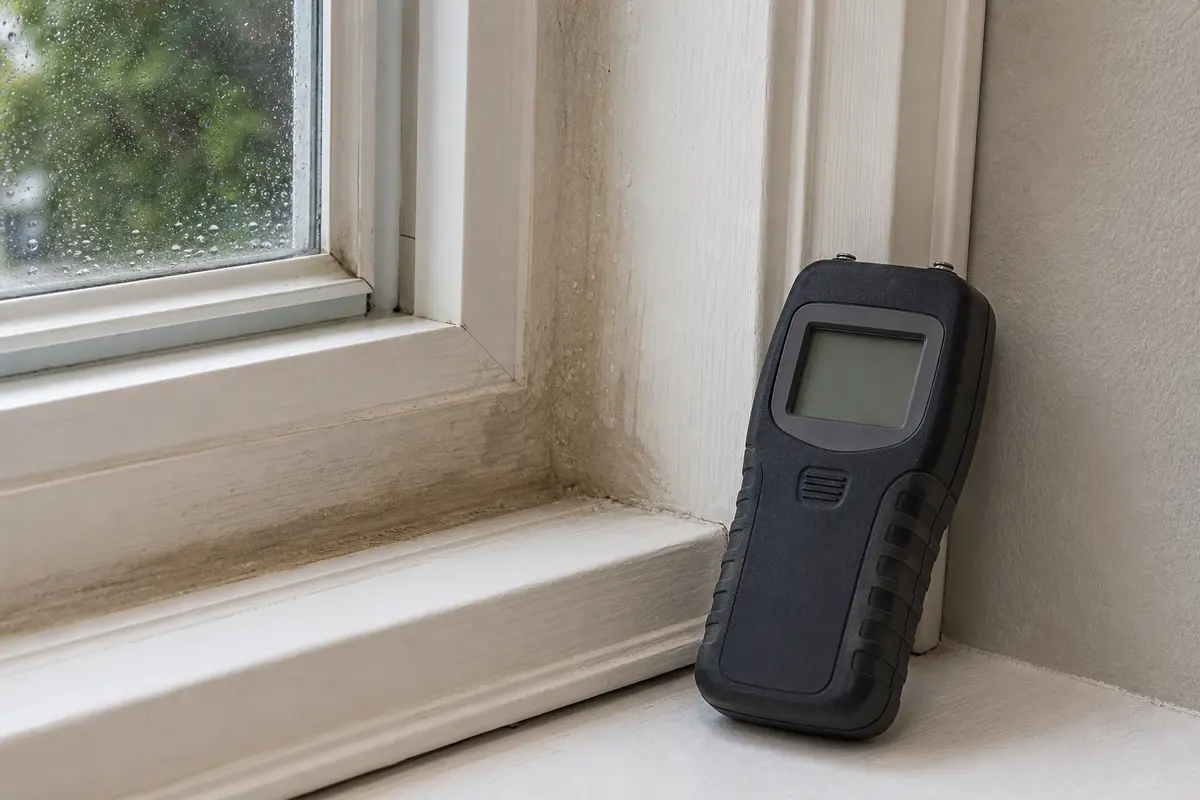
Helps when: A meter helps compare damp trim and nearby dry areas before and after rain.
Skip it when: Skip it when you already see active water, soft material, or electrical involvement.
Compare pinless moisture meters on Amazon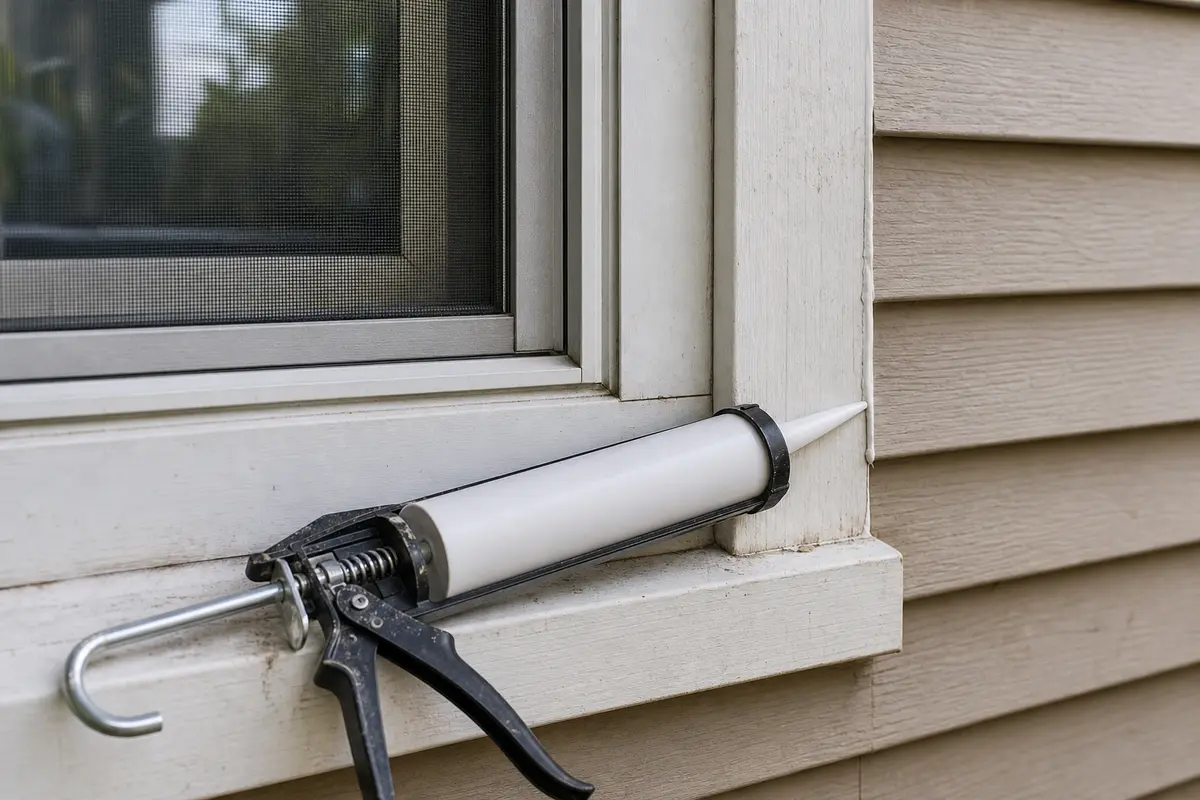
Helps when: Use it for one confirmed trim seam that is actually meant to be sealed.
Skip it when: Skip it when the plan is a full perimeter bead or the bottom edge would be sealed shut.
Compare caulk guns on Amazon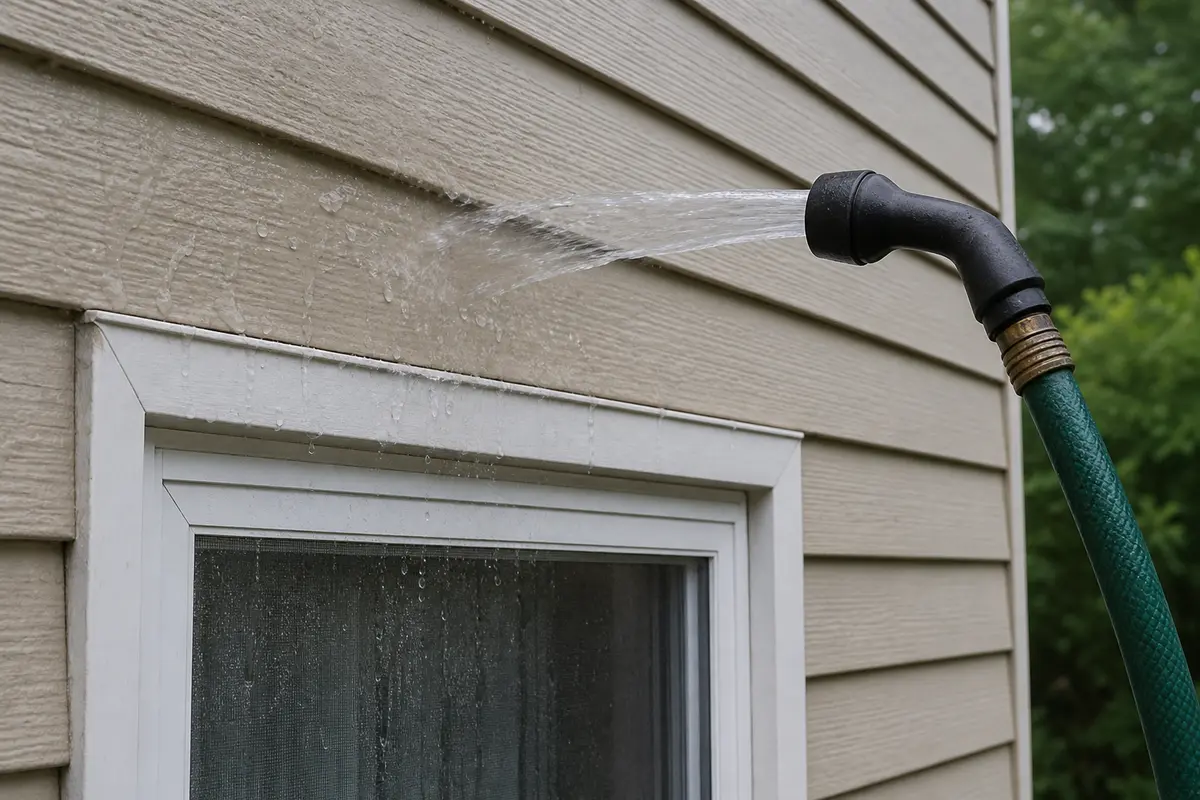
Helps when: A gentle staged test helps separate side trim, top trim, and the wall above the window.
Skip it when: Skip it when water could enter wiring, an open wall cavity, or a known rotten area.
Compare garden hoses on Amazon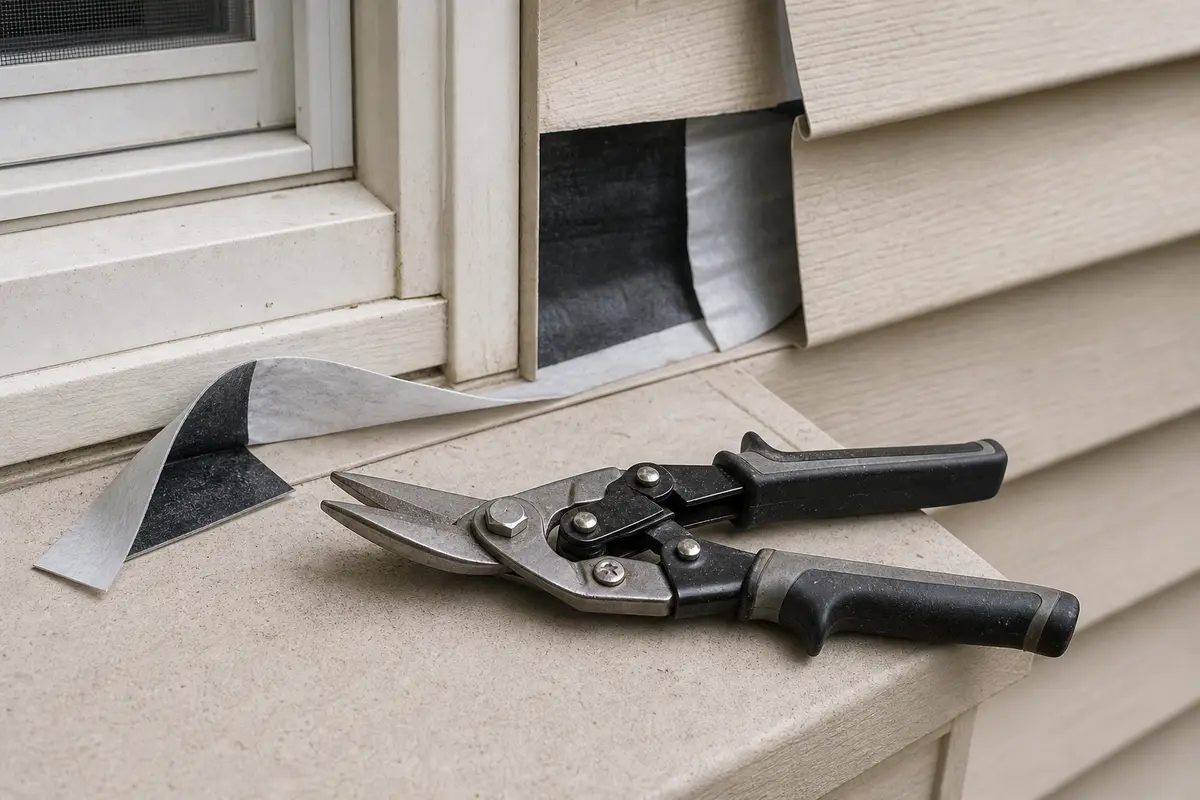
Helps when: Snips help trim flashing tape backing, small metal edges, or replacement trim material during a confirmed repair.
Skip it when: Skip it when the repair needs a brake-bent trim profile or broad siding removal.
Compare utility snips on AmazonAs an Amazon Associate I earn from qualifying purchases. Repair Riot may earn a commission at no extra cost to you.
Parts come after the defect is visible. Buy for the failed layer you can confirm, not for the wet trim alone.
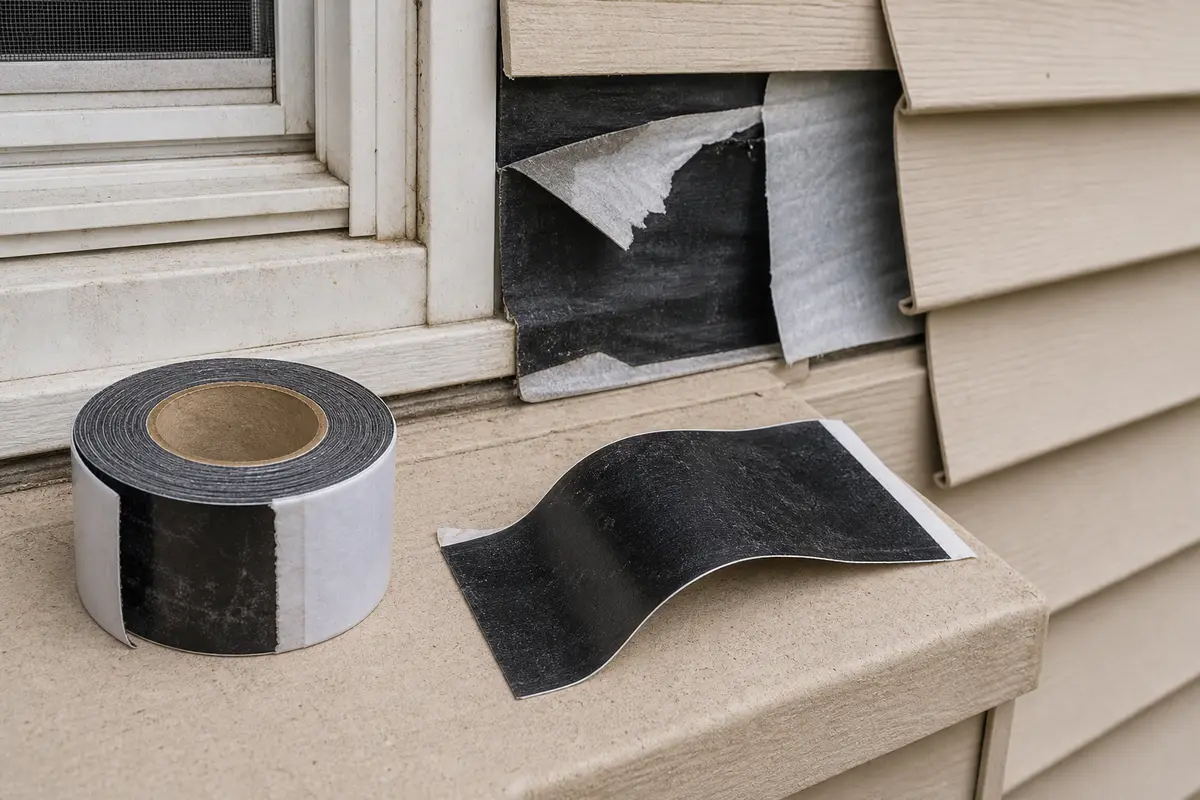
Helps when: Exposed tape is torn, lifted, missing, or lapped so upper water can run behind it.
Skip it when: Skip it when the substrate is wet, rotten, dusty, incompatible, or the leak is coming from above.
Compare flashing tapes on Amazon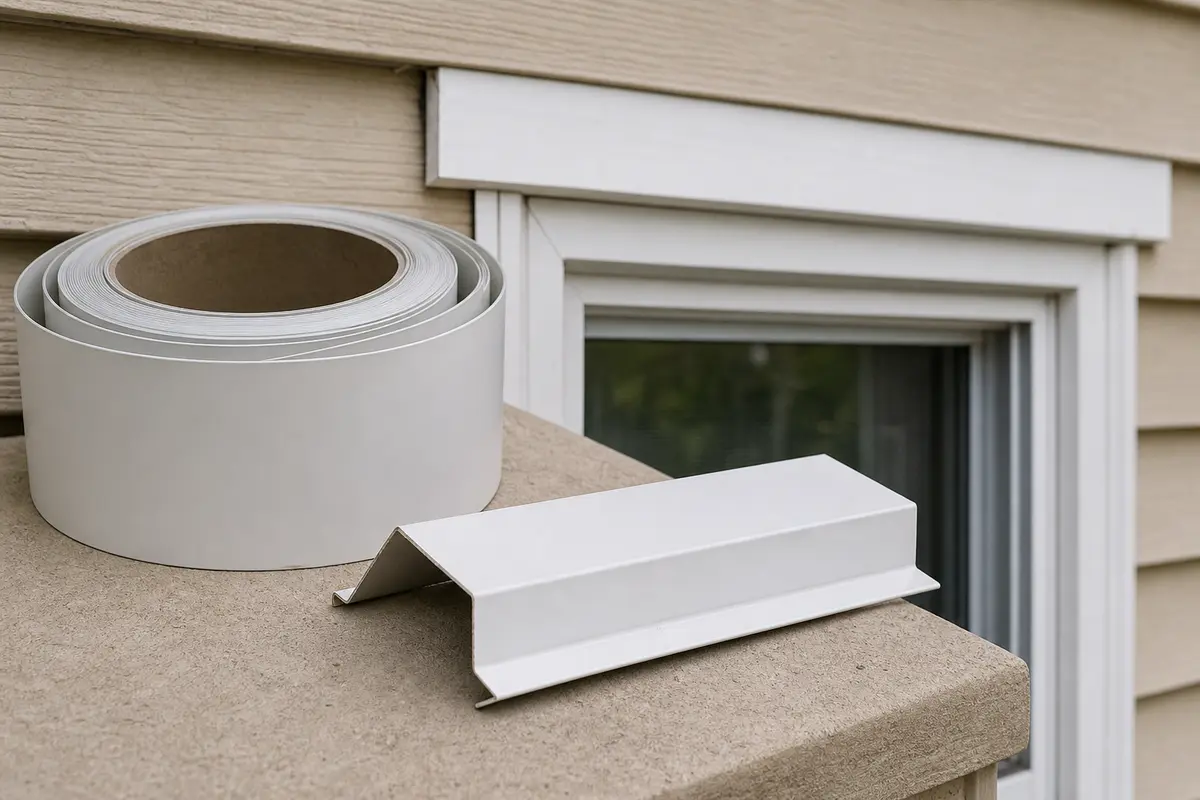
Helps when: The aluminum head trim is bent open, undersized, punctured, or no longer sheds water outward at the top of the window.
Skip it when: Skip it when the leak starts higher on the wall, the backing behind the trim is soft, or you need a brake-formed profile you cannot match.
Compare window trim coil on Amazon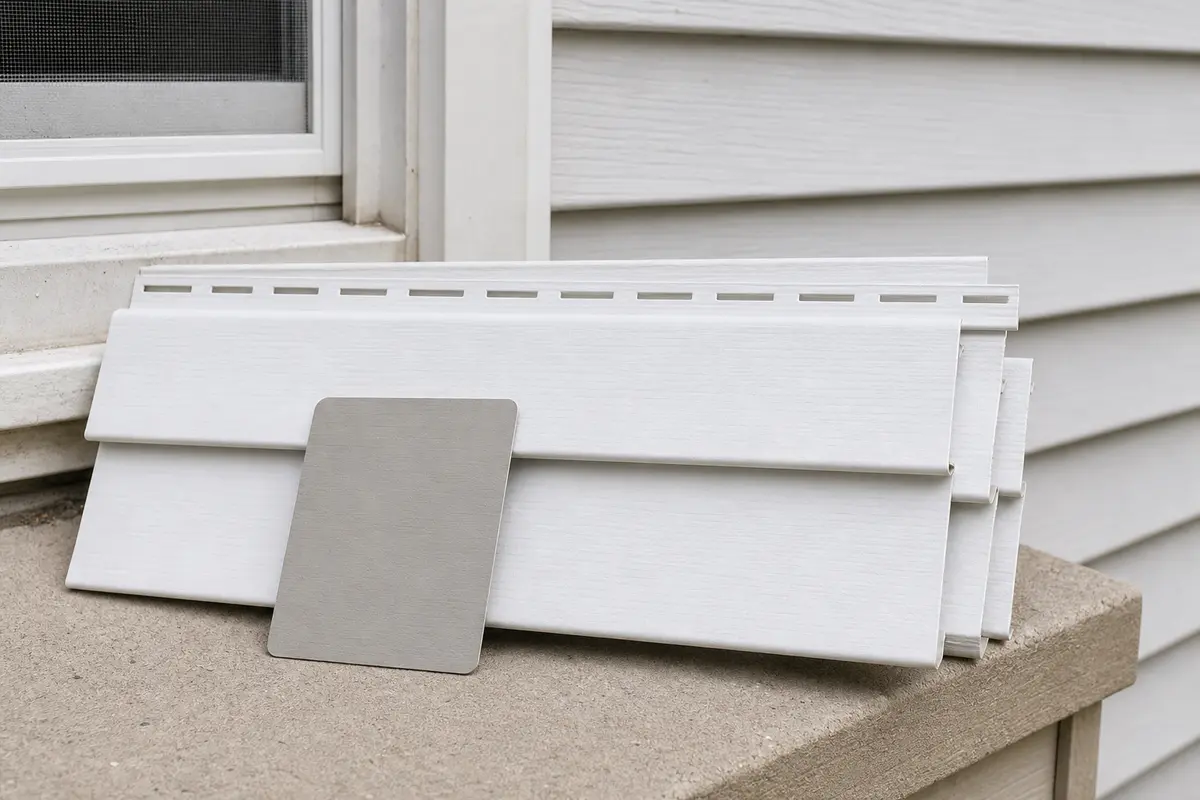
Helps when: One vinyl panel near the window is cracked, missing, or distorted enough to let water behind the wall surface.
Skip it when: Skip it when you cannot match the lap profile, exposure, and color, or the wall behind the panel is wet or soft.
Compare siding panels on AmazonAs an Amazon Associate I earn from qualifying purchases. Repair Riot may earn a commission at no extra cost to you.
Usually no. If water shows at the top trim or one upper corner, check the head flashing and inspect the siding lap or open trim ends before adding sealant. Leave the bottom edge and weep paths open, and seal only the specific joint meant to be sealed.
Condensation can appear on dry days and usually beads on the glass or lower trim. A flashing leak follows rain, often starting at the top trim or one upper corner.
Yes. Water can enter above the window, run behind siding or sheathing, and show up at the window opening. Always inspect above the wet spot first.
The most common wrong repair is smearing caulk over the face of the trim while leaving the failed lap or upper leak path untouched.
Flashing tape makes sense when the failed tape is visible, the surface is dry and sound, and the new tape can lap correctly with the surrounding water-control layers.
Use head trim coil only when the metal above the window is bent, open, punctured, or shaped so it no longer sheds water outward.
It can be safe if it is gentle and staged. Start low, move up slowly, keep water away from electrical devices, and do not spray upward under siding laps.
Call a pro if you find soft sheathing, broad rot, wiring involvement, roof-wall leakage, deck-ledger leakage, or a repair that requires large siding removal.
Repair Riot built this page around homeowner-visible water-path clues: condensation timing, head flashing, siding laps, trim movement, drainage, and when hidden damage should stop a DIY repair.