Is the crack thin, straight, dry, and firm?
That usually points to a drywall seam or finish failure. Look for loose tape and plan a joint repair only after you confirm it is stable.
Most drywall cracks come from loose tape, a popped screw, or small movement at a door, window, or corner. Before filler, press the wall, look for staining, and mark the crack ends so you know it is dry and stable.
If a straight hairline crack follows a joint and the wall feels dry and firm, look for lifted tape or brittle compound. Staining, a soft spot, bulge, sticking door, or widening gap means stop and check the source first.
Use the visible pattern first: check whether the line follows a seam, circles a screw, angles from an opening, or runs through stained or soft drywall. Then press the surface and compare photos before scraping, taping, or buying compound.
Don’t start with: Do not start with spackle, caulk, primer, or paint until you know whether the crack is dry surface damage, a popped fastener, moisture damage, or active movement.
That usually points to a drywall seam or finish failure. Look for loose tape and plan a joint repair only after you confirm it is stable.
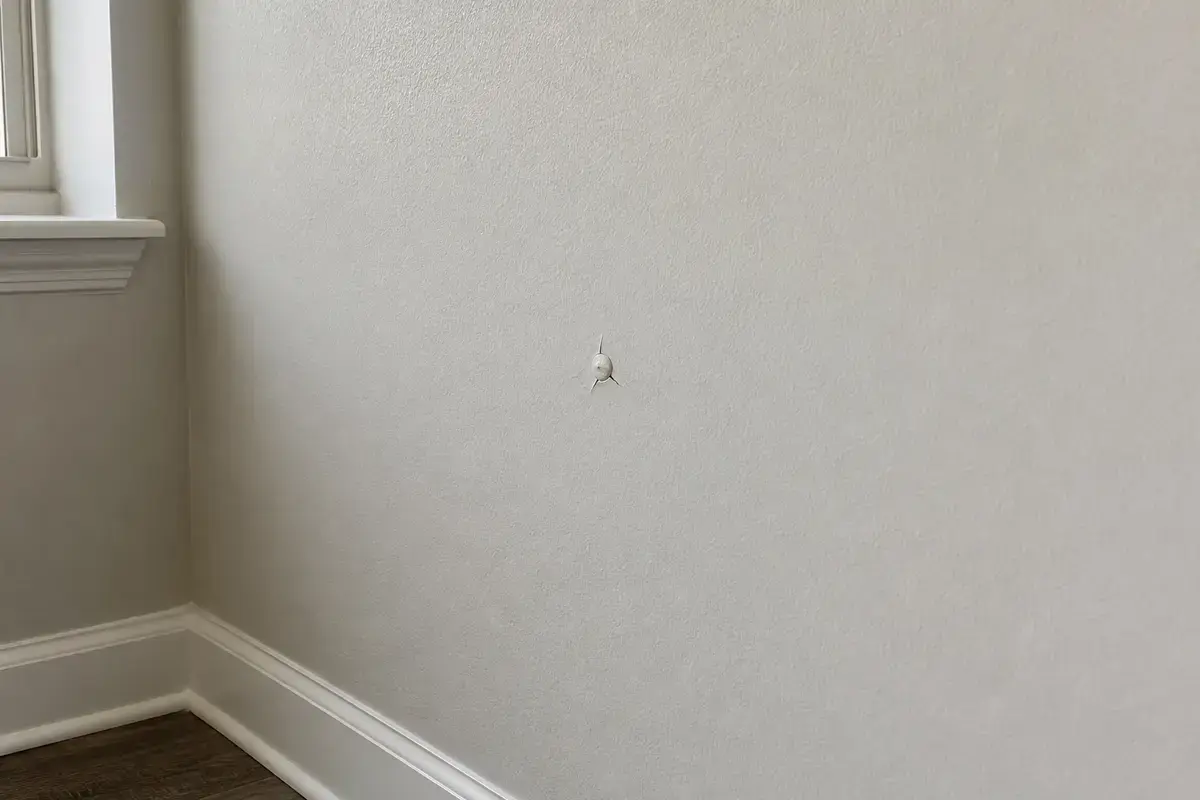
If you see one raised dimple over a screw and the surrounding drywall feels dry and tight, check for a localized fastener pop before rebuilding the whole seam.
Stop before tape and compound. Find the leak, condensation, or wet wall source first, because fresh compound will not fix damp drywall.
Look for sticking, rubbing, trim separation, or a gap that changes over time. Stable minor movement is different from active wall movement.
Assume the old repair missed loose tape, wet material, movement, or poor prep. Do not keep adding filler over the same weak line.
Skip the surface patch. The wall may need material removed, the source corrected, or a pro-level assessment before finish work.
Use the visible clues before you shop. A dry seam line, a popped fastener, and a stained soft spot can all be called a drywall crack, but they need different next steps.

Buy tape, compound, screws, corner bead, texture spray, or a patch kit only after you match the exact diagnosis. Use what you see: a dry seam, raised screw pop, loose corner bead, wet drywall, or active movement.
A drywall crack is a clue, not a diagnosis. The first useful split is dry finish failure versus a source problem.
Use light from the side and inspect the whole area, not just the deepest part of the line. Watch for the clue that changes the job.
| What you see | Likely path | Next move |
|---|---|---|
| Thin straight dry crack along a seam | Tape or joint compound failure | Remove loose material and rebuild the seam if the wall is stable. |
| Small round bump with a short crack | Drywall fastener pop | Resecure sound drywall and finish the local spot. |
| Diagonal crack from a door or window corner | Movement at an opening | Check door operation, trim gaps, and whether the line is growing. |
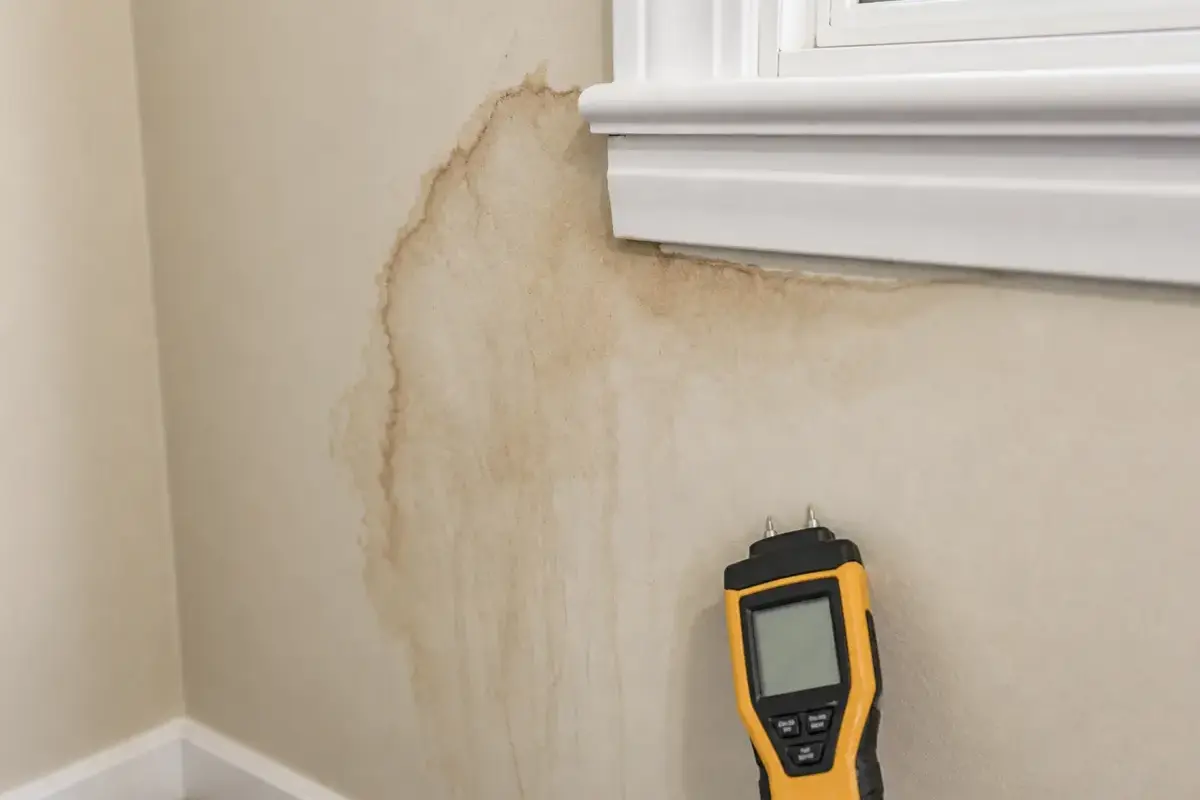
| Brown stain, bubbling paint, or soft drywall | Moisture-damaged material | Find and dry the source before patching. |
| Wide, widening, bowed, or recurring crack | Active movement or damaged backing | Stop surface repair and get the wall assessed. |
If the crack has a brown stain or the wall feels weak, stop and treat moisture as the first problem. Press for softness, look above the stain, and dry the source before new compound.
These two repairs use different prep, and confusing them is a common reason cracks come back.
A few shortcuts look tidy for a week and then make the next repair harder.
These tools support diagnosis and small drywall finish work. They do not make wet, bowed, or actively moving walls safe to patch.
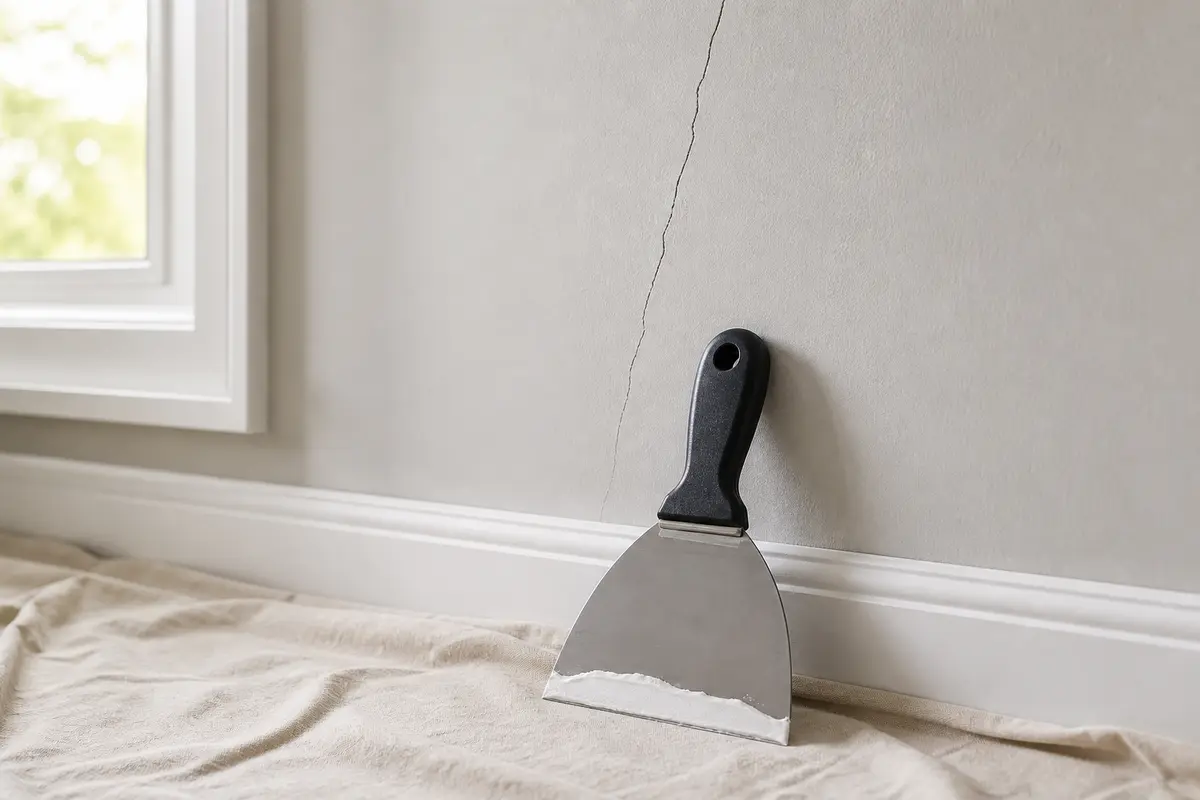
Helps when: Useful for lifting loose compound gently, checking tape edges, and spreading a controlled first coat on a confirmed dry seam.
Skip it when: The wall is wet, soft, bowed, or you are not ready to disturb the old finish safely.
Compare drywall knives on Amazon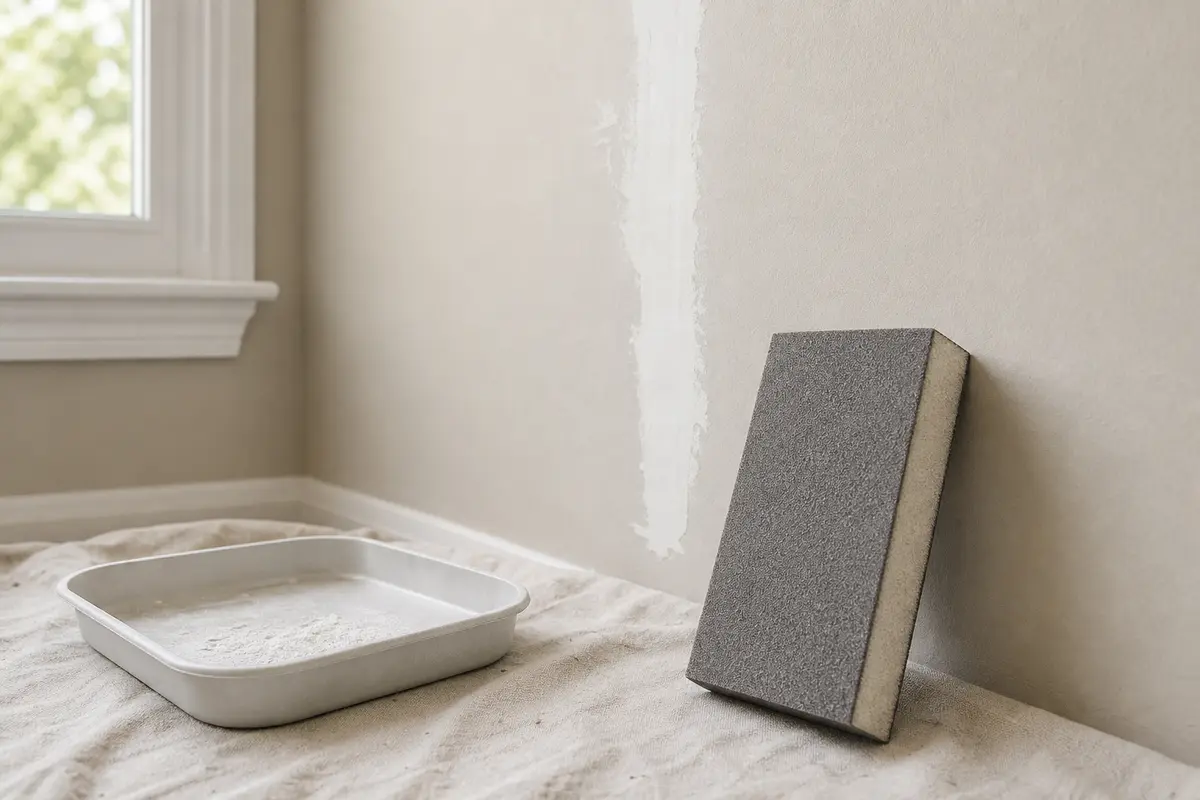
Helps when: Helps smooth dried joint compound after the repair is fully cured and the wall has stayed dry.
Skip it when: You see mold-like growth, possible lead paint, or damp material; stop, wear eye protection or PPE, and do not sand until cleanup or lead-safe rules are clear.
Compare sanding sponges on Amazon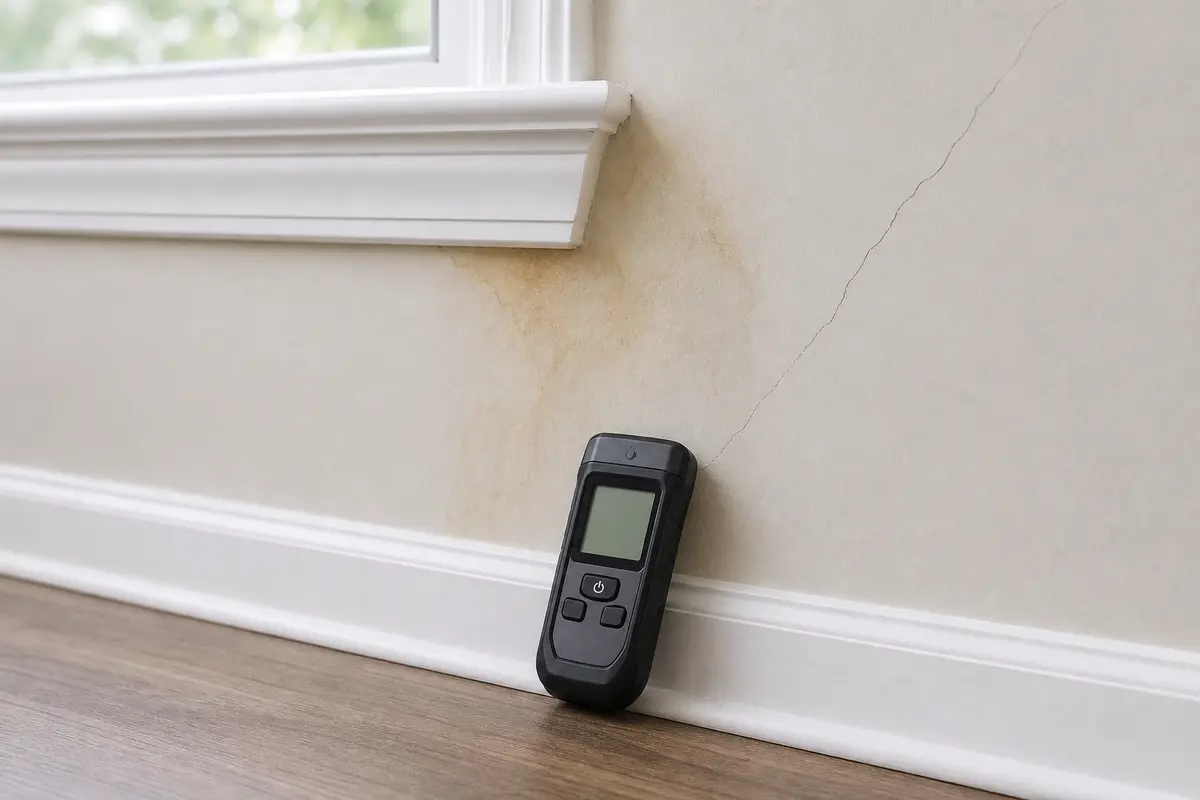
Helps when: A good clue when staining or softness makes you unsure whether the drywall and nearby trim are actually dry.
Skip it when: You need proof of a hidden leak location. A meter reading is a clue, not a full wall diagnosis.
Compare moisture meters on Amazon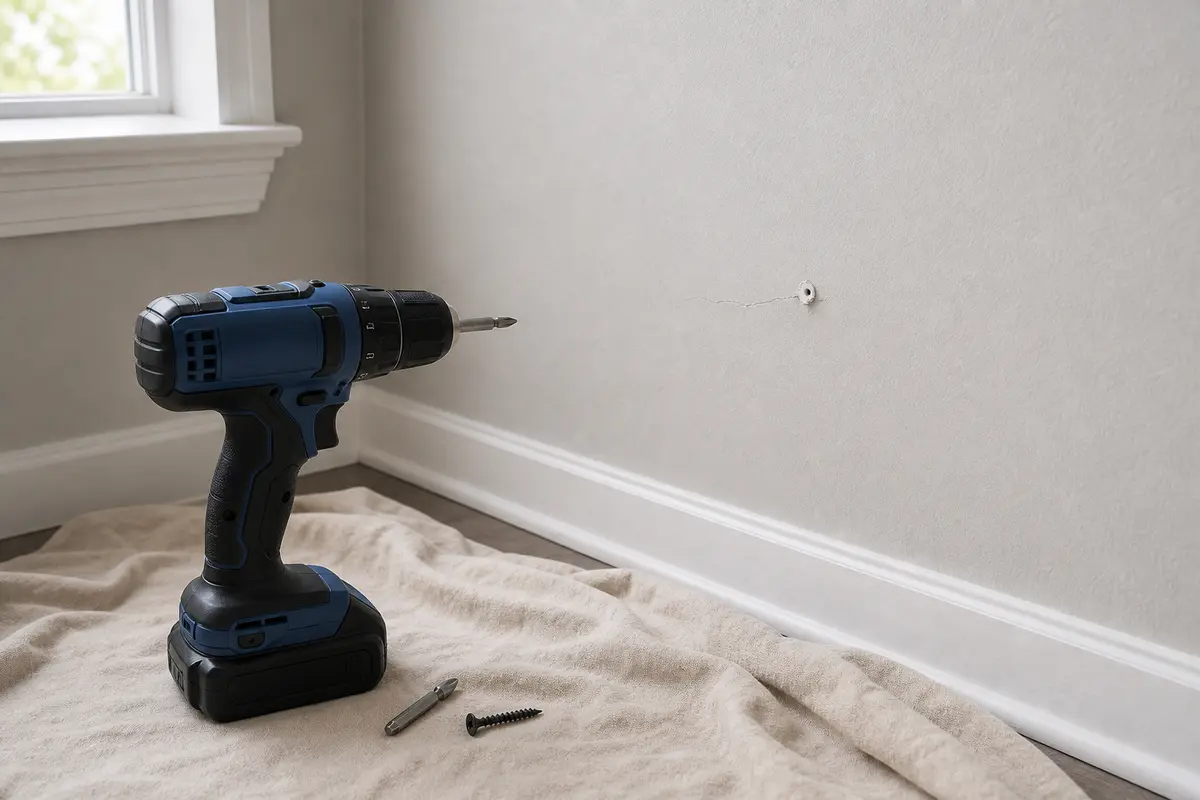
Helps when: Useful when an isolated fastener pop is confirmed and sound drywall needs to be secured before finishing.
Skip it when: The panel moves over a broad area, the framing is suspect, or the drywall is wet or crumbling.
Compare drill drivers on AmazonAs an Amazon Associate I earn from qualifying purchases. Repair Riot may earn a commission at no extra cost to you.
Buy materials after the wall tells you what failed. Tape, compound, screws, and corner materials solve different conditions.
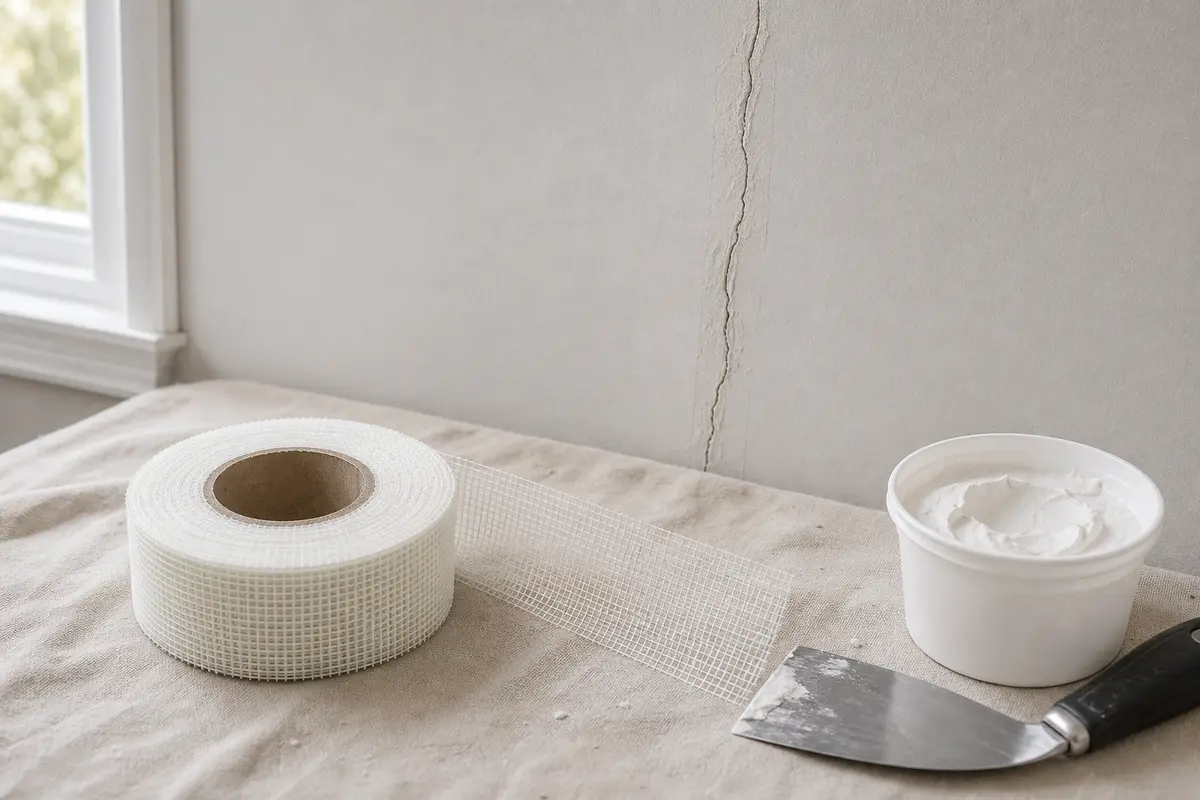
Helps when: The crack is a dry, stable seam and old tape has lifted, blistered, or opened along the joint.
Skip it when: The crack is a fastener pop, a wet stain, an outside corner bead issue, or active movement.
Compare drywall joint tape on Amazon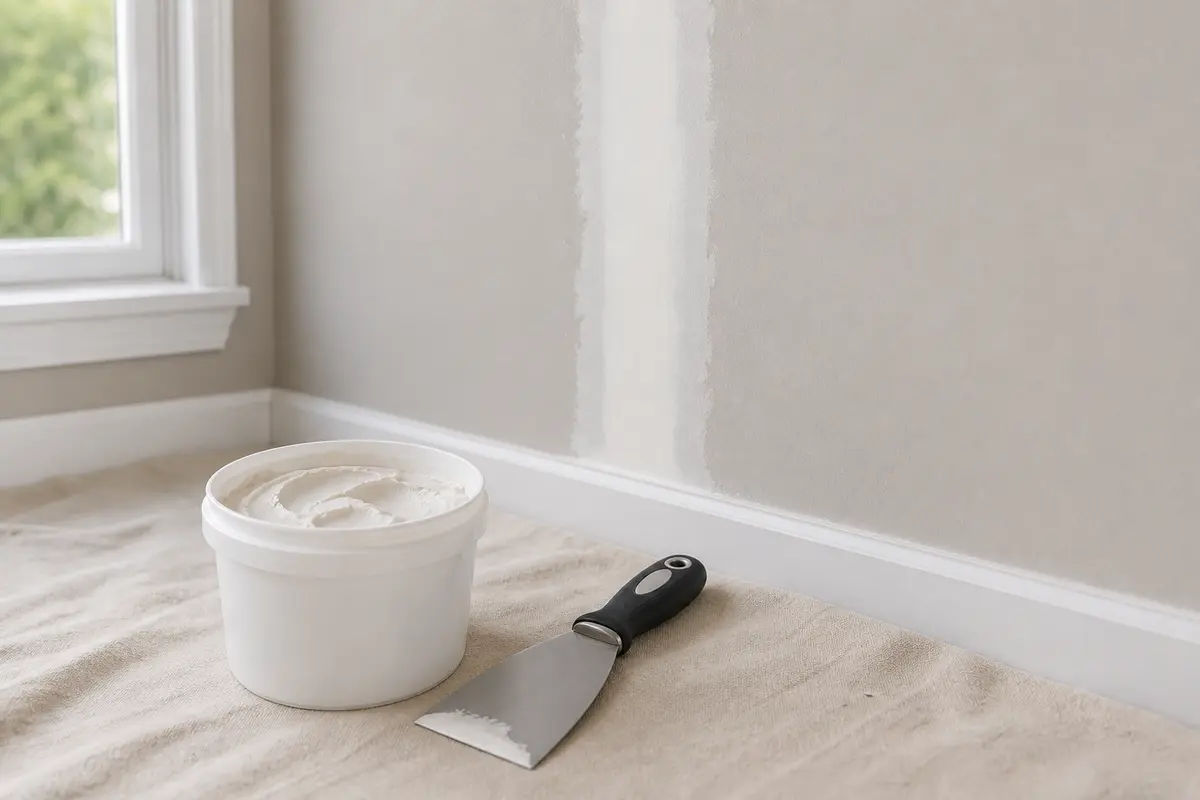
Helps when: The wall is dry and firm, loose material is removed, and the crack needs a tape coat, skim coat, or finish coat.
Skip it when: The wall is still damp, soft, stained, or moving enough that fresh compound will crack again.
Compare joint compound on Amazon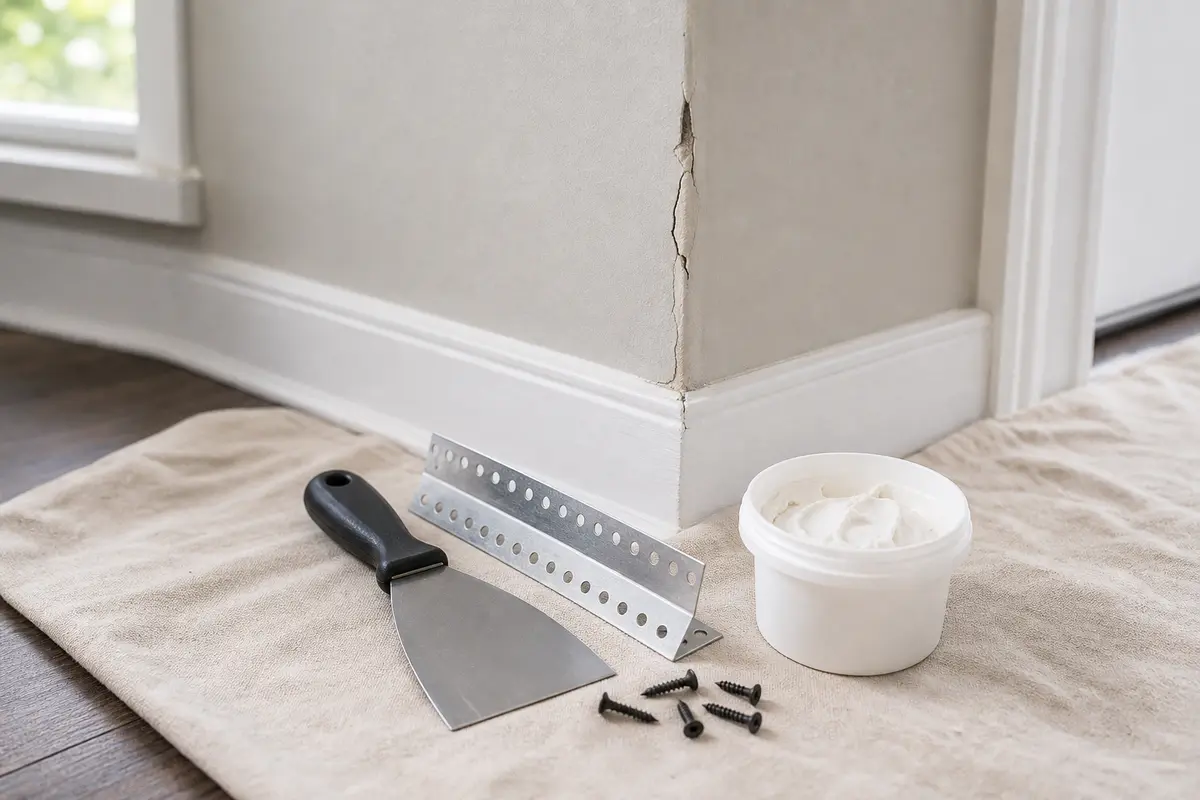
Helps when: The crack is at an outside corner and the bead is loose, dented, separated, or visibly damaged after the wall is confirmed dry.
Skip it when: The crack is on a flat seam, the drywall is wet, or the corner gap changes when you press the wall; check movement or moisture before buying bead materials.
Compare corner bead repair materials on AmazonAs an Amazon Associate I earn from qualifying purchases. Repair Riot may earn a commission at no extra cost to you.
Good notes prevent guesswork, especially if the crack is near an opening or has come back before.
Not always. If the line is thin, straight, dry, and firm, mark the ends and watch it as a likely joint issue. Call it more serious when the crack widens, feels damp, bulges, or appears with sticking doors and trim separation.
Only for a tiny surface nick. If the crack follows a seam, scrape a small loose edge, check whether tape lifts, then rebuild with tape and compound after the wall is dry and stable.
Openings concentrate movement. Minor seasonal settling can split a drywall joint there. If the door has started sticking or the crack keeps widening, the movement may be more than a finish issue.
It looks like one small round bump, dimple, or short crack with a center point over a screw or nail. Press nearby drywall; if it stays dry and tight, treat it as a local fastener check.
Watch for yellow or brown staining, bubbling paint, soft drywall, peeling paper, crumbling gypsum, or a musty smell. If those clues are present, find the moisture source before doing finish work.
The old repair may have covered the line without scraping loose tape, drying a stain, or checking movement. When a crack returns quickly, compare photos and find the missed prep step before adding filler.
No. Tape belongs on a failed seam or joint. A fastener pop, loose corner bead, wet material, or moving wall needs a different repair path.
Call for help if the drywall is wet, soft, sagging, repeatedly cracking, or tied to obvious movement, large wall damage, suspected structural issues, or hidden plumbing and electrical concerns.
Repair Riot built this page around visible homeowner checks: look at crack shape, press for drywall firmness, check staining, watch door or window movement, and note whether damage spreads. The public links support stop-and-cleanup guidance for mold-like growth and lead-safe repair practices.