Fresh frass returns after you vacuum it?
Treat the activity as current. Watch the entry path, then open only the damaged trim section instead of sealing the holes.
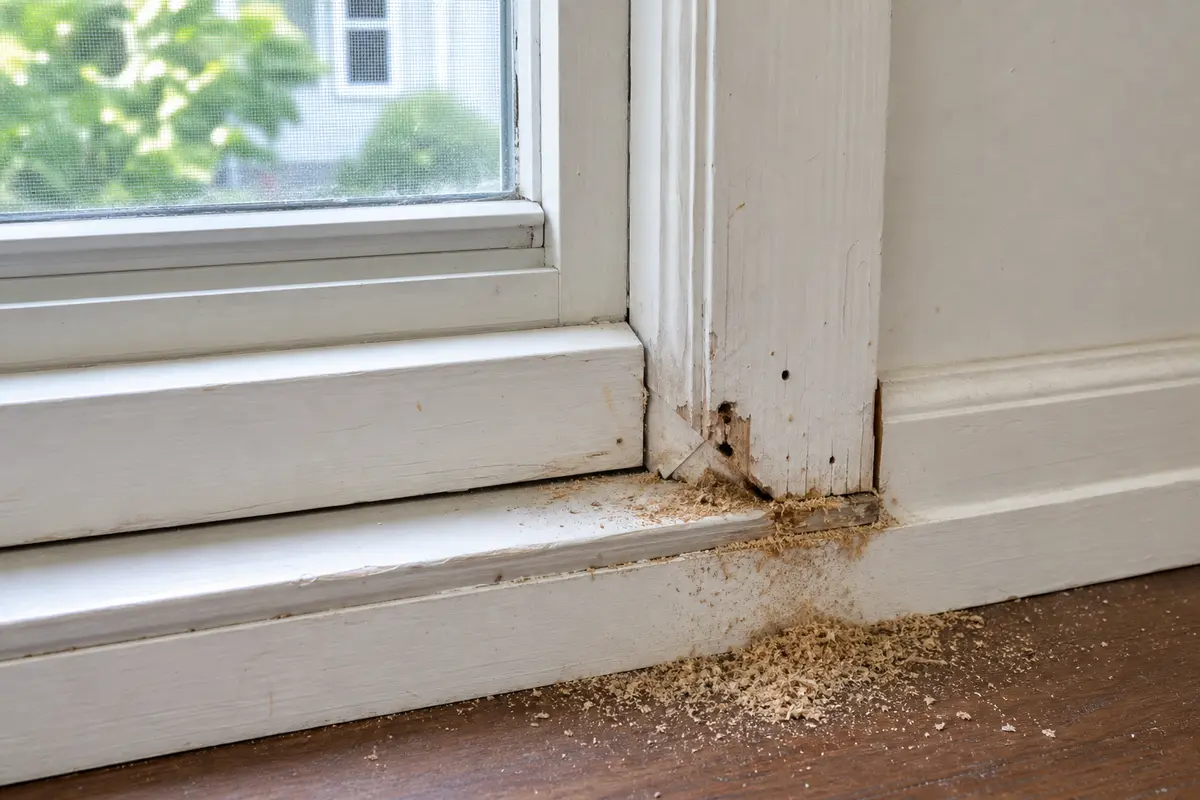
Carpenter ants around window casing usually mean the trim has been damp or softened. Clean away frass, watch for return debris or live traffic, and probe the lower corners before you patch or replace anything.
Look for a wet lower corner, open miter, failed paint edge, or leak from above that has softened the casing enough for ants to tunnel.
The best clue is where debris returns after cleanup. Coarse frass, hollow sounds, blistered paint, and crumbly lower corners separate old trim damage from active trouble.
Don’t start with: Do not caulk the holes, paint over the trim, or order a replacement window before you know whether the wood behind the casing is dry and solid.
Treat the activity as current. Watch the entry path, then open only the damaged trim section instead of sealing the holes.
Old or limited damage is possible. A small trim repair may be enough after one more no-activity check.
Moisture is part of the repair. Find why the casing stayed wet before filler or new trim goes on.
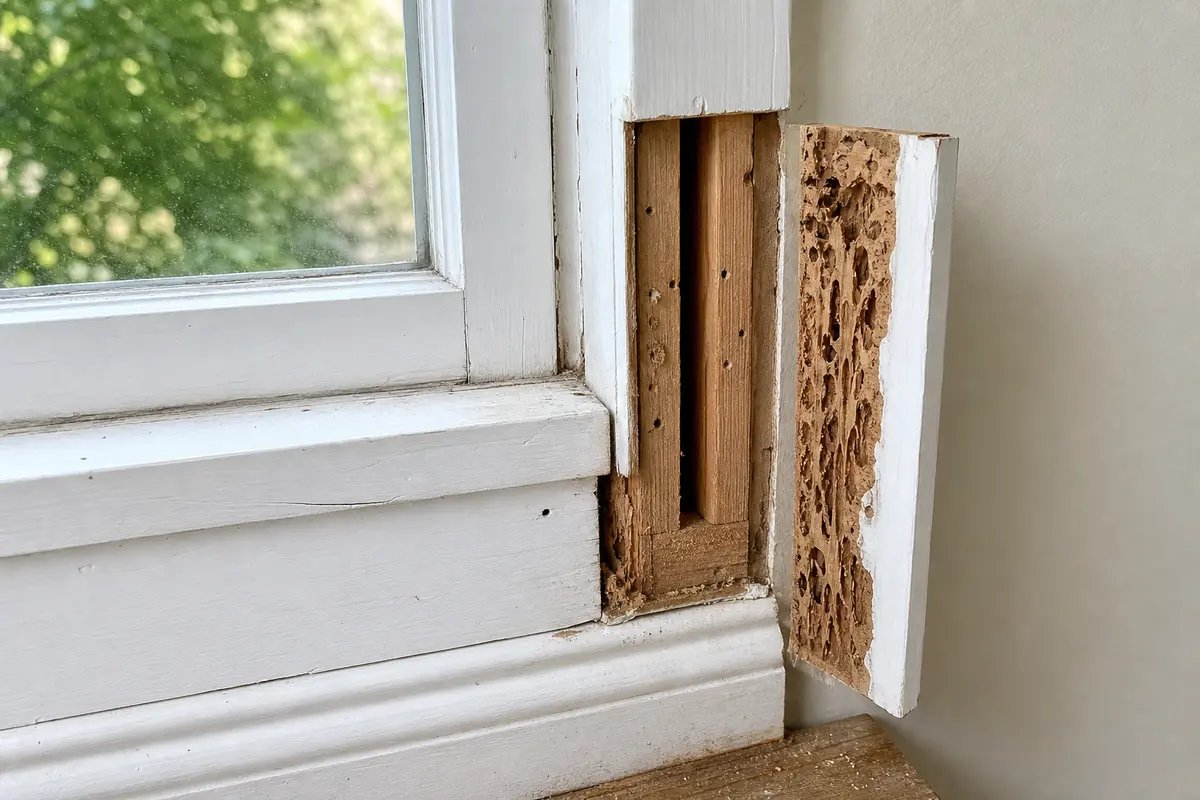
Stop treating it as a surface board problem. Check the jamb edge and wall-side wood before closing the opening.
Stop DIY finish work and bring in a window, framing, or pest pro depending on what you uncovered.
The useful clues are small: fresh frass after cleanup, a lower corner that gives under light probing, and the backside of one removed casing piece. Check those before filler or caulk goes on; they decide whether this stays a trim repair or becomes a moisture and pest problem.
Do not buy a replacement window, casing board, filler, or pesticide from the ant damage alone. First prove whether the ants are active, whether the casing is dry and solid, and whether the jamb or wall edge is still sound. Buy trim or filler only after the damage points to a small, dry, non-structural casing repair; match the exact profile, thickness, and exposure of the existing trim.
The first job is to separate old debris from fresh activity. Vacuum the sill and floor line, then check the same spot later that day and the next day. If you pry the trim first or seal the holes first, you lose the frass pattern that tells you whether ants are still working in or near the casing.
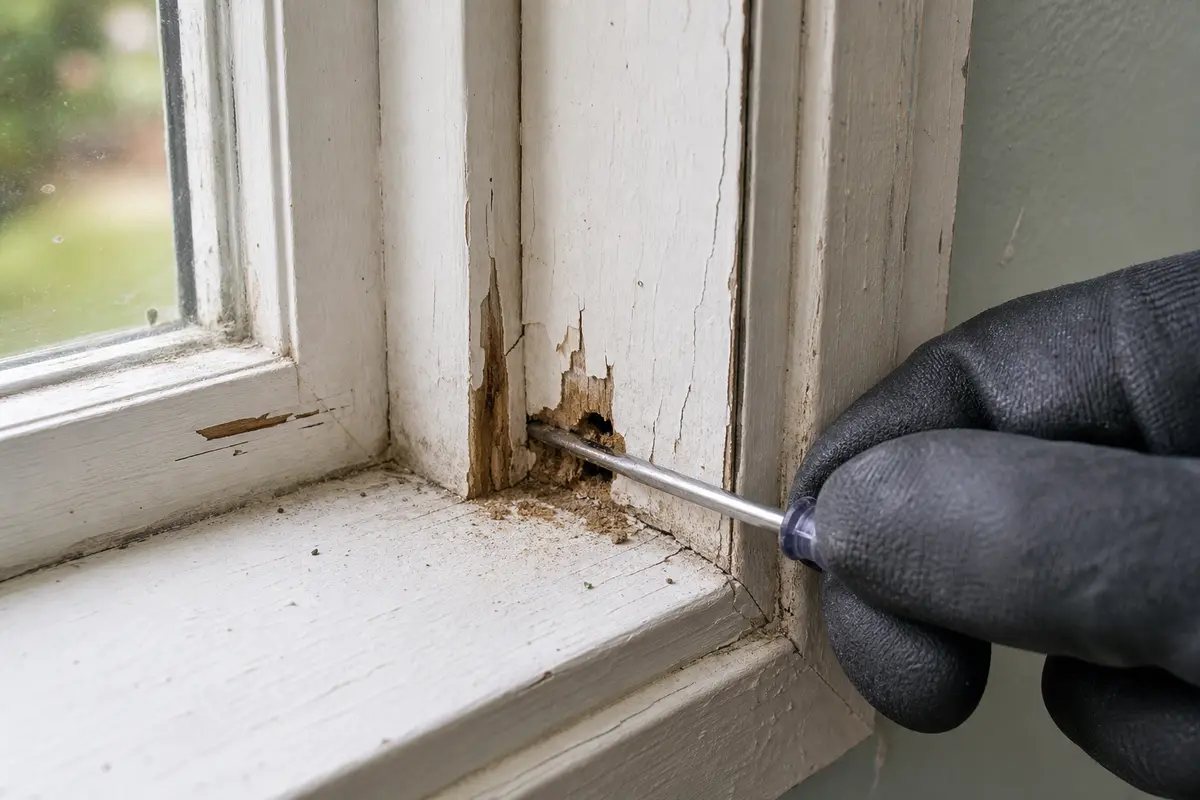
Paint can leave a hard-looking skin over wood that is hollow, wet, or tunneled underneath. A light probe tells you whether filler belongs anywhere near this repair.
Remove the worst casing piece only after the surface checks point there. The goal is to see whether the damage stops at the trim or continues into the jamb edge and wall pocket.
Use the inspection result to choose the repair path. The wrong move is treating every ant hole like either a whole-window failure or a dab-of-filler job.
| What you find | What it usually means | Next move |
|---|---|---|
| No fresh frass and dry, hard casing | The gallery may be old or limited to a small section. | Clean out loose material and consider a small trim repair. |
| Fresh frass or live ants return | Activity is current in or near the opening. | Track the entry point and open the damaged casing before sealing anything. |
| Soft lower corner or damp fibers | Moisture has weakened the casing and may still be feeding the problem. | Find the wetting path, dry the area, then decide on trim replacement. |
| Jamb edge or wall-side wood is soft | The problem has moved beyond face trim. | Stop finish work and diagnose the leak, framing, or pest issue first. |
| Window frame moves or looks unsupported | The opening may need structural or full-window assessment. | Call a qualified pro before fastening new casing. |
Most bad repairs around carpenter ant casing damage come from hiding the clue too early. Keep the evidence visible until the wood condition and moisture path make sense.
These tools support inspection and limited trim work. Skip any tool path that turns a casing check into hidden wall demolition.
Paid links. As an Amazon Associate I earn from qualifying purchases. Repair Riot may earn a commission at no extra cost to you.
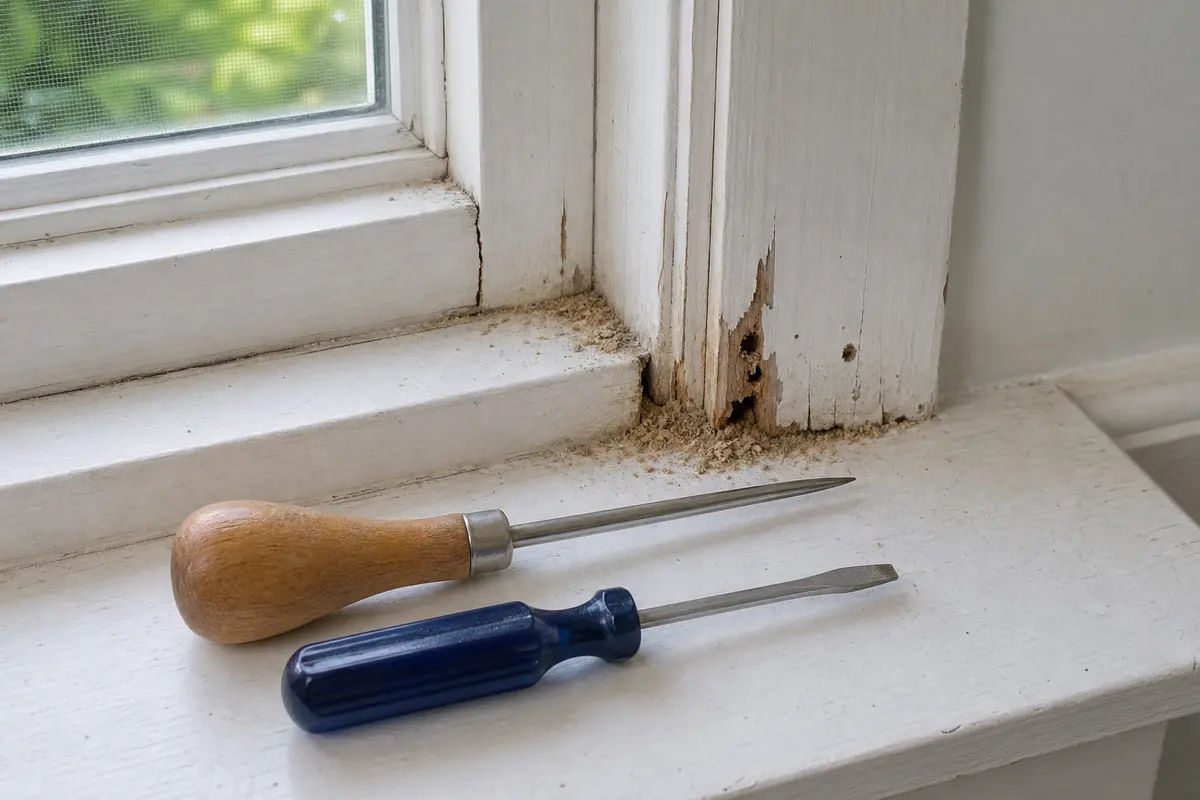
Helps when: Use an awl or small flat screwdriver to gently probe lower corners, miters, and blistered paint for soft wood under the finish.
Skip it when: Skip buying one if you already have a small screwdriver that can probe gently without tearing up sound trim.
Compare awls and small flat screwdrivers on Amazon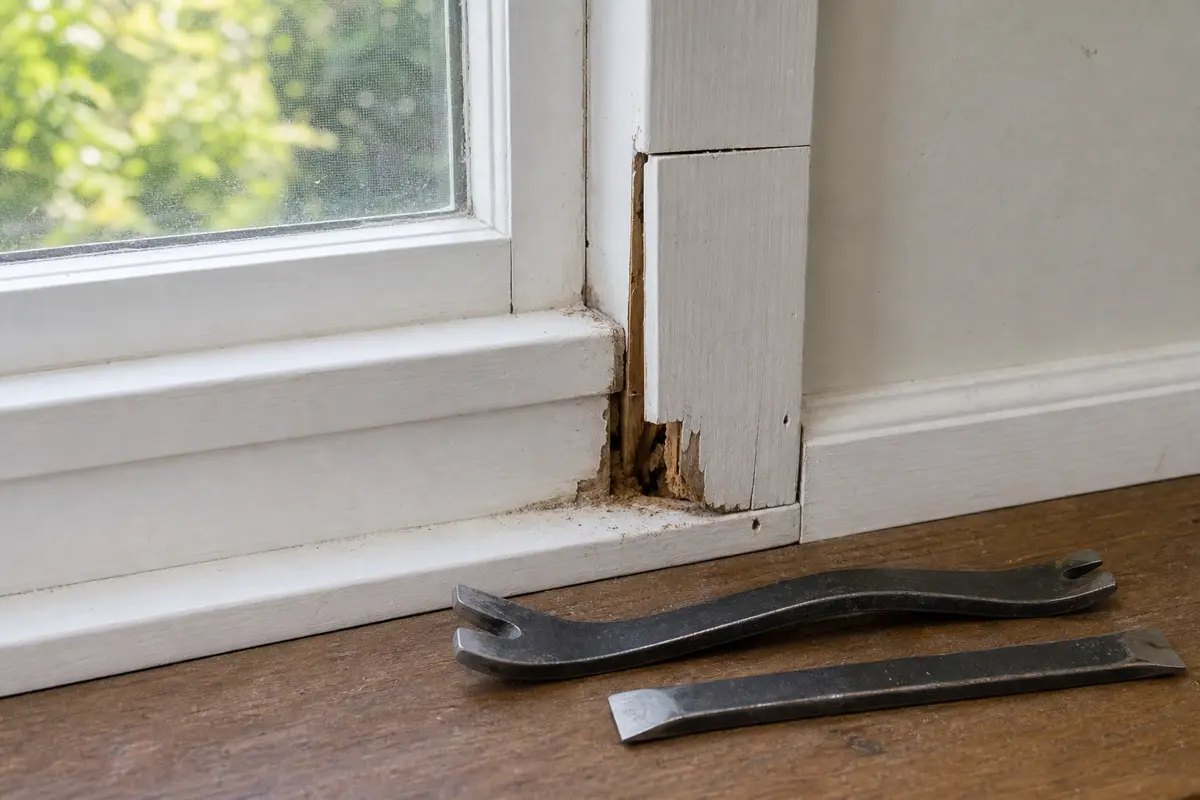
Helps when: Use a trim puller or small pry bar only after scoring paint lines and choosing one damaged casing section to inspect.
Skip it when: Skip prying if the jamb or wall edge is already crumbling; that is a stop point, not a tool problem.
Compare trim pullers and small pry bars on Amazon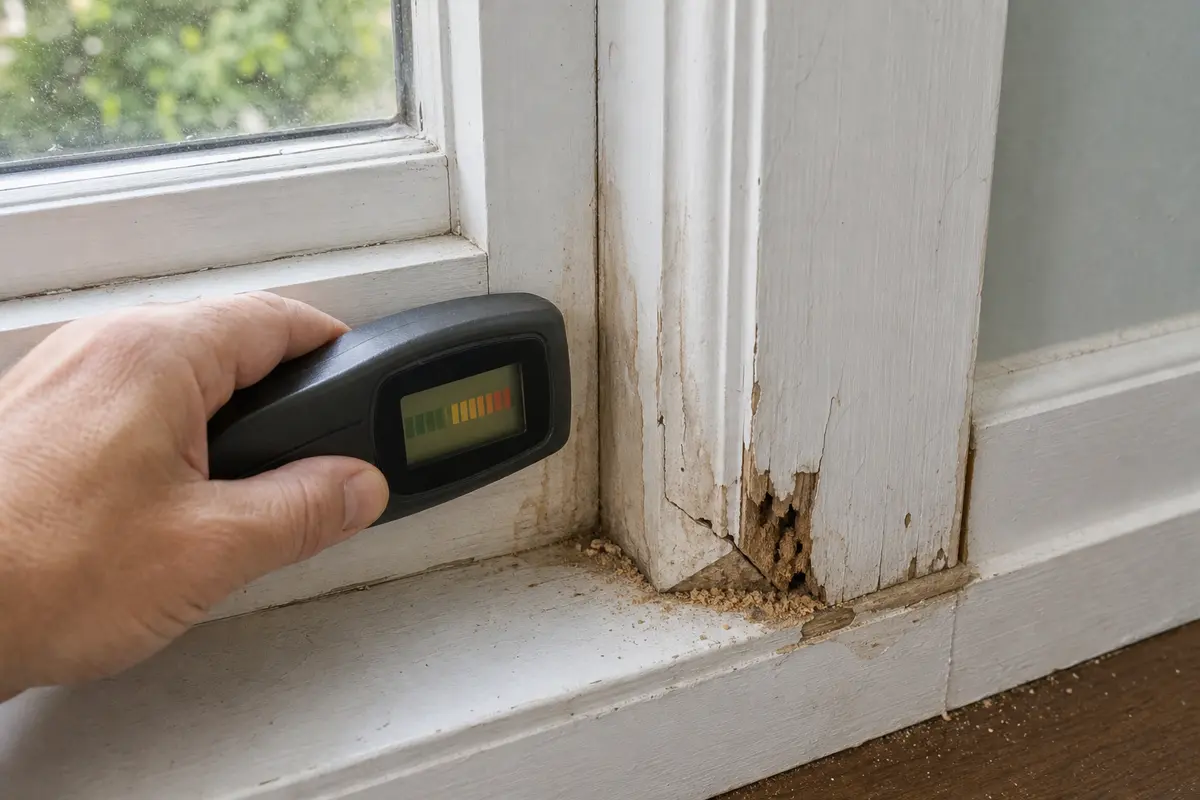
Helps when: Use a pinless moisture meter as a second check when casing looks dry but staining or repeated frass suggests hidden dampness.
Skip it when: Skip treating a meter number as permission to cover rotten wood; softness, staining, and active ants still matter.
Compare pinless moisture meters on AmazonParts are the last step, not the diagnosis. First prove the area is dry, the ants are not actively returning, and the wood behind the trim is sound. Then choose a casing board for a failed trim piece or filler only for small, dry edge voids.
Paid links. As an Amazon Associate I earn from qualifying purchases. Repair Riot may earn a commission at no extra cost to you.
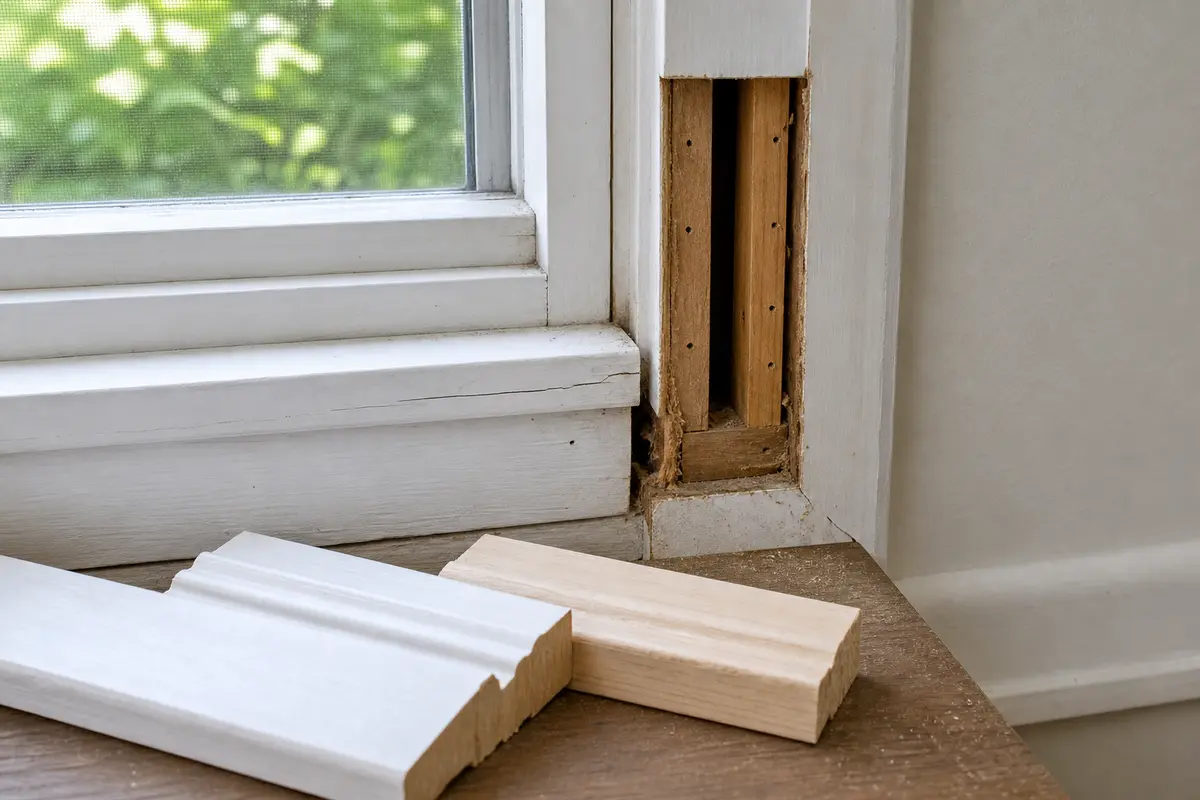
Helps when: Use a matched window casing board when the opened section proves damage is limited to one casing piece and the backing is solid.
Skip it when: Skip it if the jamb or wall-side wood is soft; new trim will only hide a bigger repair.
Compare window casing boards on Amazon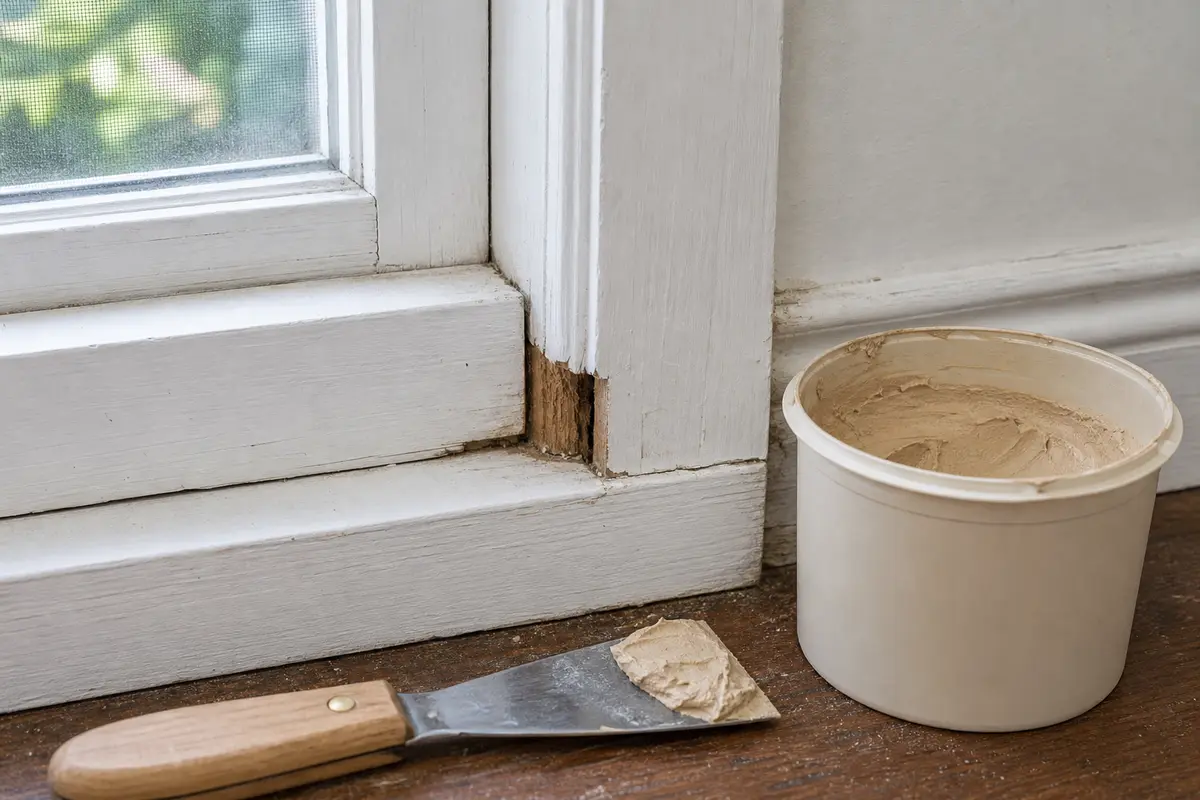
Helps when: Use exterior wood repair filler only for small dry edge voids after the casing is hard and cleaned back to sound material.
Skip it when: Skip filler for damp, hollow, active, or structural damage; it will cover the symptom without fixing the wood.
Compare exterior wood repair fillers on AmazonUsually no. Most of the time the first damaged piece is the window casing or nearby trim. Clean up the frass, probe the casing, and check behind one damaged piece if needed. Replace the whole window only if the jamb or frame is also rotten, loose, or no longer sound.
It often shows up as small openings, coarse sawdust-like frass, hollow-sounding trim, blistered paint, or soft lower corners. The wood may look mostly normal until you probe it.
Only if the damage is very shallow and the wood is dry and solid. If the casing is soft, hollow, or still damp, filler and paint are just a short-term cover-up.
They usually move into wood that has stayed damp long enough to soften. Around windows, look for blistered paint, open joints, or stains at the corners and top of the opening, then check whether fresh frass returns after cleanup.
Clean away all frass and watch for fresh debris or live ants returning to the same spot. New frass, evening ant traffic, or damp wood usually means the problem is still active nearby.
No. Blind caulking can trap moisture and hide the real entry path. First figure out whether the casing itself is wet and whether water is getting in from above or behind the trim.
No. Carpenter ants excavate galleries for nesting instead of eating the wood. The sawdust-like frass is wood and debris they pushed out while tunneling.
Call if fresh frass keeps returning, you see steady ant traffic into the wall, winged ants show up indoors, or you cannot tell how far the galleries extend after one careful trim opening.
This page keeps the repair path moisture-first because carpenter ants commonly nest in damp or decayed wood and because window trim repairs fail when wet backing is covered. Clean away frass, probe the soft spots, and open one casing section if the clues point past surface damage; the exact repair still depends on what you find at this window.